
If you are wondering How to Dox you are at the right place. Doxing is commonly understood as the act of publicly identifying or publishing private information about someone, especially as a form of punishment or revenge.
More specifically, the Urban Dictionary defines the term dox as slang for Personal information about people on the Internet, often including real name, known aliases, address, phone number, SSN, credit card number, etc. Thus, doxing could also be defined as the procedure of picking up data about someone by utilizing sources on the Internet and utilizing it to know more about them.
Under this definition, we all have doxed someone at some point or another. For example, when looking for a job, an applicant will want to research everything he or she can about the company that is hiring; what their industry is, their values, company culture, etc. In the same vein, a hiring manager would like to investigate as much as possible about applicants. For example, going through their social media profiles, looking at their interactions with other people, any communication patterns that help them understand the applicant’s value system, even checking for any criminal records; to see if he or she is a good fit for the company’s values and standards.
Another example, more related to pentesting, is when you do OSINT research on a target, where you’ll want to gather as much information as you can, so that you can look for potential attack vectors from the perspective of an attacker.
With this in mind, we can safely say that the main objective when doxing is to discover as much personal inforation about a person or company, as is possible, which can then be analyzed and utilized for the purposes of the researcher.
As you can imagine, we do things ethically here. So, we expect you understand that this knowledge should be used only for research purposes, and NEVER to publicly disclose personally identifiable information (PII) about anyone. Again, IF you engage in illegal activities, IT IS YOUR INDIVIDUAL RESPONSIBILITY.
With that out of the way, let’s go through some scenarios where legitimate doxing is done.
How To Dox Scenarios
Marketing
Ever since the European Union’s GDPR came to be, you’ve probably been often annoyed by those pop-up notifications on websites that tell you about how they track your browsing habits to provide you with better ads, and stuff. These trackers work by showing you small images, usually 1 pixel by 1 pixel in size, that are used to get your IP address; which lets the advertisers identify you, without needing to know your name or your email address. Advertisers only need to know that there is “a user” with the IP address XXX.XXX.XXX.XXX who is navigating to website A, B, and C; who might be interested in purchasing the product the advertiser is promoting.
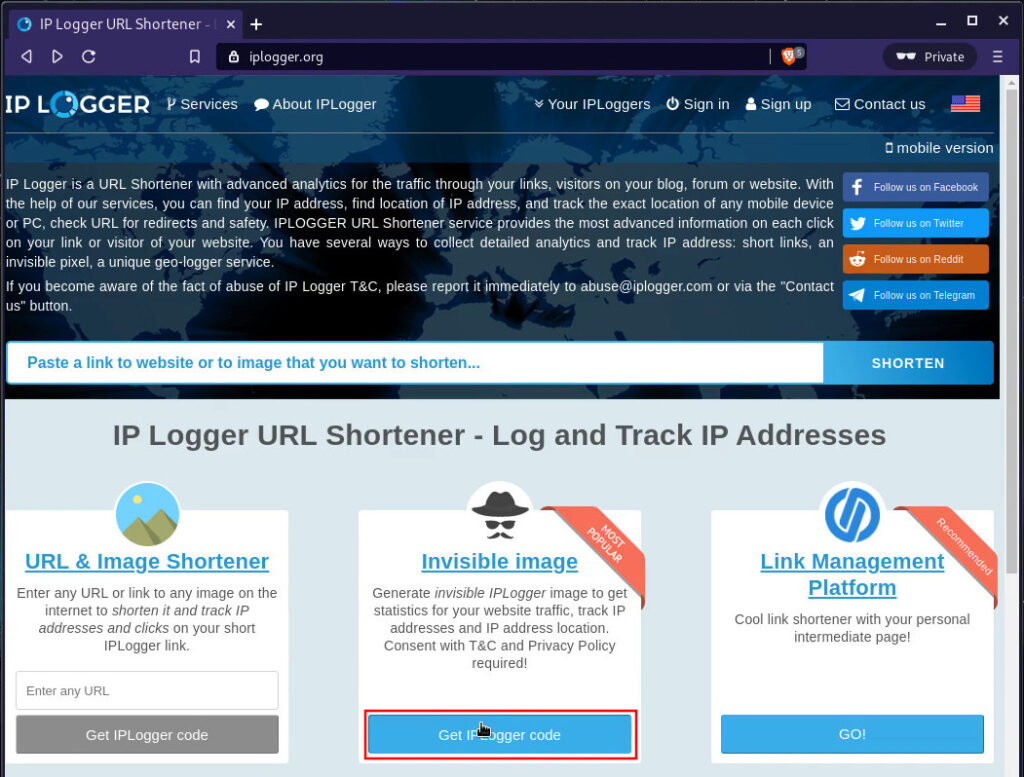
For example, let’s look at the service offered by iplogger.org. The name is self-describing, as it allows us to log and track IP addresses by either shortening URLs or “invisible images”. To create an image we can use, we just need to cick on the corresponding Get
IPLogger code button:
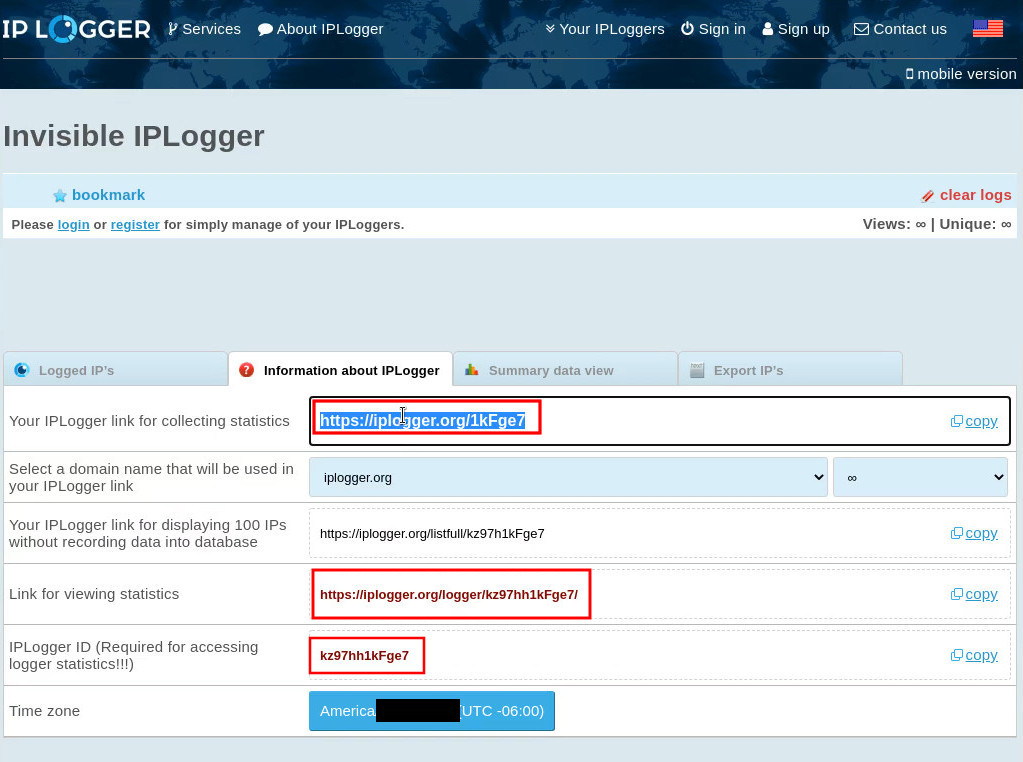
Make sure to read and understand their Privacy Policy and Terms of Service, in particular, the fact that you must not publish any such trackers without letting visitors know that you will collect tracking information about them.
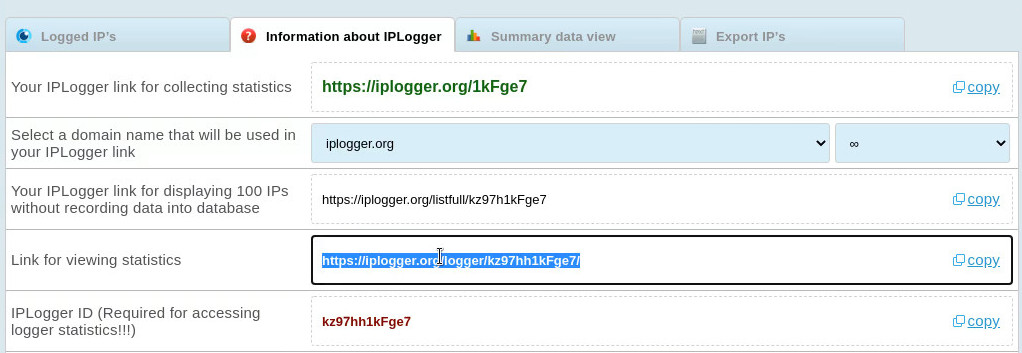
Once you’ve accepted thir terms, you’ll be given the IPLogger URLs for collecting and viewing statistics, along with the IPLogger ID; which is required for accessing the statistics.
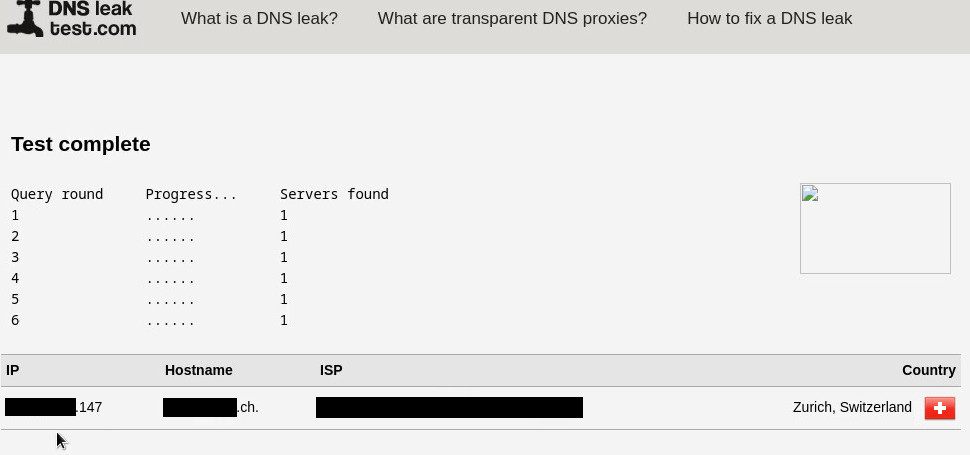
Now, to test the tracking capabilities, we may copy our tracking URL; then fire up a Private window with Tor using the Brave web browser and, to confirm Tor was routing us effectively, we ran a DNS Leak Test, which confirmed our new DNS service provider was located in Switzerland.
Once confirmed, we may paste the tracking URL into the address bar, which will show us the 1px x 1px image. In case you can’t see the image, or if you’re not convinced yet, you may right-click and select Inspect.
![]()
Notice how the bottom panel shows that the only existing element is the image which is 1px x 1 px in size.
![]()
Once done, you may embed this image on a website, an E-Mail message, or anywhere you wish to.
Since we’ve already generated traffic by opening the image, let’s go to the corresponding IPLogger statistics page, whose URL you can find on the page that gave you the tracking URL.
Now, open a new tab and navigate to that URL. It should now show data from the Tor exit node that served our request for the image. To protect the other users’ privacy, we’ve redacted the IP address and location on the logged results. To gather more specific location information, just click on the Country/City column, as highlighted below.
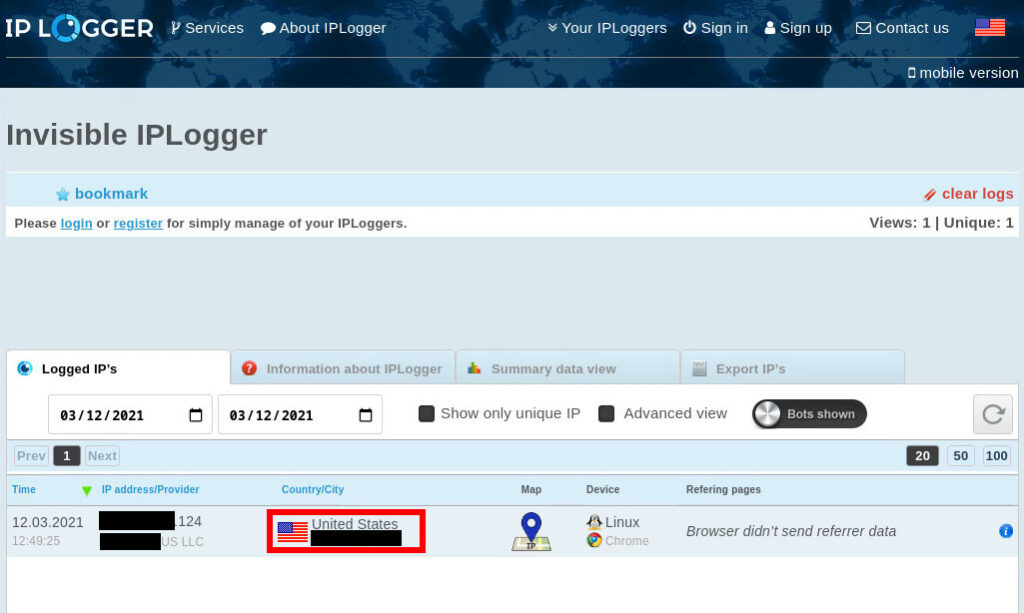
This will prompt a pop-up window with a map that shows the estimated location of the user, based on an approximation of the network hosts’s coordinates. For our example, this is the estimated location of the Tor exit node through which we opened the tracker image.
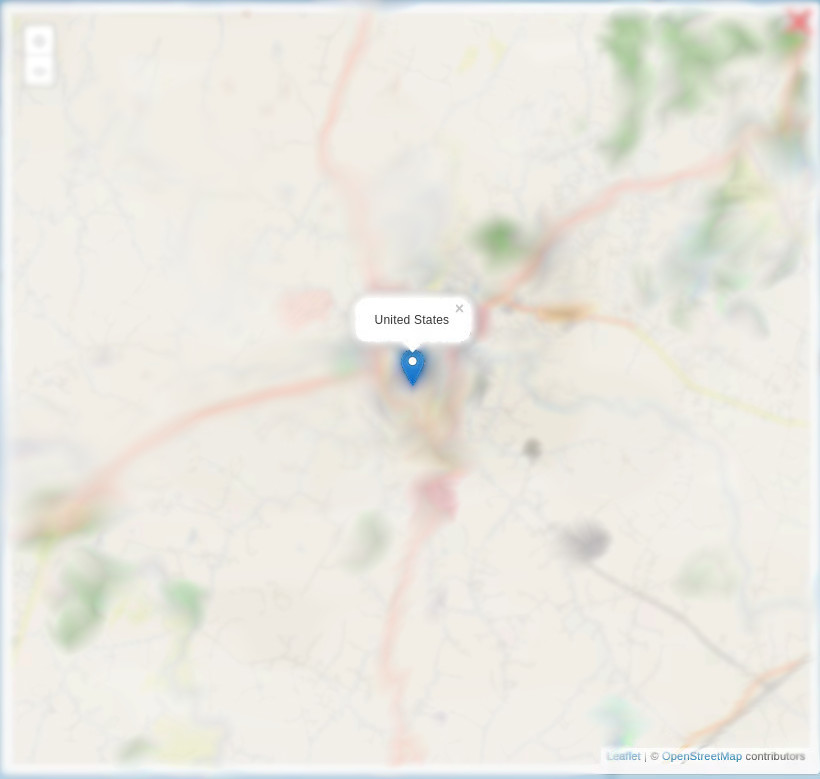
As you can probably tell already, we’ve blurred our screenshot of the map, to help protect the IP trace location of the person who is operating our Tor Exit Node.
How To Dox By Getting Information Through Email Messages
Moving on to how you can dox someone by inspecting incoming messages on your Inbox, we’ll go through this example scenario:
“You’ve been constantly getting spam messages from a scammer’s Email address. The malicious individual tried to convince you to send money to an unidentified bank account, or possibly an unknown Bitcoin wallet. You have kept all messages but you still want to know where the scammer is located, so you can report him/her to the Authorities. What can you do?”
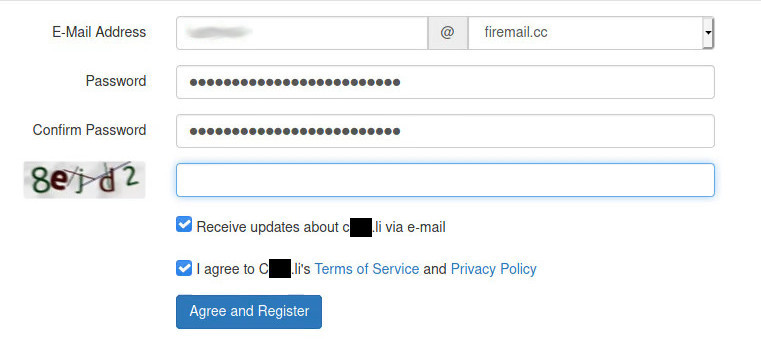
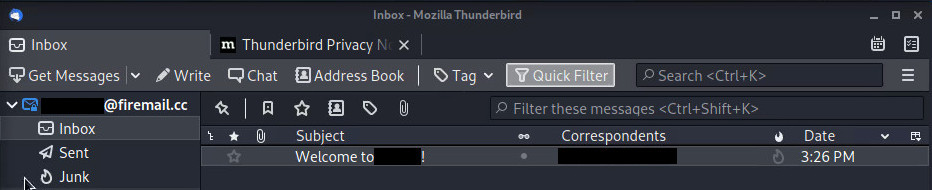
In preparation of this scenario, we registered a dummy email address, as shown:
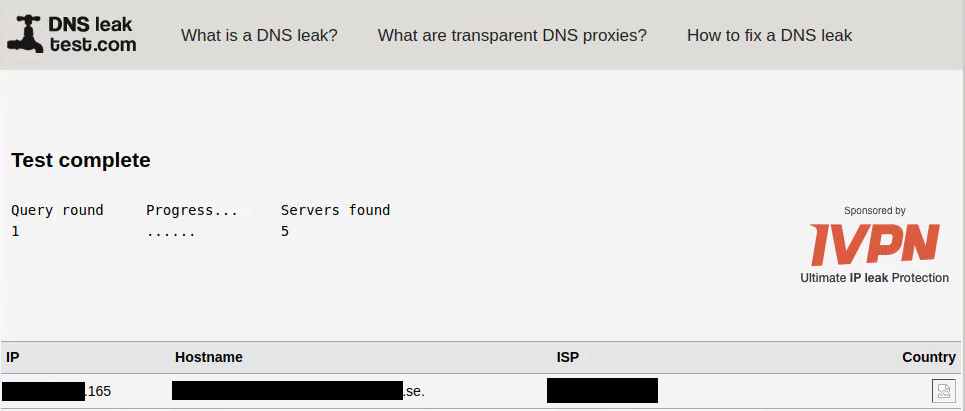
We used Tor again, to mask our location. So, through the use of another DNS Leak Test, we were able to confirm we are now seen as located in Sweden.
We then configured an Email Client (we used Mozilla Thunderbird) with the newly created email address.
With that set up properly, we proceded to send a test email message to a Gmail account I own.
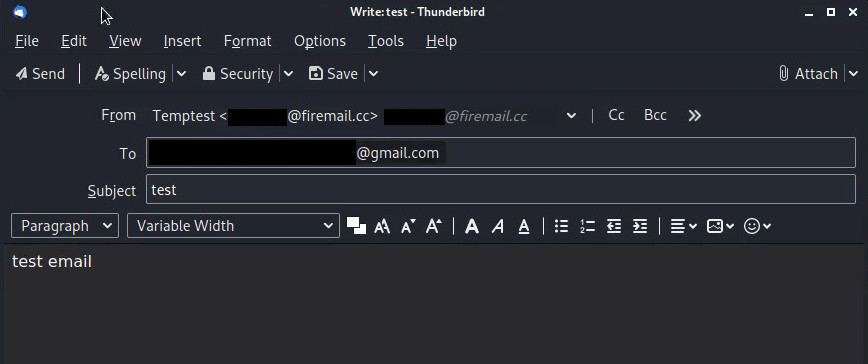
As you can tell, we’ve also distorted the destination Email address, for obvious reasons.
;-)
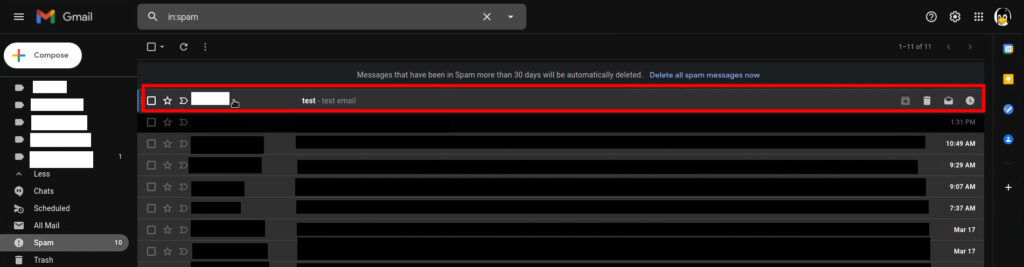
If we check our Inbox, we now see the email (feel free to ignore the fact that it arrived
on Spam}, as it’s coming from a not-so-serious email provider).
Once you’ve opened the email, click on the Menu icon at the top right corner of the message, and select Show original.
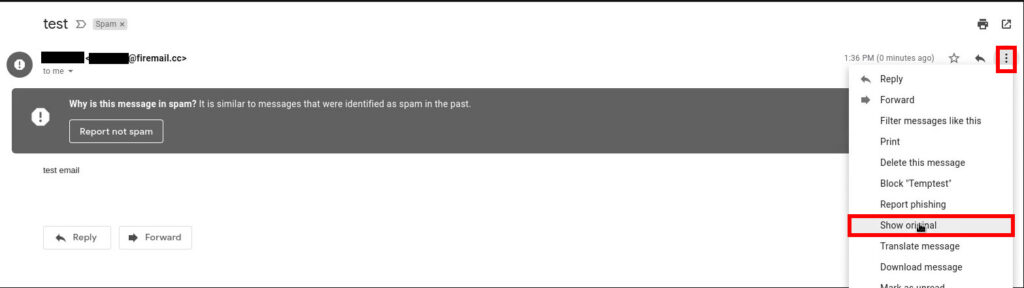
This will open a new browser tab, which will contain all contents of the message, including the Headers.
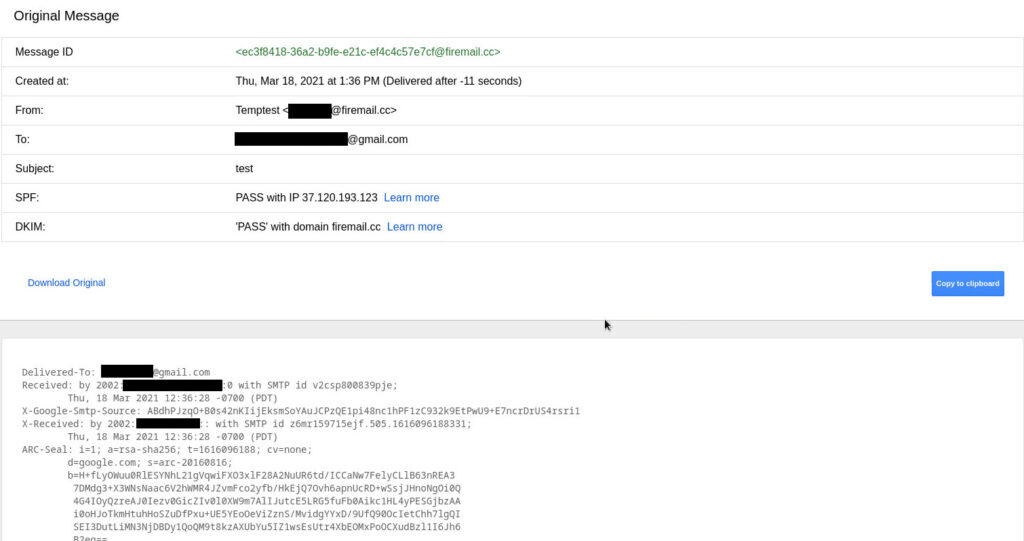
To ease up the process of locating the actual IP address, just do a page search for the Received: from section. This will take you to where the IP address of the sender is located.
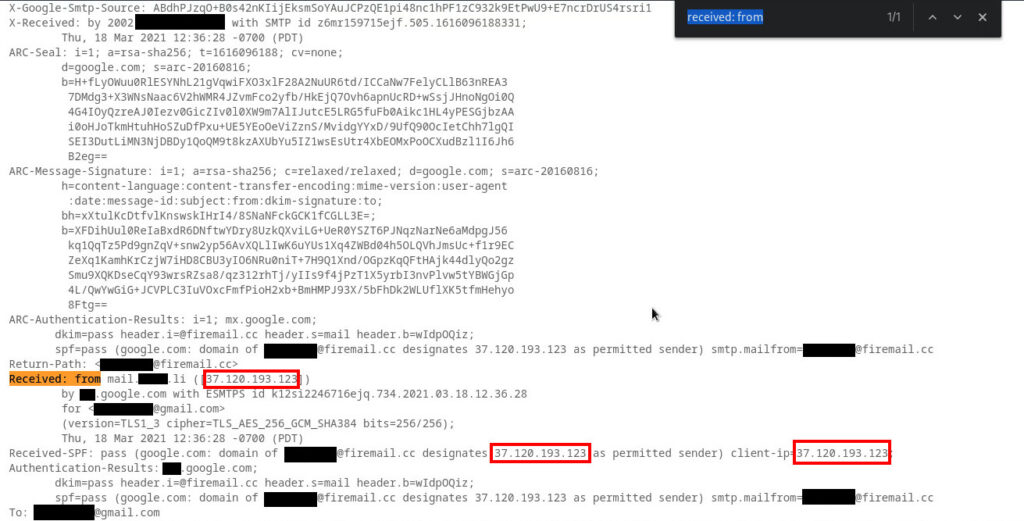
Notice how the IP address can also be located on the client-ip field
of the Received-SPF: header.
Finally, you can do some discovery with Amass, by using the amass intel command with the -addr flag, we can find if there’s a domain associated with this IP address.
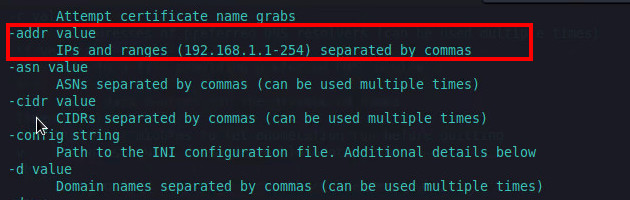
For our example, we are able to determine the domain name of the Email Service Provider for our dummy email address.

Once you’ve been able to establish the IP address of the Email’s sender, you may use other services, such as iplocation.net that will allow you to determine the location of your target.
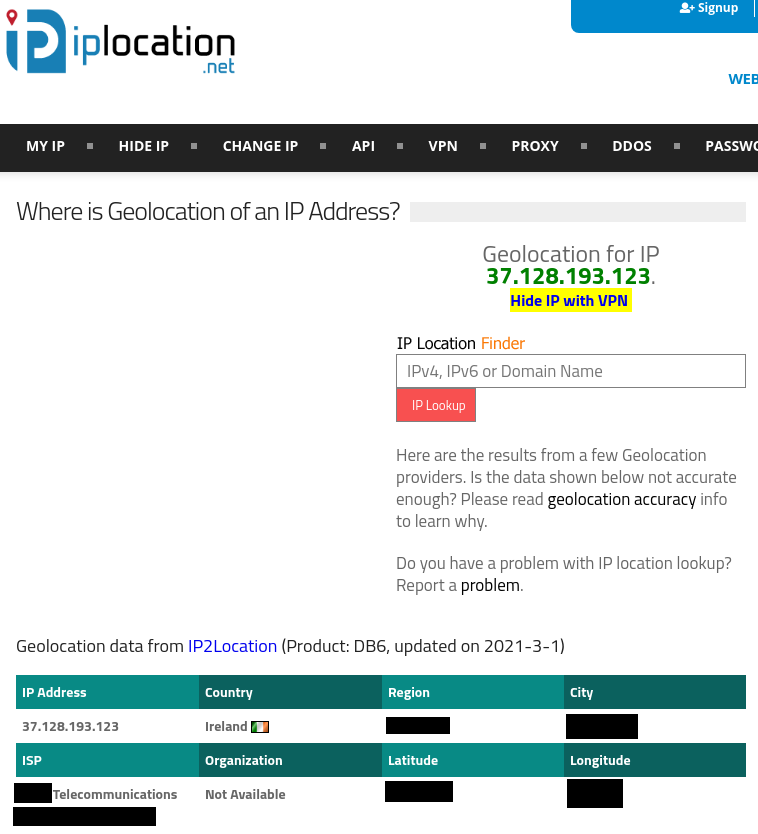
As you can see, they even give us the Latitude and Longitude coordinates! These can be input into either Google Maps or OpenStreetMap, and the approximate location of our target will be displayed in the map. Just like what we got before, with IPLogger!
Conclusion
As you can see, the doxing process isn’t difficult at all, if you know where to look, what to look for, and what exactly you want to do with the information you find. We emphasize the exact purpose because we believe that, done ethically, understanding how to dox can help us get a better understanding about our target.