
Ever heard of OWASP? Well I’m sure you have and if not if you are interested in Information Security at all you need to know about it as it is the authority in all things related to Information Security. That said, did you know they have a tool they built for automated pentesting and report generating with a graphical interface called OWASP Nettacker?
OWASP Nettacker is an open-source penetration testing framework with auto information gathering and vulnerabilities assessment features. OWASP Nettacker can automatically scan different frameworks and applications, gathering useful information, such as running services, open ports, server information, reverse IP lookup, DNS information, sub-domain records, CMS information, plugins, themes, directories, etc. Besides information gathering, the framework can automate the process of finding bugs, misconfigurations, and vulnerabilities. The most common vulnerabilities that can be detected with OWASP Nettacker include brute-force attacks, ProFTPD (FTP server) vulnerabilities, expired certificate issues, weak signature algorithms, cross sites scripting, header misconfigurations, servers version-specific vulnerabilities, clickjacking, heartbleed attack, CCS injection, and pma (PhpMyAdmin) attacks. The brute-force scan option assesses the security of different network protocols like FTP, SSH, telnet, http, NTLM, and xmlrpc protocols. The ProFTPD-related scanning covers vulnerabilities like bypass SQL protection, CPU consumption, directory traversal, heap overflow, integer overflow, restriction bypass, and memory leak vulnerability detection.
OWASP Nettacker Installation
OWASP Nettacker is a Python based project that is tested on different operating systems including Linux, MacOS, and Windows OS. The framework is compatible with the both Python versions (2 and 3). OWASP Nettacker depends on different packages included in the requirements.txt file included in the framework’s source code directory. Apart from the dependencies included in the requirements.txt file, there are two more packages that need to be installed before OWASP Nettacker installation. These packages can be installed as follows.
apt install libcurl4-openssl-dev libssl-dev
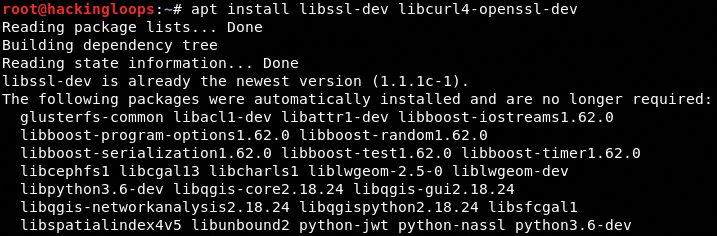
After installing the (libcurl4-openssl-dev, libssl-dev) packages, clone OWASP Nettacker from Github using the following command.
git clone https://github.com/zdresearch/OWASP-Nettacker.git

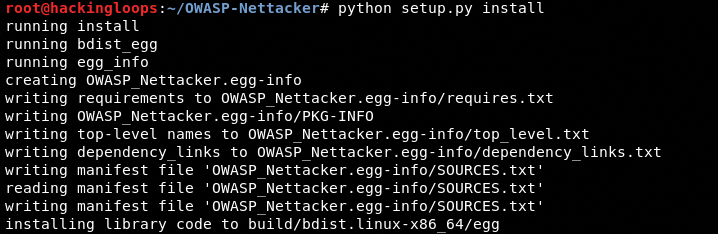
Navigate to the framework’s directory and run the following commands to complete the installation.
cd OWASP-Nettacker && pip install -r requirements.txt && python setup.py install
How OWASP Nettacker Works?
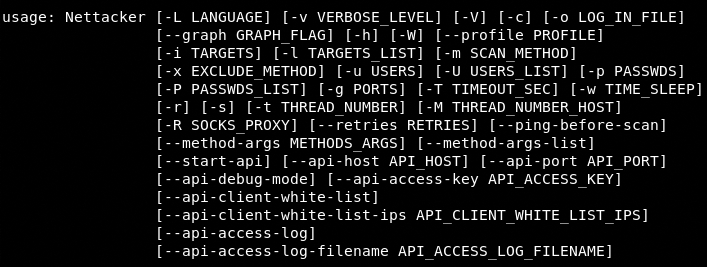
The following help command shows all the attack options and parameters required to initiate the scanning process.
python nettacker.py --help
The language feature in OWASP Nettacker allows scanning into any of the available (21) languages. We can change the language using the following command.
python nettacker.py –L <Preferred language code>
Preferred language codes: en, nl, el, ps, de, ko, it, ja, fa, fr, hy, tr, ar, zh-cn, vi, ru, hi, ur, iw, id, es
OWASP Nettacker has the flexibility of using different command formats to scan targets. The following command shows the mandatory parameters (i, L, m) required to initiate the scanning process. The optional parameters can be appended with the command to enhance its functionality.
python nettacker.py <-i | L > <Targets | Text File> <-m> <scan option>
The i and L represents two different target selection formats. The i option is used when the targets are provided through the command line. The L parameter is used when we provide targets through a text file. The –m parameter represents different attacks/scan options supported by the framework.
The following example shows some of the ways we can use OWASP Nettacker for information gathering and assessing vulnerabilities in target hosts.
Port Scanning Example: We can find open ports and supported protocols information using the following command.
python nettacker.py -i webscantest.com -m port_scan -g 20-100 -t 10
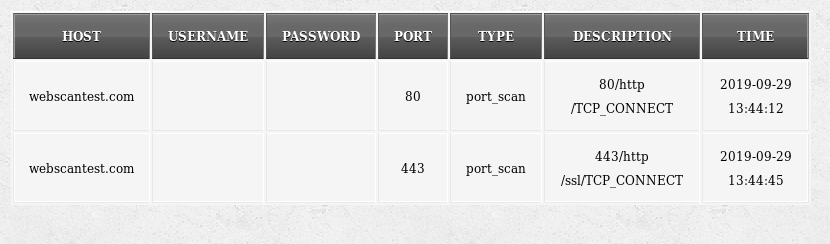
The –g parameter in the above command represents the ports and –t shows the allowed number of threads to connect with the host. The scan results are displayed on the screen in a tabular format.
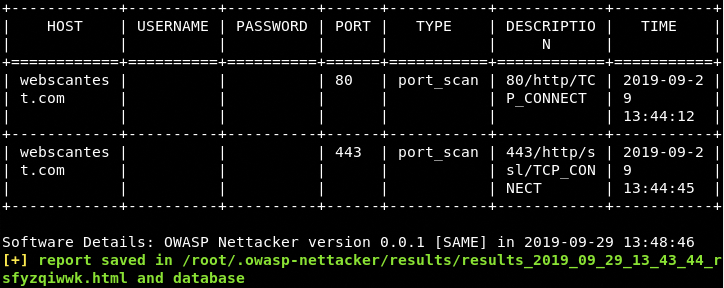
OWASP Nettacker also stores the result in an HTML file and database folder located in the framework’s directory.
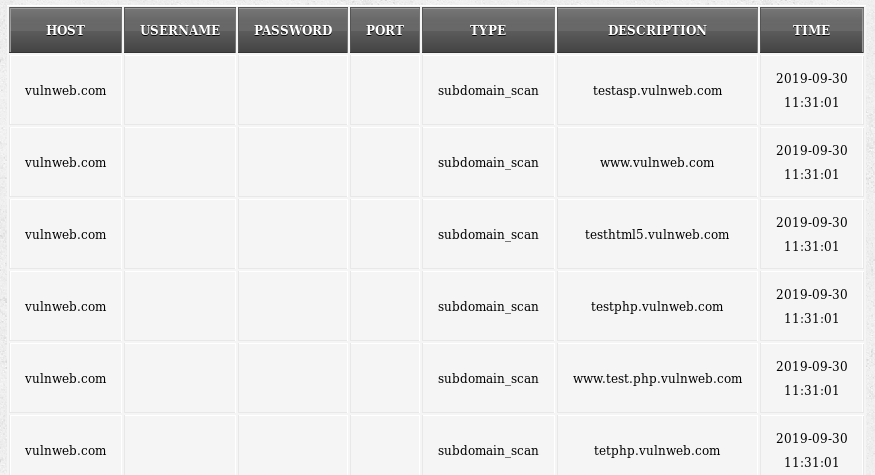
Subdomain Discovery Example: The following command scans all the available subdomains linked with the target host.
python nettacker.py -i vulnweb.com -m subdomain_scan -g 20-100 -t 10
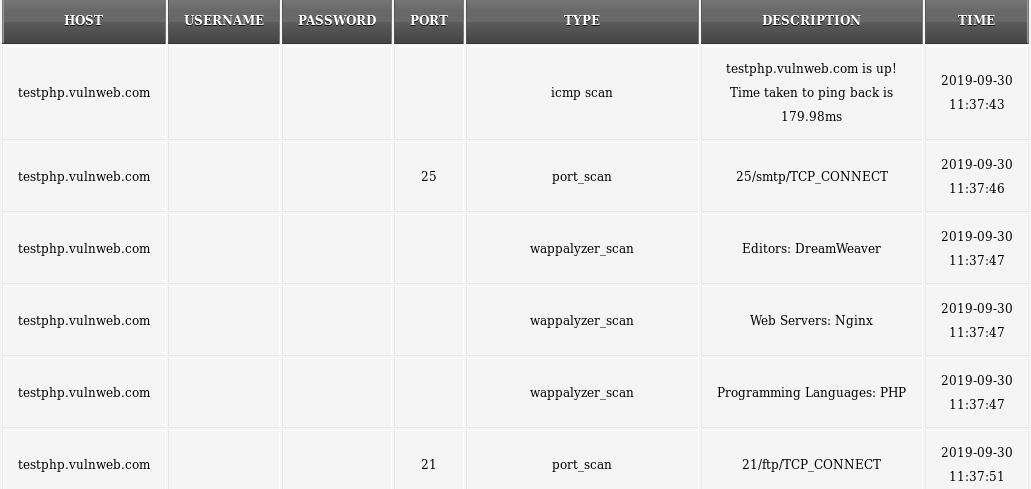
All in One Scanning Option: OWASP Nettacker has the option of running all the scanning modules in a single command.
python nettacker.py -i testphp.vulnweb.com -m all -t 10 -M 35 -g 20-100 --graph d3_tree_v2_graph
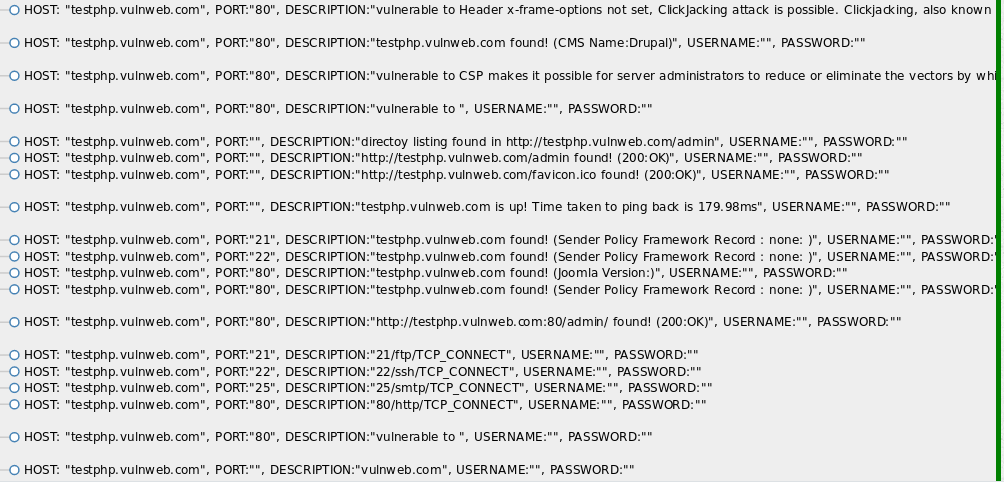
The above command runs all the available modules on the target host (testphp.vulnweb.com) to gather host information and list all the vulnerabilities discovered by the tool.
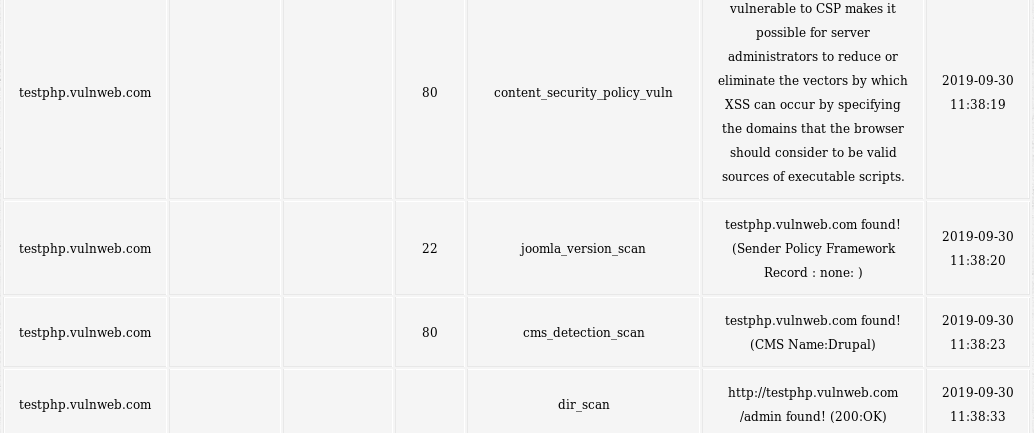
Information Gathering Screenshot
Vulnerabilities Assessment Screenshot
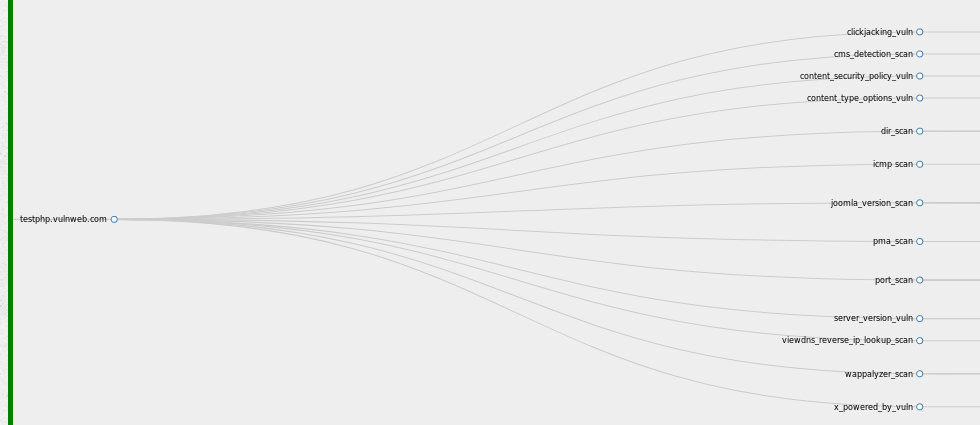
The results are also displayed in a 3d graph format as shown below.
Summary
OWASP Nettacker is a decent penetration testing tool with some exciting features like graphical representation of results and generation of penetration testing reports. By the way, OWASP also has a great vulnerable web application called OWASP Juice Shop you should check out as well.