

The entire internet infrastructure is based on different sets of rules called protocols. These protocols determine internet communication and activities, such as the connection between computing devices, data transmission, information retrieval, etc. One such protocol is the Simple Mail Transfer Protocol (SMTP). In layman’s terms, the SMTP is the protocol responsible for sending, receiving, and/or relaying email messages. The protocol is based on a message-to-message delivery mechanism. The operation is performed through an SMTP server which can be a dedicated computer or an application installed on the host machines.
How SMTP Works?
When we send an email, the SMTP server routes the email content to the SMTP server at the receiving end. The receiving server downloads the email to the mailbox of the recipient. The operation is performed by the following agents.
Mail User Agent (MUA)
The MUA is responsible for composing the email. An email has two sections namely the header and the body. The header part contains information about the sender and recipient email addresses and email subject. The body contains the email content to be delivered to the recipients.
Mail Transfer Agent (MTA)
The MTA transfers the email to the intended email address. An email address comprises two parts i-e username and the domain name. For example, in sender@hackingloops.com, the sender is the username and hackingloop.com is the domain name. If the recipient’s domain name is different than the sender domain, the MTA looks for the IP address of the target domain name through the MX record (Domain Name System). After finding the target domain name, the email message is relayed by the MTA. The submitted email is received by the mail exchange server and transferred to the Mail Delivery Agent (MDA). The MDA stores the email which can be accessed by the recipient.
How to Configure SMTP Server in Kali Linux?
As mentioned above, sending an email through SMTP requires MUA and MTA. In Linux operating system, we need an MUA client to compose the email messages. The email composed by the MUA is carried by the MTA to hand over to the desired MDA (user mailbox).
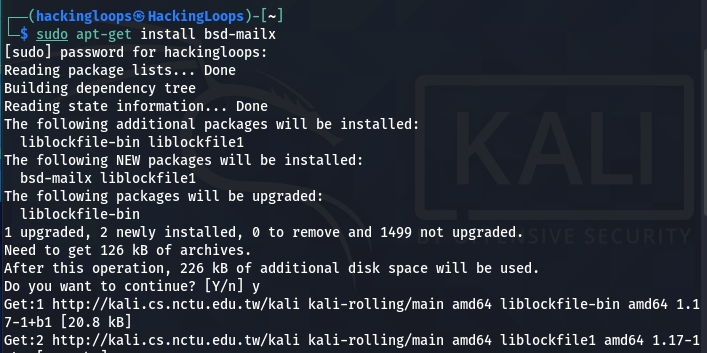
MUA Software Installation: In Kali Linux, we can use mailx or mutt as the MUA client. The mailx can be installed using the following simple command.
sudo apt-get install bsd-mailx
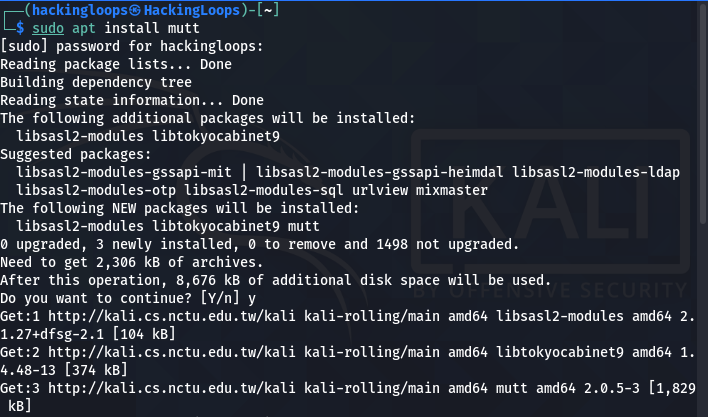
The mutt is another MUA client option that can be installed using the following command.
sudo apt-get install mutt
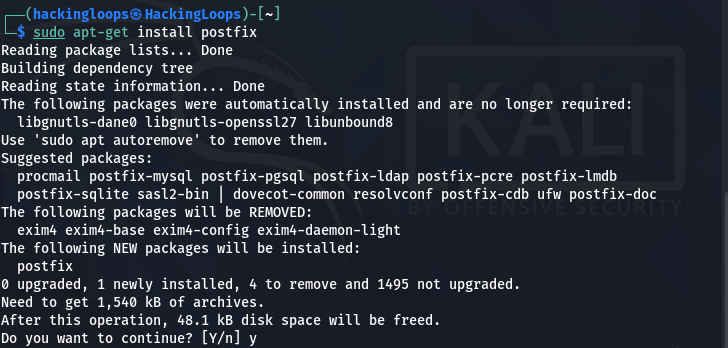
MTA Software Installation: The Postfix and Exim are two famous applications that can be used as MTA software. In this article, we shall cover the Postfix installation and its configuration with Gmail SMTP.
Postfix Installation & Configuration
The Kali Linux users can install the Postfix application using the following command.
sudo apt-get install postfix
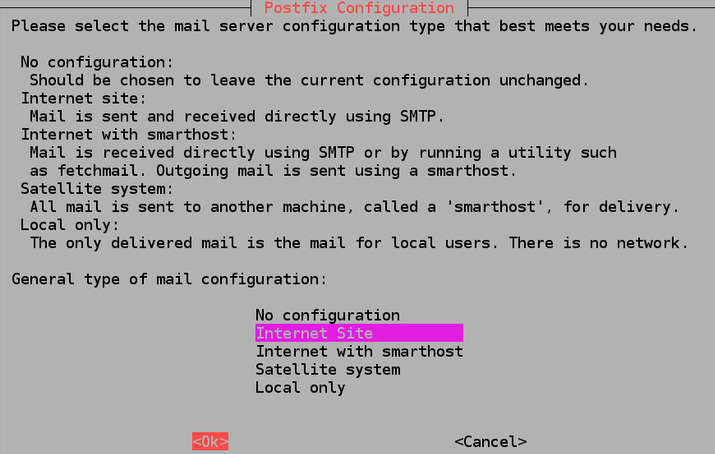
After installing the Postfix packages, a window pops up showing the following configuration options.
No configuration
Internet Site
Internet with smarthost
Satellite system
Local only
We can select the No configuration option if we want to keep the default Postfix settings. The Internet site allows us to send and receive emails using SMTP. Therefore, we select the second option as shown in the following screenshot.
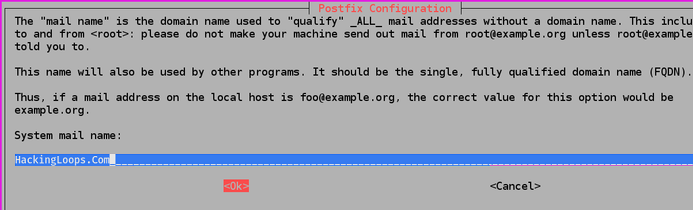
In the next step, the system asks for the mail name which should be a complete domain name to be used as the hostname. In our case, it is hackingloops.com.
The above step completes the Postfix installation process. The next step is to configure the Postfix with Gmail SMTP by editing the Postfix’s main configuration file. The configuration file can be accessed using the following command.
sudo nano /etc/postfix/main.cf
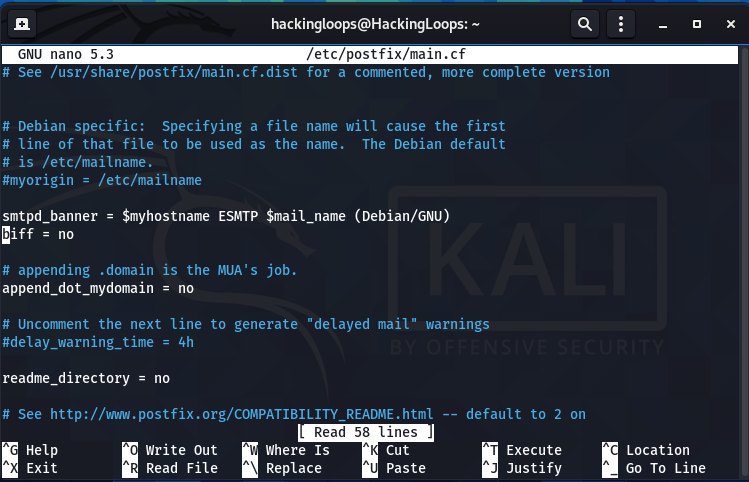
Scroll down to the end of the configuration file to modify the following options
mydestination The mydestination determines the domains used by the Postfix for the incoming emails. We can set the mydestination parameters using the following format.
mydestination = localhost.myhostname.com, , localhost
relayhost
relayhost is the Gmail SMTP server that communicates on port 587.
relayhost = [smtp.gmail.com]:587
mynetworks
mynetwors determines which servers can relay through the Postfix server. This option should only contain the local IP addresses to avoid the misuse of the Postfix server by the external malicious servers.
inet_interfaces
The inet_interfaces defines which network interface can receive the emails. In the default settings, the inet_interfaces allows all the network interfaces to receive the incoming mails. We can modify the default settings with loopback-only option to receive the emails on only loopback network interfaces.
inet_protocols
The inet_protcols specifies the IP version supported by the server. We can set this option to IPV4.
home_mailbox
We also need a mailbox to store the incoming email. A Mail directory (Maildir) can be mentioned in the configuration file in the following format.
Home_mailbox = Mail/
secure authentication
We can make the Postfix communications secure by adding the following code at the end of the main configuration file.
# Enable Simple Authentication Security Layer(SASL) for postfix
smtp_sasl_auth_enable = yes
# Disallow anonymous authentication
smtp_sasl_security_options = noanonymous
# Location of sasl_password
smtp_sasl_password_maps = hash:/etc/postfix/sasl/sasl_passwd
# Enable TLS encryption for SMTP
smtp_tls_security_level = encrypt
# Location of CA certificates for TLS
smtp_tls_CAfile = /etc/ssl/certs/ca-certificates.crt
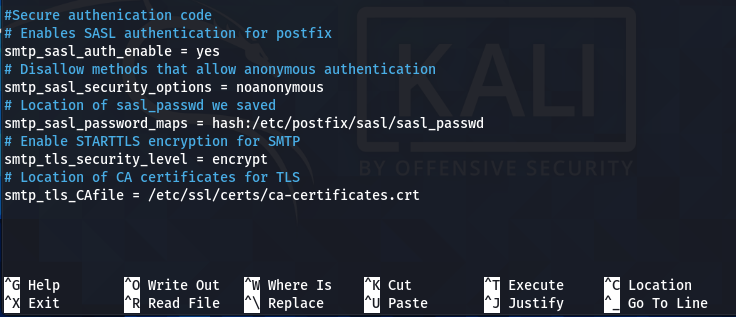
We have defined the SASL location in the above code to save the passwords. The next step is to create a file at the same location using the following command.
sudo nano /etc/postfix/sasl/sasl_passwd
Since we are configuring Postfix for Gmail, enter the Gmail credentials in the following format.
[smtp.gmail.com]:587 gmail-address:password

Convert the above file into a database file using the postmap command.
sudo postmap /etc/postfix/sasl/sasl_passwd

Delete the original sasl_passwd file after creating the database file. We can also restrict the database file to the root users only by running the following commands.
chown root:root /etc/postfix/sasl/sasl_passwd.db
chmod 600 /etc/postfix/sasl/sasl_passwd.db

How to Launch Postfix SMTP?
After configuring the Postfix, the next step is to start the server using the following command.
sudo postfix start

The following command verifies that the Postfix is running on the machine.
sudo postfix status

Sending Email Using Postfix Gmail SMTP
We can now compose and send the email using the preferred email client. The following screenshot shows the content of a test email sent to a Gmail account.

The email landed in the Gmail mailbox successfully.

Conclusion
Configuring an SMTP server on Kali Linux is important in many ways. There are different tools including the Metasploit framework that requires an SMTP server to send the payload to the target user. Configuring the Postfix with Gmail SMTP makes email handling easier and reliable. The majority of the Postfix emails relayed through Gmail SMTP land in the user mailbox instead of the spam folder.