
Introduction to Kali Linux
Kali Linux is a Debian-based Linux distribution designed for penetration testing, forensics and security auditing. It comes pre-installed with hundreds of security tools and is maintained by Offensive Security. In this tutorial, we’ll guide you through installing Kali Linux on Windows using VirtualBox, allowing you to run it safely in a virtual environment and a comprehensive kali Linux tutorial later.
Phase 1: Virtual Environment Setup
Step 1: Download VirtualBox
VirtualBox is a free, open-source virtualization software that allows you to run multiple operating systems on a single machine.
Visit the VirtualBox website virtualbox.org
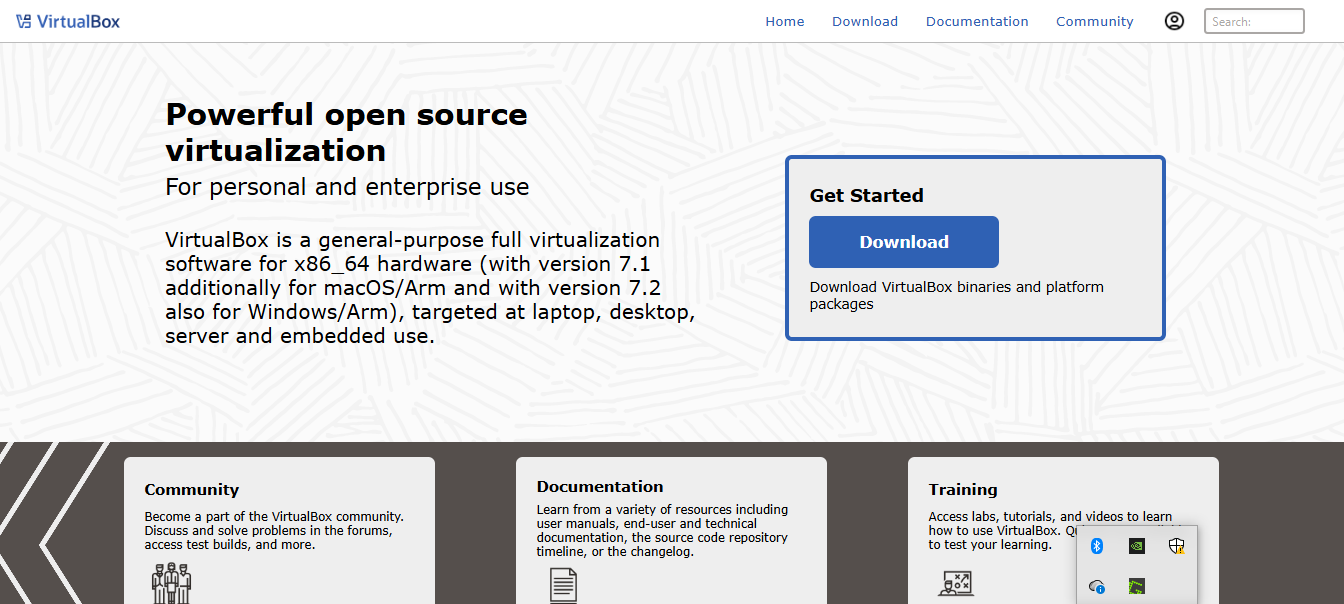
Click on “Downloads”
Click on “Windows hosts”
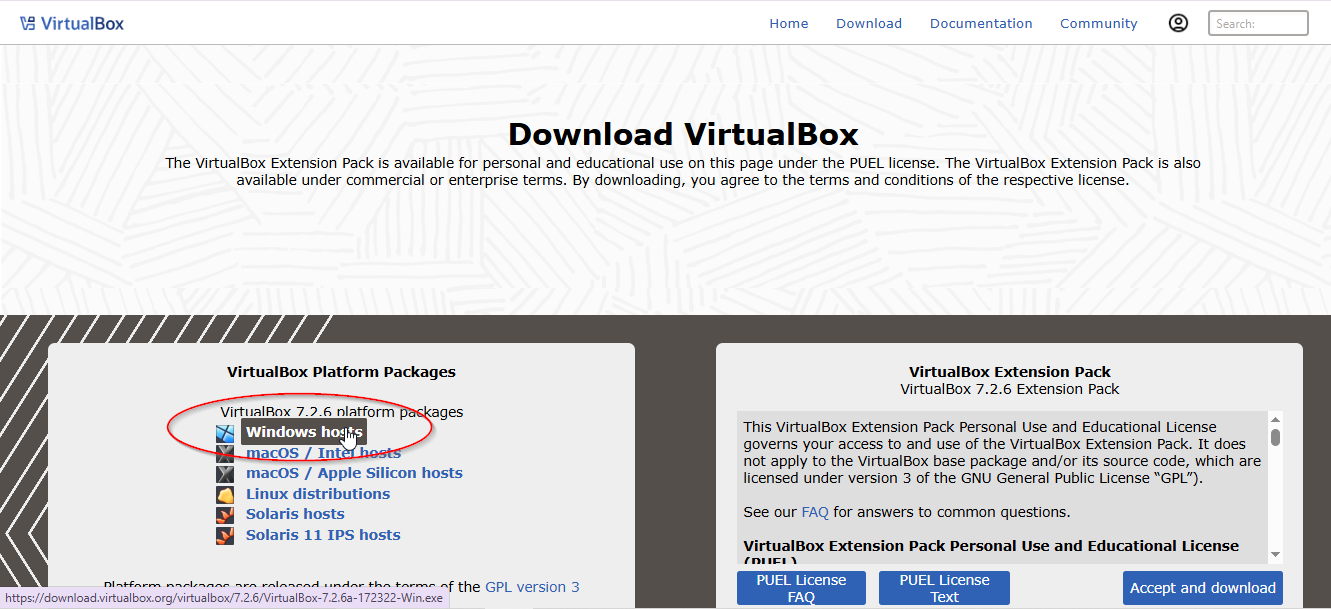
Download the installer. The download should automatically begin. Save the file to a location you can easily access
Step 2: Install VirtualBox
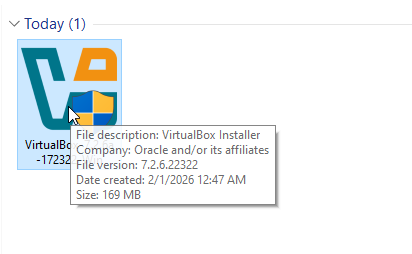
- Run the installer:
- Navigate to your Downloads folder
- Double-click on the VirtualBox installer
- Follow the installation wizard:
- Click “Next” on the welcome screen
- Choose your installation location (default is recommended)
- Select the components to install (keep all defaults)
- Click “Install” and wait for the process to complete
- Click “Finish” when installation completes
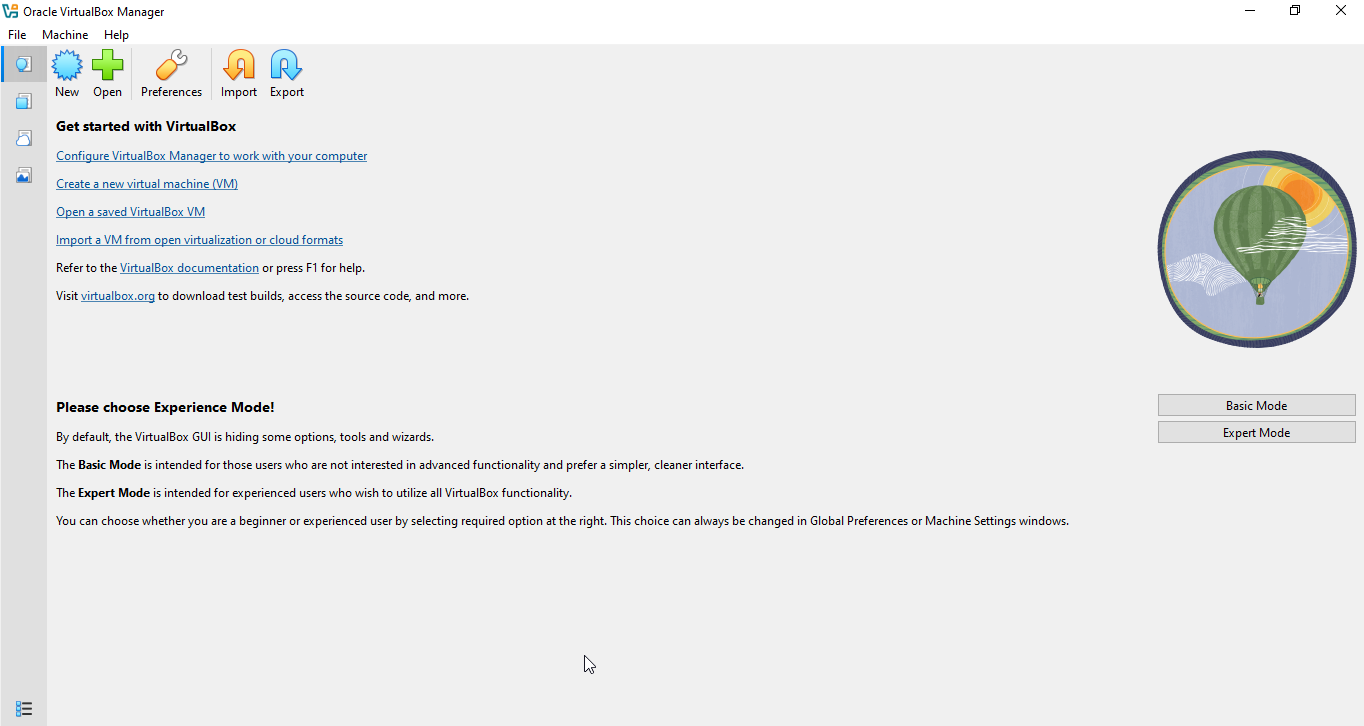
- VirtualBox should launch automatically
Step 3: Download Kali Linux ISO
Visit the official Kali Linux download page:
- Go to kali.org/get-kali
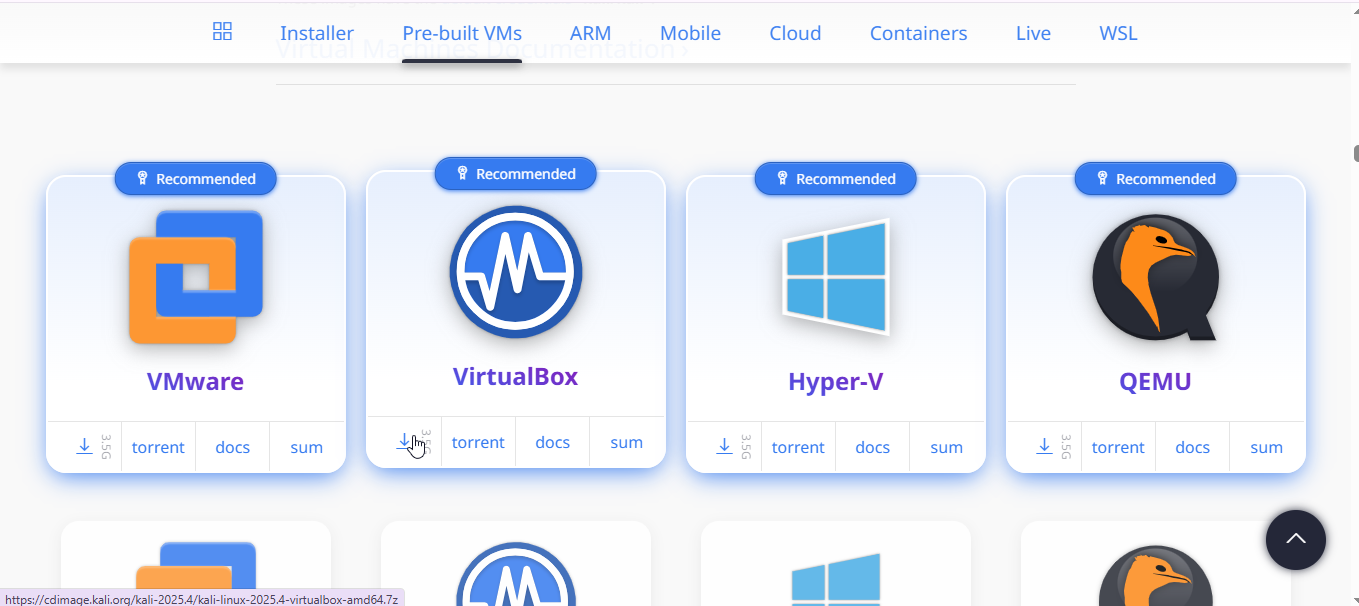
Choose the right version:
- Select “Virtual Machines”
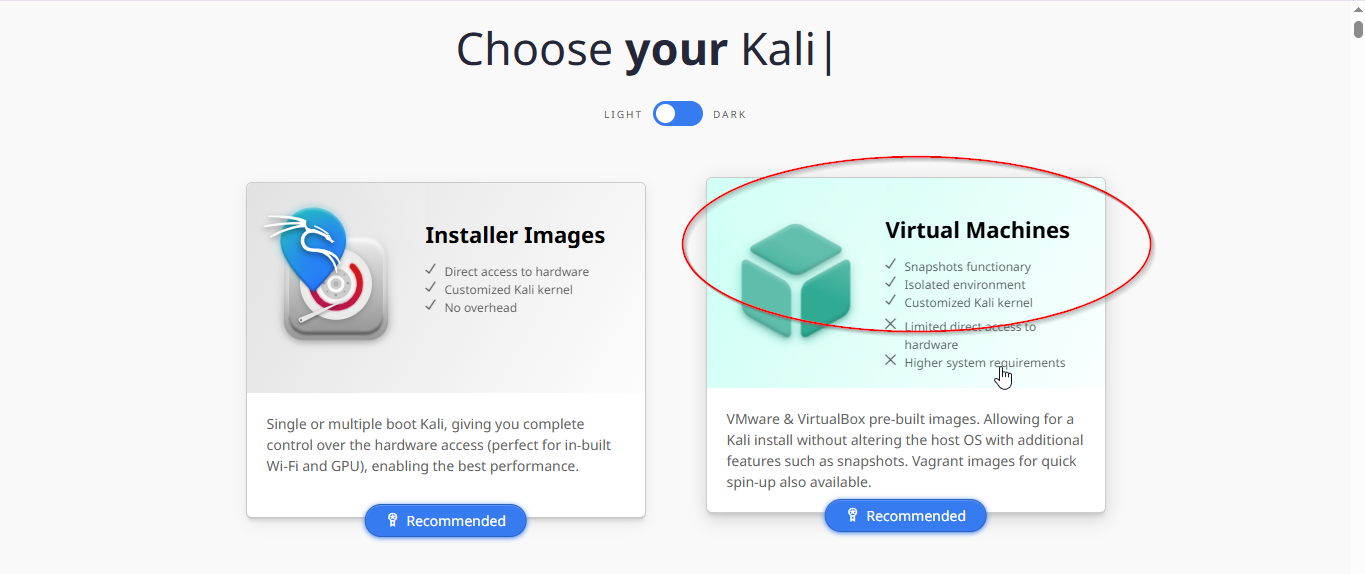
- Click on “VirtualBox” to download the pre-built VirtualBox image
Step 4: Set Up Kali Linux Virtual Machine
Extract the downloaded file:
- The VirtualBox image comes in a compressed format (usually .7z or .zip)
- Use software like 7-Zip or WinRAR to extract it
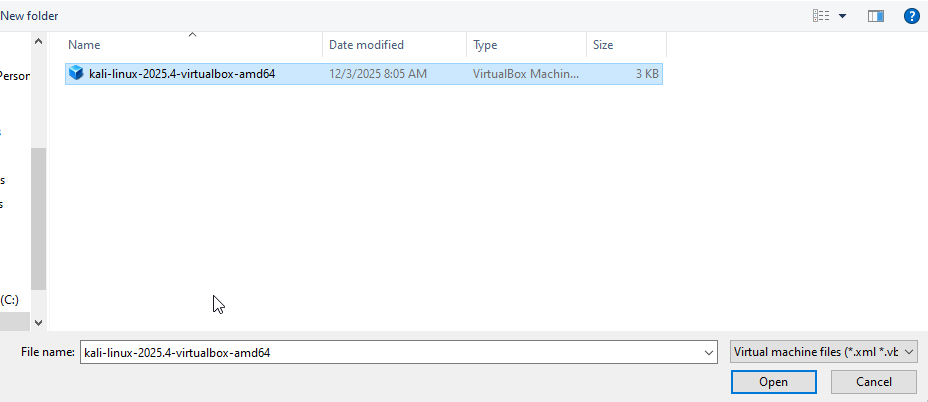
Import the appliance:
- Open VirtualBox
- Click Open
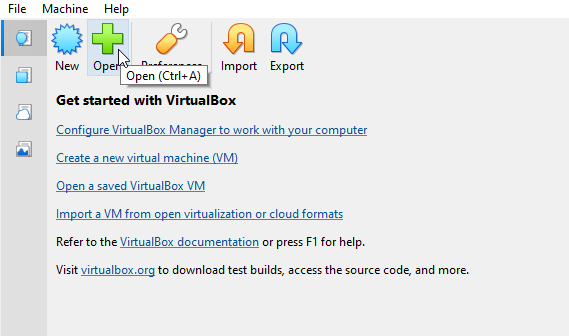
- Find the extracted folder and select the virtual disk image file
- Click “Open”
- Configure import settings:
- Review the default settings (they are usually optimal for Kali)
- You can adjust RAM and CPU allocation if needed

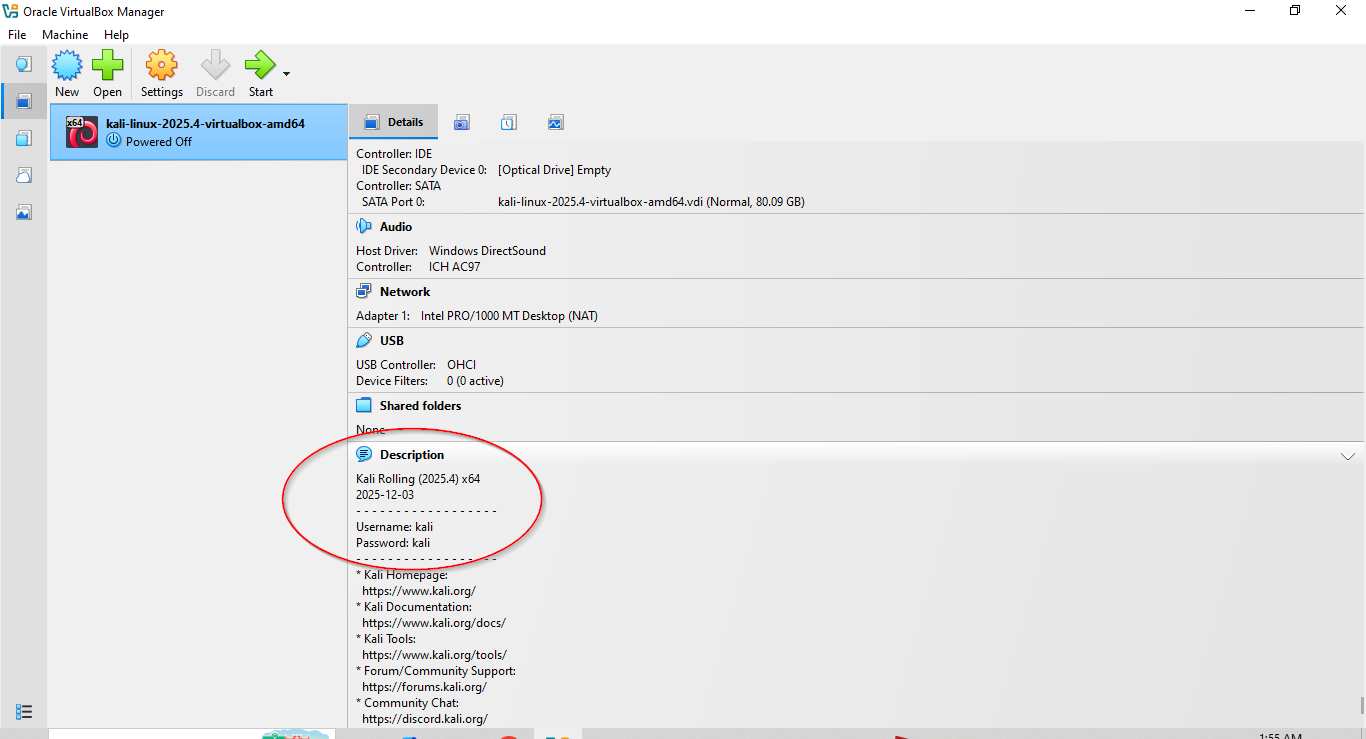
- In the description section, you will also see default credentials to log in to kali
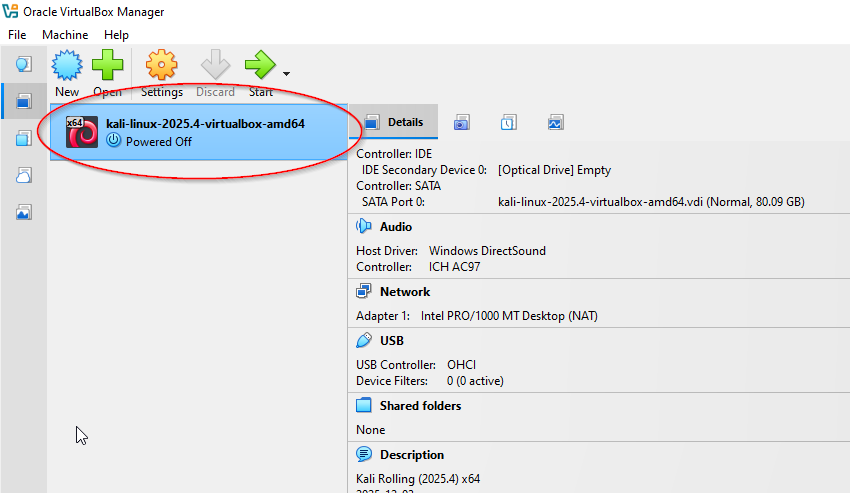
- Now Click on below button to start the machine
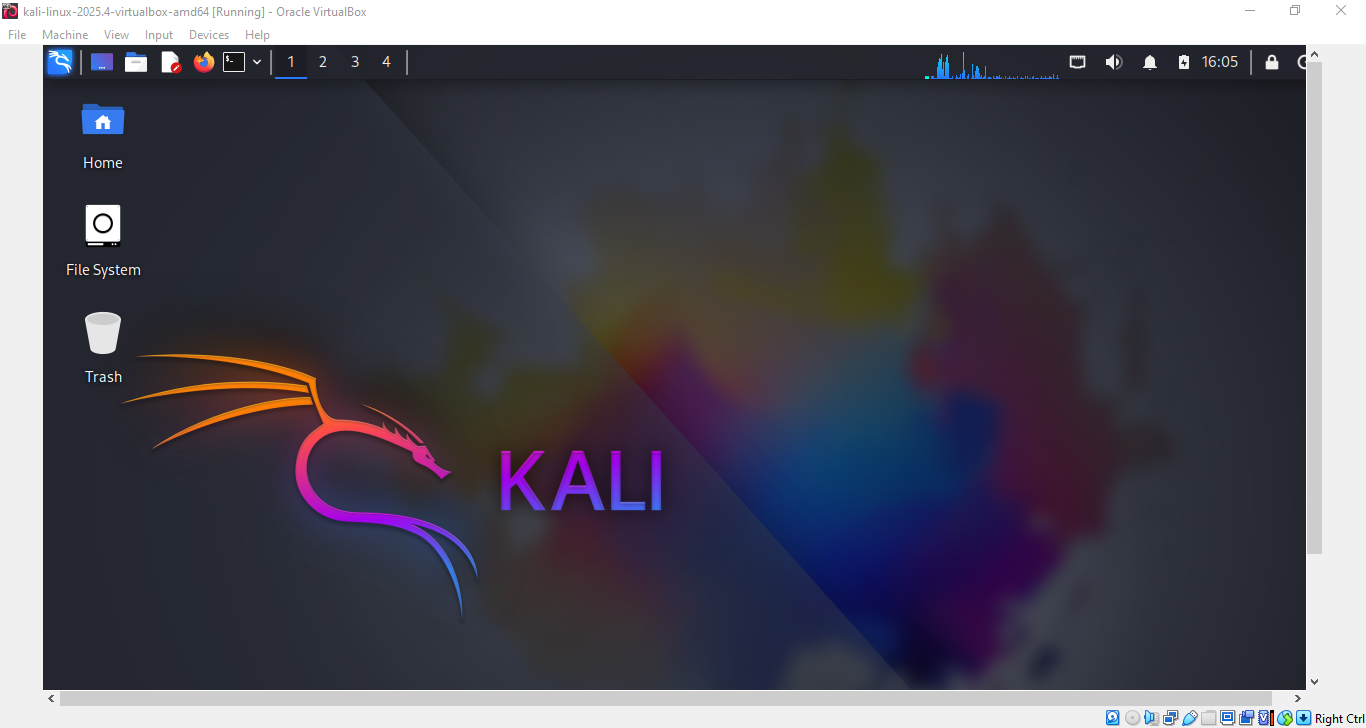
- And here is the login screen

- And we are ready to rock n roll into our Kali Linux Tutorial about understanding Kali next
Phase 2: Understanding Kali Linux
Section 1: Introduction to Kali Linux
What is Kali Linux?
As described earlier, Kali Linux is a Linux distribution designed specifically for digital forensics, penetration testing, and security auditing. Think of Kali Linux as a security toolkit rather than a general-purpose operating system. Unlike standard Linux distributions focused on daily computing, Kali is purpose-built with one primary objective: to provide security professionals with all the tools they need in a single, cohesive platform. Kali follows several core principles that define its approach
- Starts with root privileges because most tools require them
- Comprehensive Tool Collection
- Free and Open Source
Who Uses Kali Linux?
Kali serves a diverse range of professionals across multiple sectors:
Penetration testers use Kali to:
- Conduct vulnerability assessments
- Perform network penetration tests
- Test web application security
Security Operations Center (SOC) teams use Kali for:
- Incident response and investigation
- Malware analysis
- Forensic analysis of compromised systems
- Network traffic analysis
- Security monitoring and alert validation
Academics and independent researchers utilize Kali to:
- Discover new vulnerabilities (zero-days)
- Test security theories and methodologies
- Develop and test new security tools
Common Misconceptions About Kali Linux
Many people hold incorrect beliefs about Kali Linux, often shaped by how it’s portrayed in the media or misunderstood by beginners. Let’s clarify four of the most common ones:
- “Kali Linux is for hacking anything”. In reality, Kali is a professional toolkit designed exclusively for authorized security testing.
- “Kali users are all hackers.” The truth is that the vast majority of Kali users are security professionals, students, and researchers.
- “Kali makes you an instant security expert.” While it provides a powerful arsenal of tools, true expertise comes from understanding the principles behind them.
- “Kali is only for penetration testing,”. Although penetration testing is its flagship use, Kali is equally valuable for digital forensics, incident response, and security research.
Section 2: Navigating the Kali Linux Desktop Environment
Kali uses the XFCE desktop environment, which is lightweight, customizable, and perfect for security work. When you first log in, you’ll see a clean desktop with several key elements you should know.
Key Desktop Elements Explained
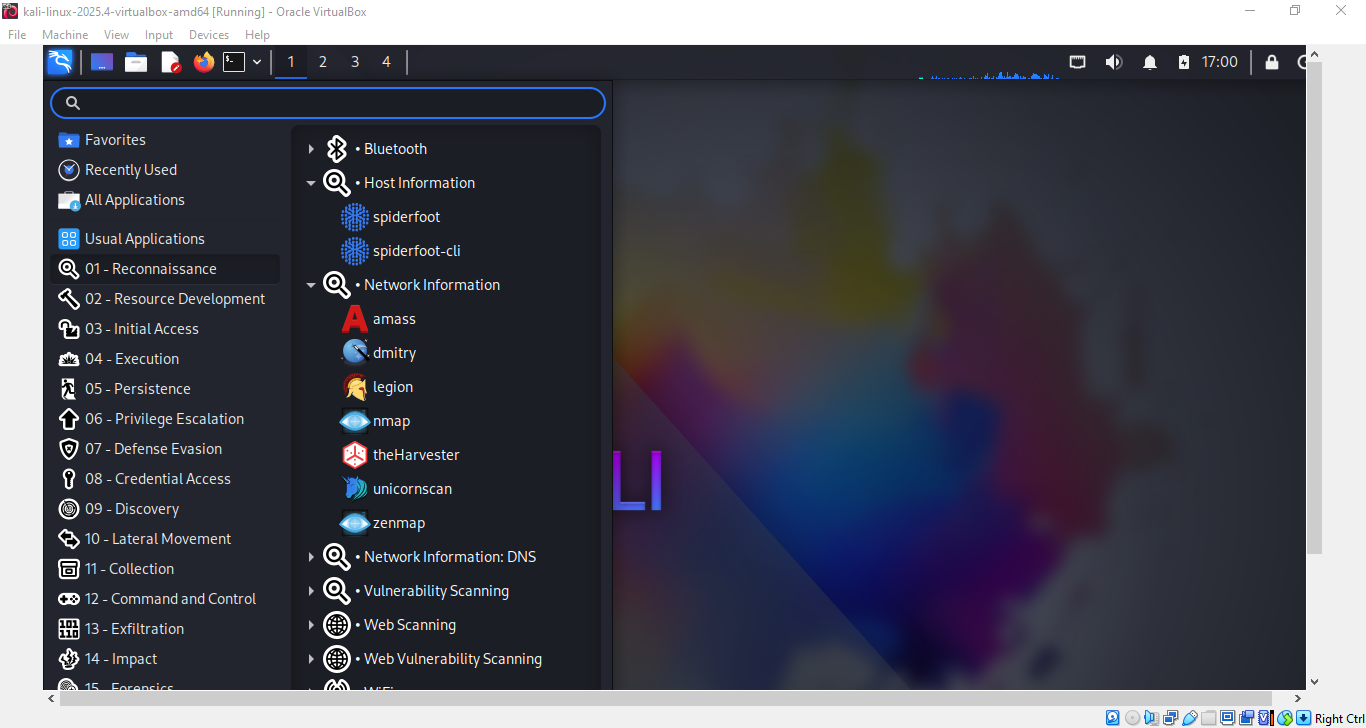
Application Menu (Top-left corner)
This is your main gateway to all tools. Click here to access the categorized menu containing all Kali Linux applications, system settings, and utilities. Security tools are neatly organized into groups like “Reconnaissance” “Resource Development” and “Privilege Escalation.”
Quick Launch Icons (Top panel)
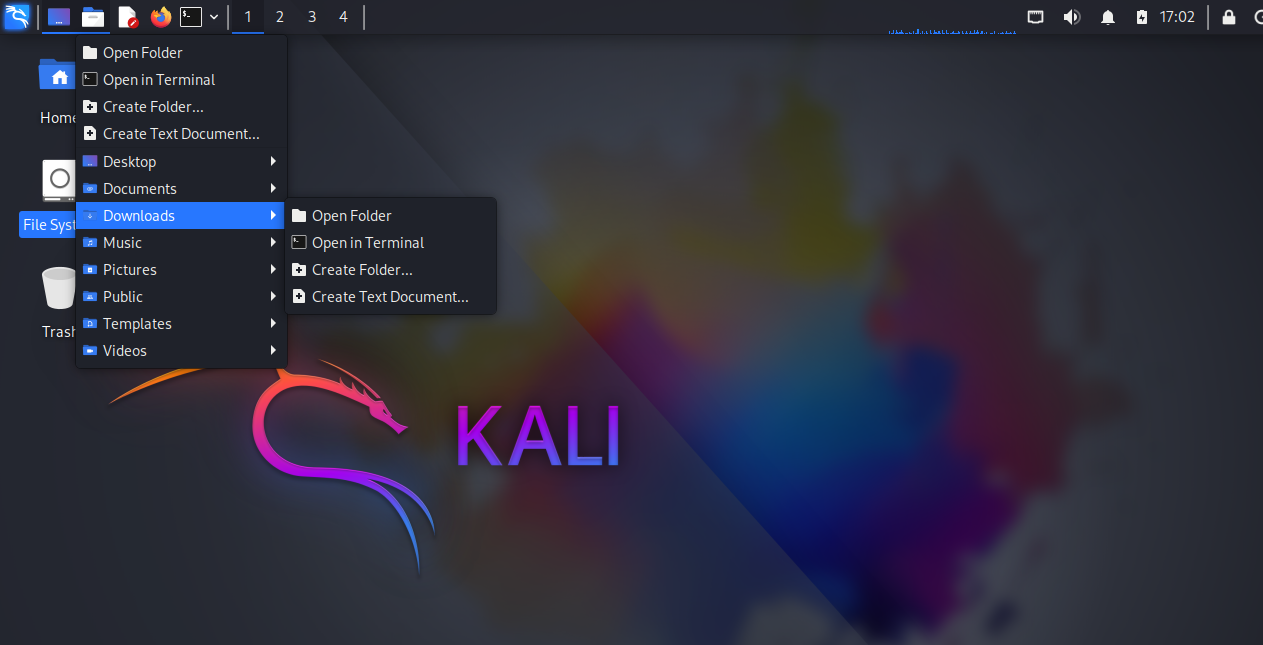
- File Manager: Opens your file browser for navigating and managing system files and directories
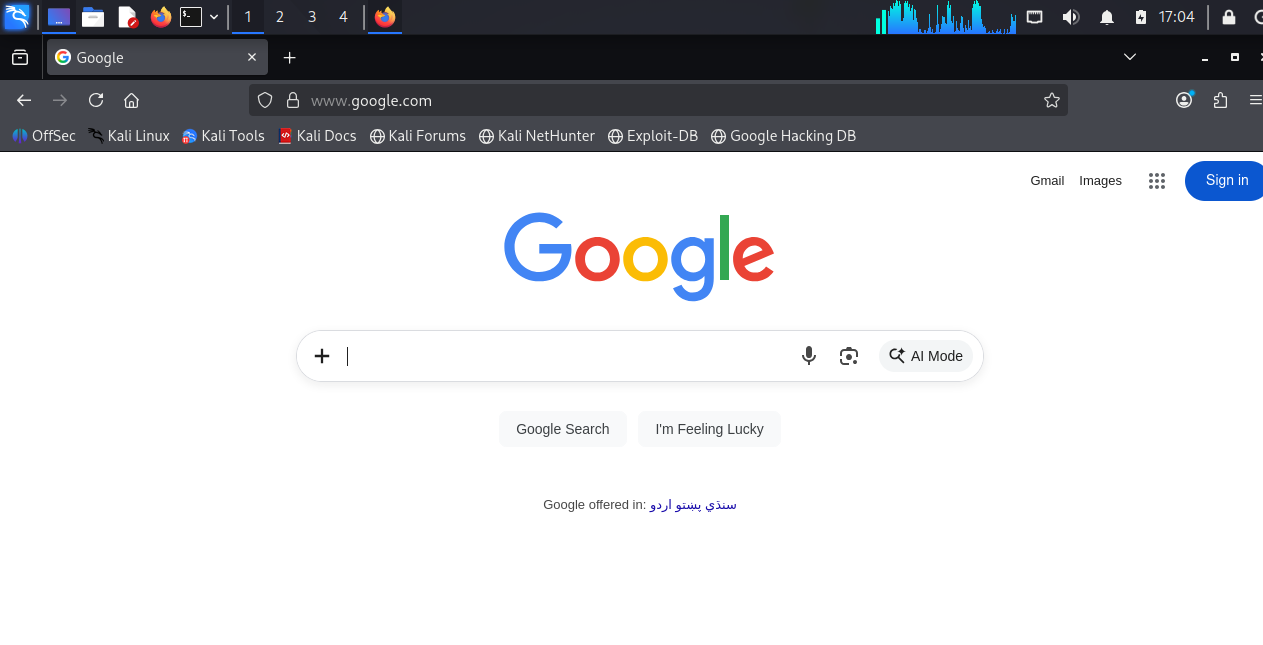
- Web Browser: Launches Firefox, the default web browser with security testing extensions pre-installed
- Terminal: Starts the command-line interface—your most frequently used tool for running security commands

System Tray Area (Top-right corner)
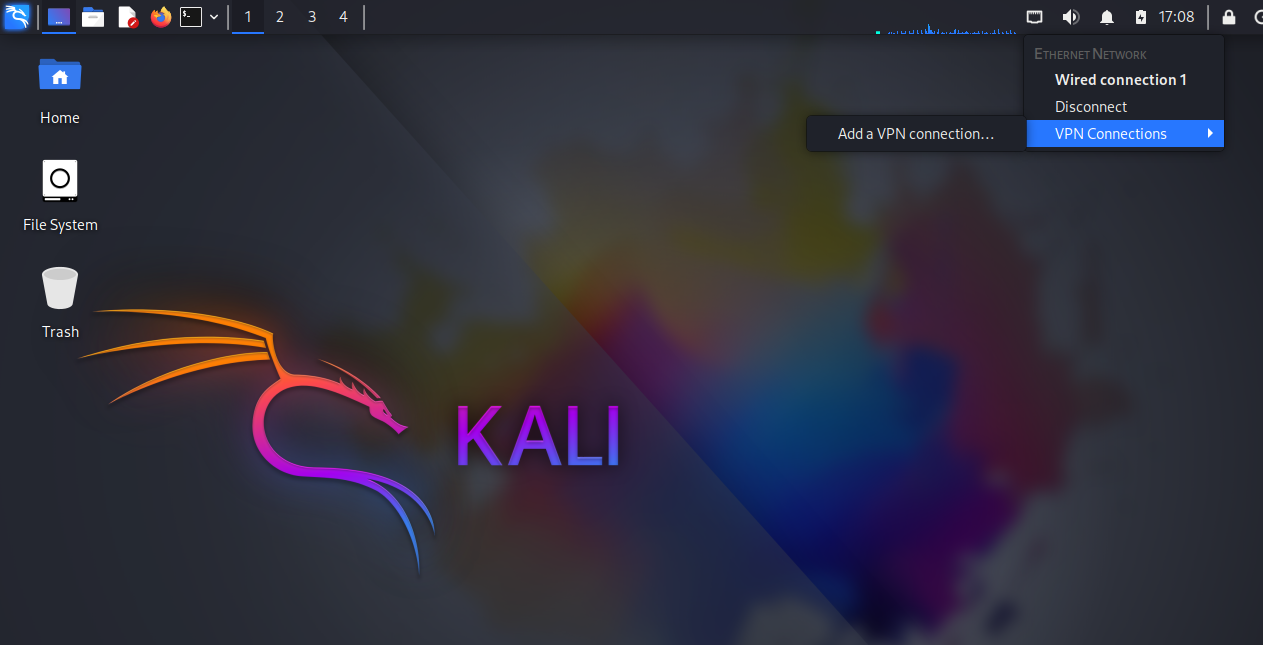
- Network Status: Shows your current connection and lets you manage Wi-Fi, Ethernet, or VPN connections
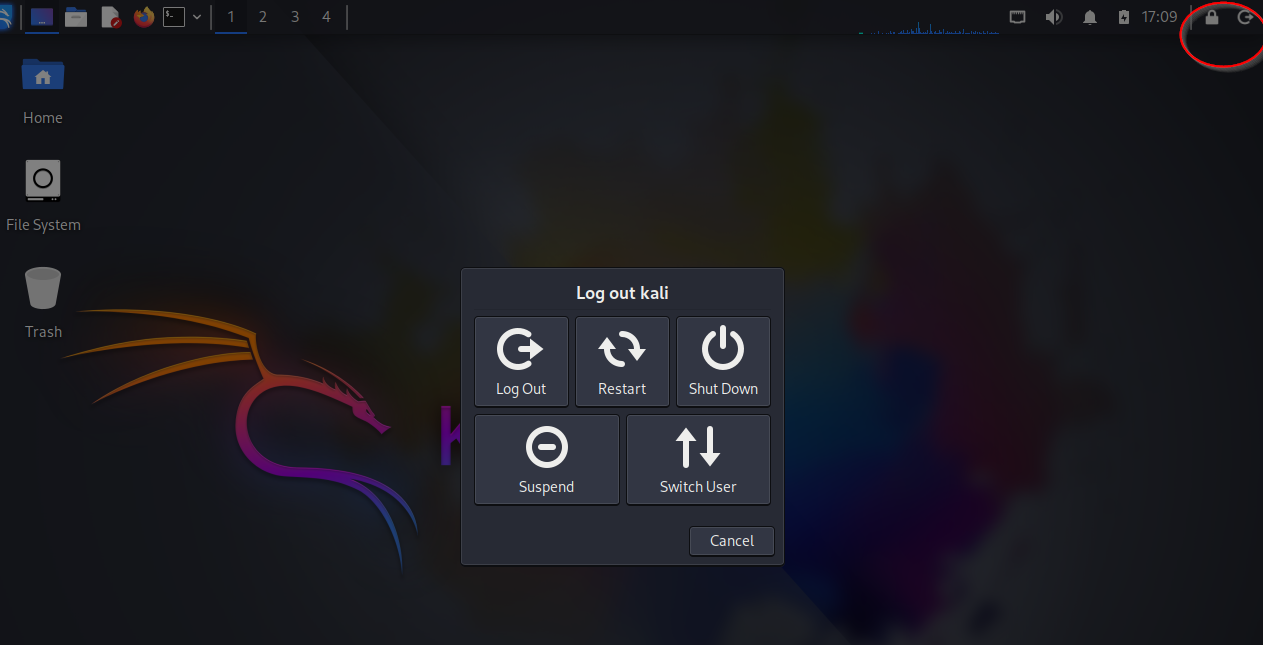
- System Options: Click here to access power options like lock screen, logout, restart, or shutdown
Section 4: Important First Few Tasks: Configure Your Kali Linux With Best Practices
Before you start exploring, it’s crucial to update your Kali installation. Updates include security patches, new tool versions, and bug fixes.
Open a terminal (click the terminal icon) and run these commands in order:
- Refresh the package list

- Upgrade the installed packages – this will be time taking depending upon your internet connection bandwidth
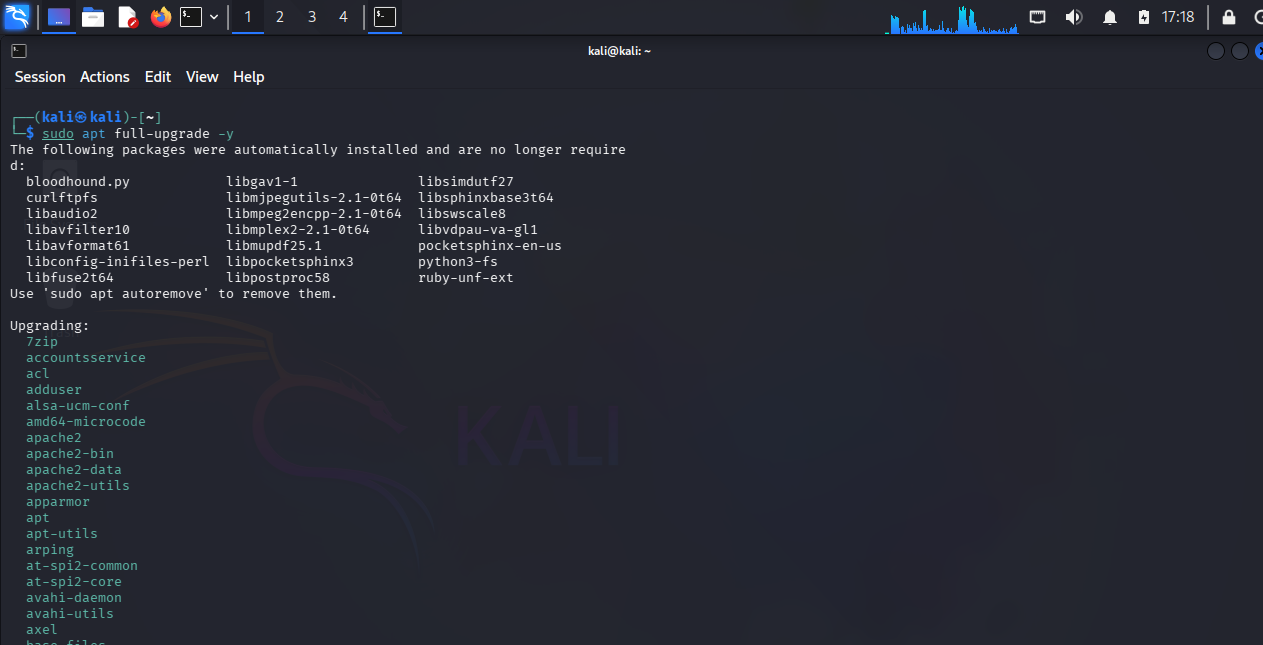
- To upgrade Kali Kernel and firmware
-
sudo apt dist-upgrade -y
-
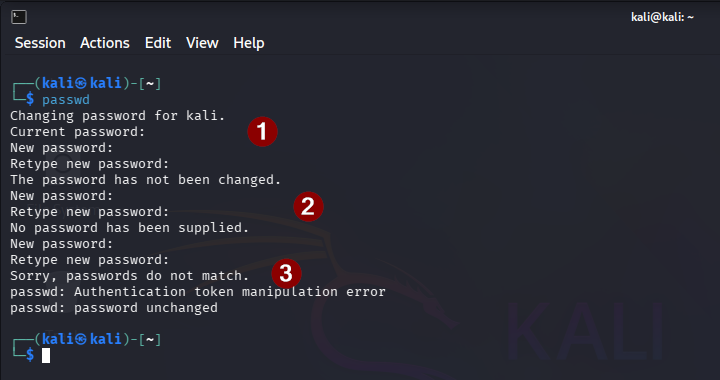
The next step should be to change the default password which was just “kali” when we created this VM. To change the password, we use “passwd” command in the terminal. If you check below output
- The first output is when you don’t change the passwords i.e. you use same old password
- The second output is when you do not provide any password and simply keep pressing enter
- The third output is when you provide different passwords in both fields
Section 3: System Management Basics – Understanding systemd
Before diving into security tools, it’s important to understand how Linux services are managed. Kali Linux, like most modern Linux distributions, uses systemd as its init system and service manager.
What is systemd?
systemd is the background process that starts and manages all other processes on your system.It starts services at boot, manages dependencies between services, handles logging, and controls system states.
Why systemd Matters in Kali
Many security tools run as services in the background. For example:
- SSH server for remote access
- Apache web server for hosting tools or testing environments
- Database services for certain applications
- Network monitoring services
Knowing how to control these services is essential for effective security work.
Using systemctl – The Control Command
systemctl is your main tool for interacting with systemd. Here are the essential commands:
Example 1: Managing the SSH Service
Let’s say you want to use SSH to access your Kali machine remotely then
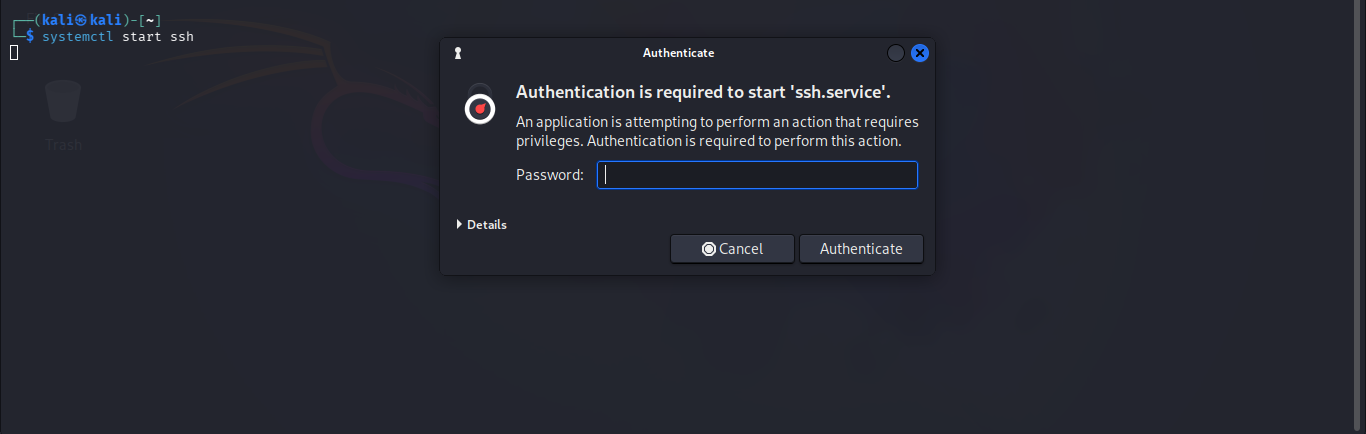
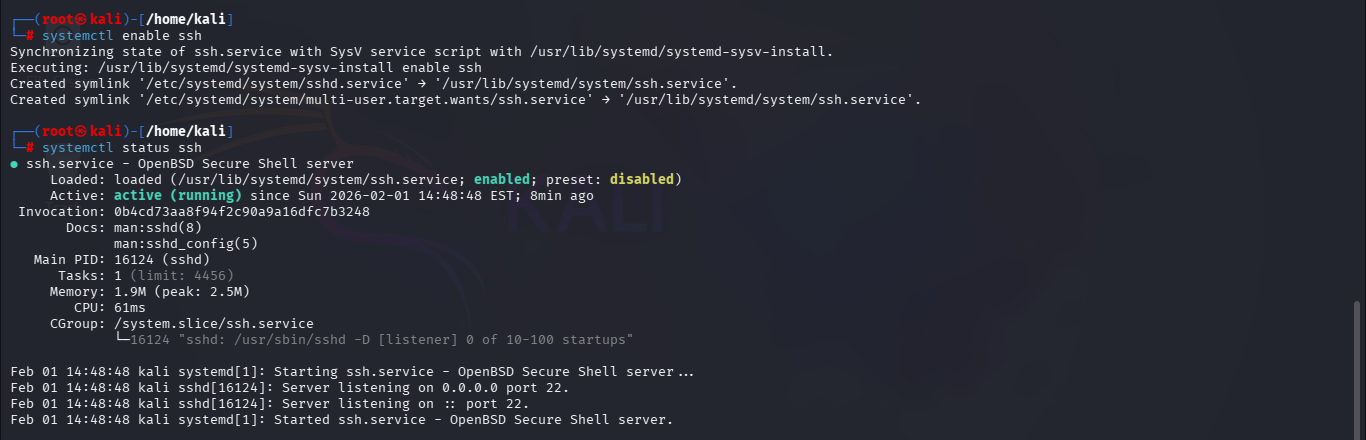
- First check if ssh is enabled

- Then run below to start ssh service that requires the password.
- Then if we check the status again, we can see that its enabled and running now
- Similarly we can run below commands to stop/restart systemd services
- systemctl stop ssh
- systemctl restart ssh
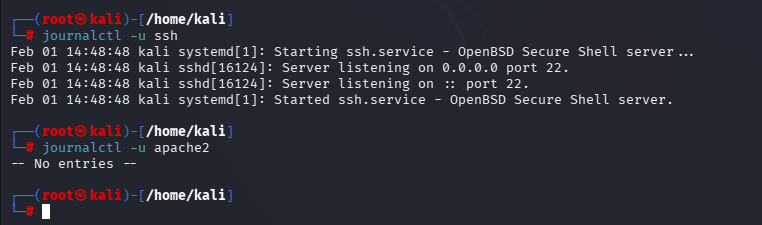
Using journalctl – The Log Viewer
journalctl reads systemd’s centralized logging system. This is crucial for troubleshooting when services don’t work properly.
Investigating Service Issues
If a service like ssh fails to start, you can use journalctl command to read the logs. Lets say we recently enabled ssh then lets read about its logs a bit. Below output shows if there is no service with the provided name, you get different message than logs.
Helpful journalctl options:
- -n 50 – Show last 50 log entries
- –since “2024-01-15 14:30:00” – Show logs from specific time
- –no-pager – Output without using a page
Section 4: Introduction to Built-in Tools
Now let’s explore one of Kali’s most important built-in tools i.e. Wireshark. This is a network protocol analyzer, which means it lets you see what’s happening on your network. Think of it as a “listening device” for network traffic.
What is Wireshark Used For?
Security professionals use Wireshark to:
-
Troubleshoot network problems
-
Analyze security issues
-
Learn how network protocols work
-
Investigate suspicious network activity
Starting Wireshark
There are two main ways to start Wireshark:
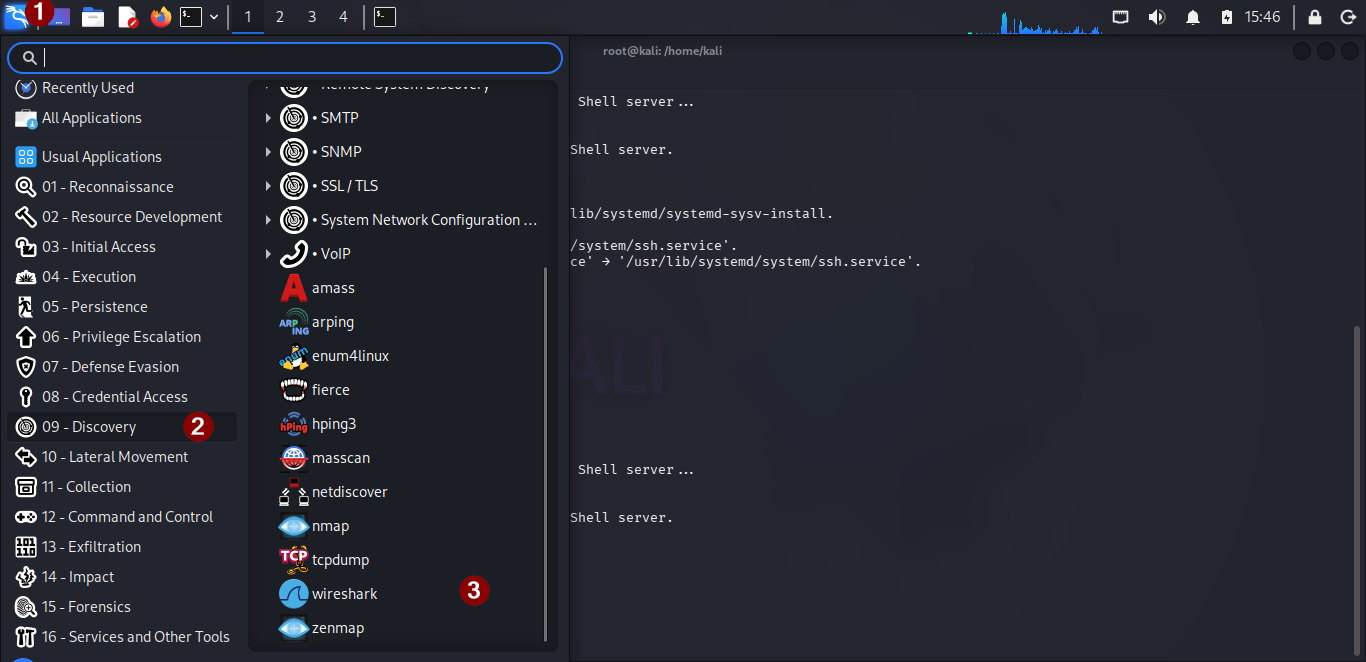
Method 1: From the Desktop Menu
-
Click the Application Menu (top-left)
-
Go to Discovery
-
Click Wireshark
Method 2: From Terminal
Open a terminal and type “wireshark”
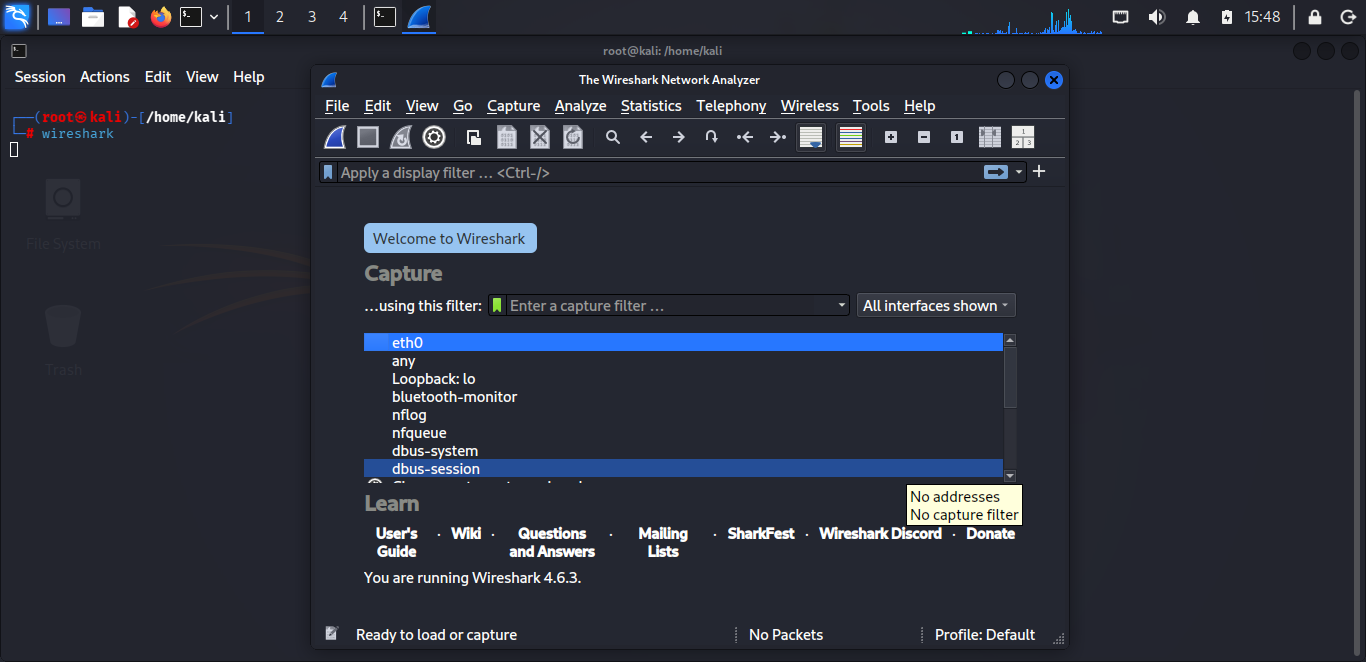
First Look at Wireshark
When Wireshark opens, you’ll see:
Capture Section (top part)
- Lists all your network interfaces (like Wi-Fi, Ethernet)
- Shows green icons if they’re active
- You’ll see names like eth0, wlan0, or any
Capture Filters (just below)
- A box where you can type what traffic to capture
- You can leave this empty to capture everything
Capturing Your First Network Traffic
Step 1: Choose an interface
-
If you’re using Wi-Fi, click on wlan0
-
If using Ethernet, click on eth0
-
For VirtualBox, you might see something like enp0s3
For this exercise, we will select “any”
Step 2: Start capturing
-
Click the blue shark fin icon at the top left
-
Or double-click your chosen interface
Step 3: Generate some traffic
While Wireshark is running:
-
Open a web browser and visit a website e.g. youtube.com
-
This creates network packets that Wireshark can capture

Step 4: Stop capturing
Click the red square button at the top to stop
Understanding What You See
After stopping, you’ll see three main sections:
Packet List (top panel)
- Shows all captured packets in order
- Each line shows: number, time, source, destination, protocol, info


Packet Details (Lower left panel)
- Shows what’s inside a selected packet
- You can expand sections by clicking the arrows
- Shows different layers (Ethernet, IP, TCP, etc.)
Packet Bytes (Lower right panel)
- Shows the raw data in hexadecimal and ASCII
- Useful for advanced analysis

Basic Filtering
You don’t need to look at all the packets. Use filters to see only what you need.
To see only HTTP traffic:
Type http in the filter box (top bar) and press Enter

Filters help you find specific packets quickly. Type these in the filter bar (green area at the top):
- http – Shows only web traffic (HTTP protocol)
- dns – Shows only DNS lookup requests and responses
- ip.addr == 192.168.1.1 – Shows traffic to or from a specific IP address
- tcp.port == 80 – Shows traffic on port 80 (web traffic)
- tcp – Shows only TCP packets (reliable connection-based traffic)
For a more complete list you can view the wireshark cheat sheet.
Section 5: Installing Third-Party Tools in Kali
While Kali comes with hundreds of pre-installed tools, you’ll often need to install additional software. Let’s learn how to add some useful third-party tools to your setup.
Why Install Extra Tools?
Kali includes security-focused tools, but you might need:
- Privilege escalation tools like LinPEAS/WinPEAS
- Code editors for writing scripts or reviewing code
- System monitors to manage resources
- Other utilities that fit your workflow
Before You Start: Update First
Always update before installing new software:
- sudo apt update
- sudo apt upgrade -y
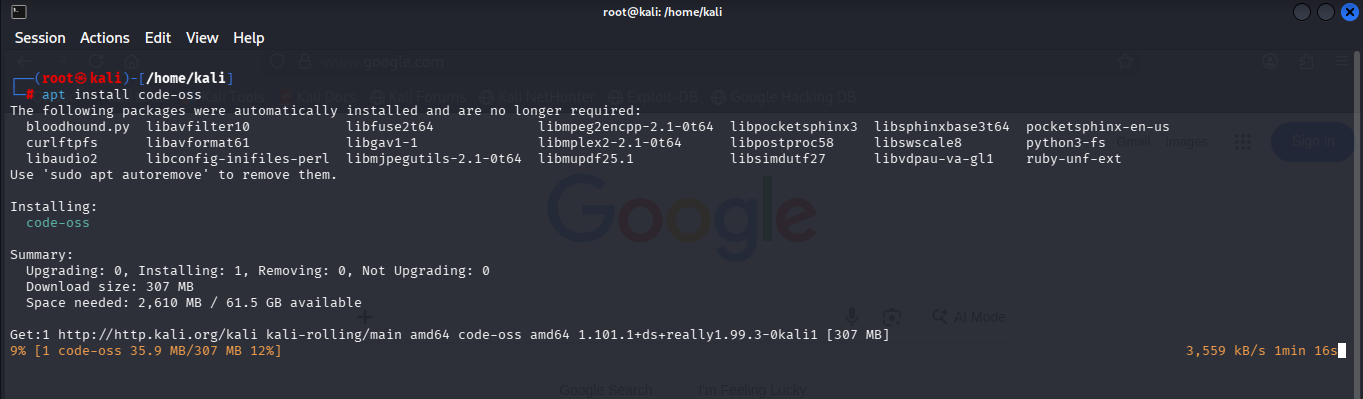
1. Installing Code Editors
code-oss
It is a popular code editor with great extensions for security work.
Installation steps and more here https://www.kali.org/tools/code-oss/
Command to install “sudo apt install code-oss”

2. Installing Privilege Escalation Tools
- LinPEAS is the abbreviation of Linux Privilege Escalation Awesome Script
- LinPEAS automates finding privilege escalation paths on Linux systems
Installation and the steps are in detail here https://www.kali.org/tools/peass-ng/
Command to install “sudo apt install peass”

3. Installing System Monitoring Tools
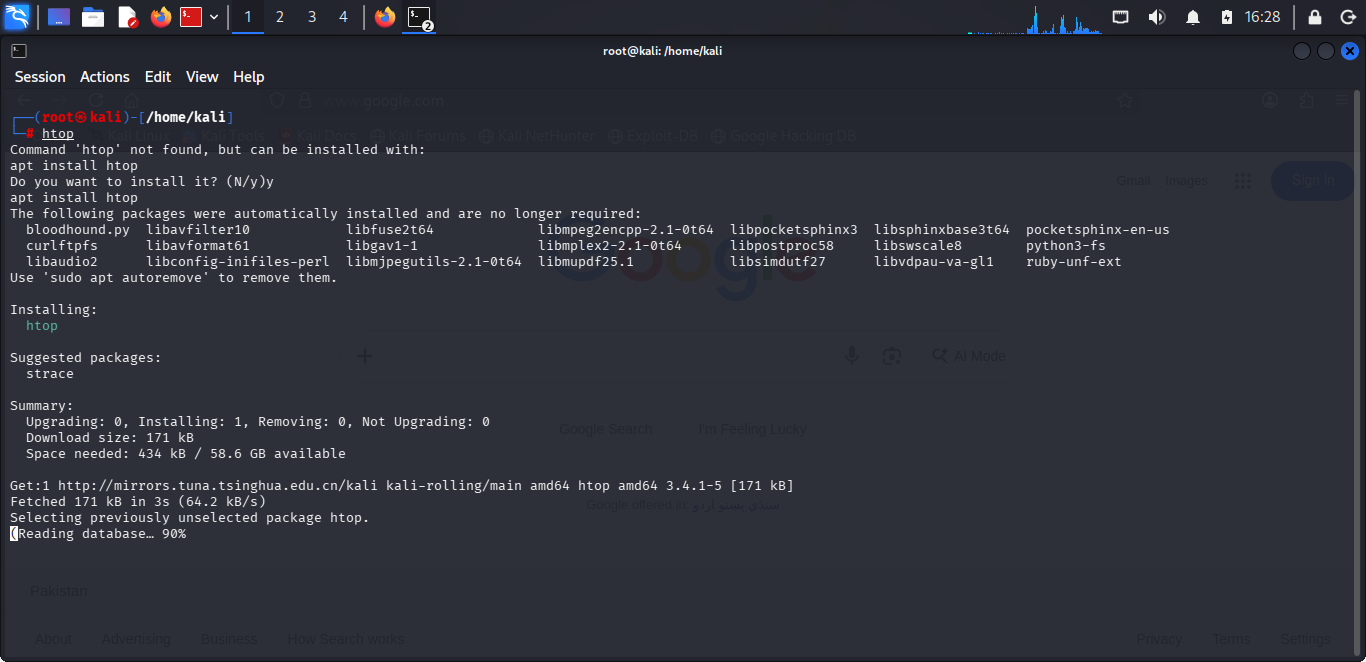
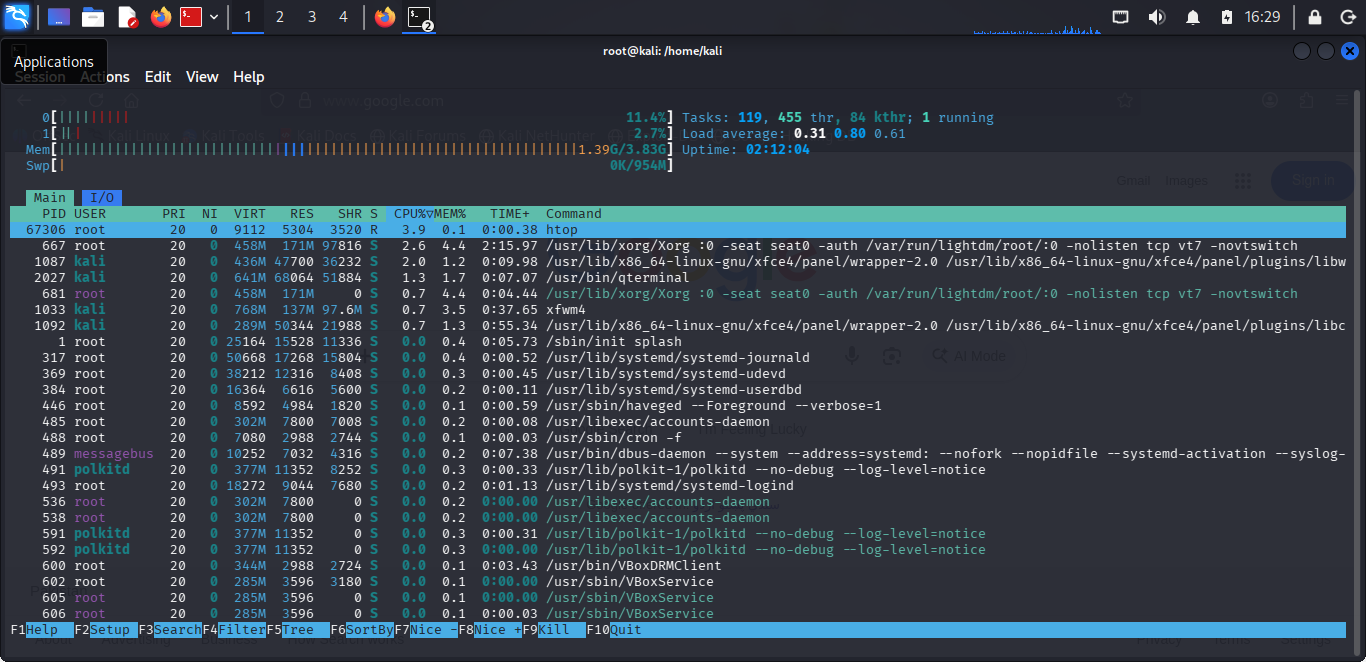
htop is the Interactive Process Viewer which is better than the default top command for monitoring system resources. Just type htop and if your system does not have it, the system will ask to install it.
Section 6: Where to Go Next After This Kali Linux Tutorial – Learning Paths and Advanced Topics
Now that you’re comfortable with Kali basics, here are learning paths to expand your skills. Each area below has specific resources to help you master different aspects of cybersecurity.
Command Line Mastery
Essential terminal skills for efficient security work
- All core linux commands
- Bash Commands Cheat Sheet to get to know terminal tips and automation tricks
Password Security and Cracking
Learning below tools will help in understanding password vulnerabilities and testing methodologies
Web Application Security
Below tools will help in testing websites and web applications for vulnerabilities. Testing them on vulnerable web applications like the Damn Vulnerable Web Application (DVWA) will generate some great vulnerability findings for you to look at.
- OWASP ZAP – Automated web application scanning
- Burp Suite – Professional web app testing features
- Sqlmap – Automated SQL injection testing commands
Network Vulnerability Assessment
To find weaknesses in networks and systems
- Nessus and OpenVAS
- Metasploit Framework
-
All modules and commands
-
Meterpreter Commands: Post-exploitation control
-
- Nmap
Network Traffic Analysis
Intercepting and understanding network communications
- Wireshark – Deep packet analysis
Enterprise Environment Security
Testing Active Directory and corporate networks
- Mimikatz – Extracting Windows credentials and tickets
- BloodHound – Active Directory relationship mapping
- Command and Control (C2) Frameworks
Kali Linux Tutorial Final Thoughts
Remember that learning cybersecurity is a journey, not a destination. Start with the fundamentals, practice regularly in safe environments, and always follow ethical guidelines. Each tool you master makes you more effective at securing systems and understanding digital defenses.
The key to becoming skilled isn’t just knowing tools exist, but understanding when and how to use them responsibly.