In this article, we will go through the Android Pentesting Lab Setup. We will install the tools that will make Android Pentest easier for you.
We will be setting up the following tools:
- Android Studio
- Android Emulator (from Android Studio OR Nox)
- Jadx GUI
- MobSF
- adb (Android Debug Bridge)
- frida
- Burp with Emulator
Android Lab Setup
Installing Android Studio
We must have a way to examine, build, debug, and run the Android application. You will need to install Android Studio IDE, which you can download here. Installation is pretty simple and straightforward and you need to click Next throughout the installation wizard. Once you have installed it, you will see the window as follows

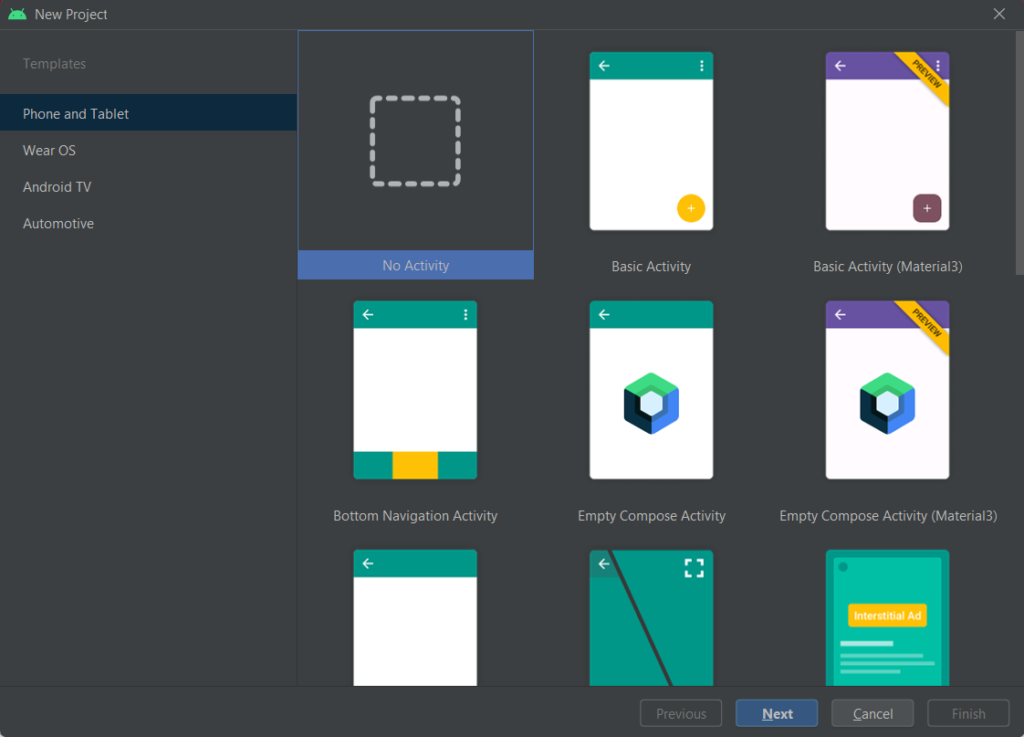
From here, click on New Project and click on No Activity and proceed
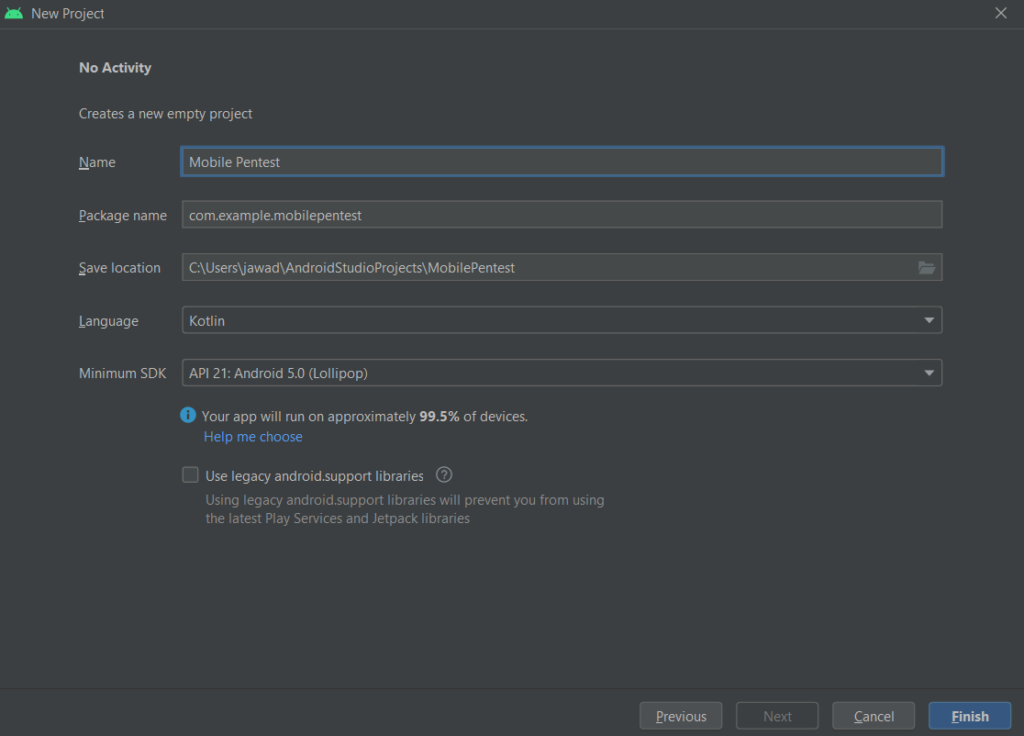
In the next window, you can give any name to your application and leave the rest of the settings to default
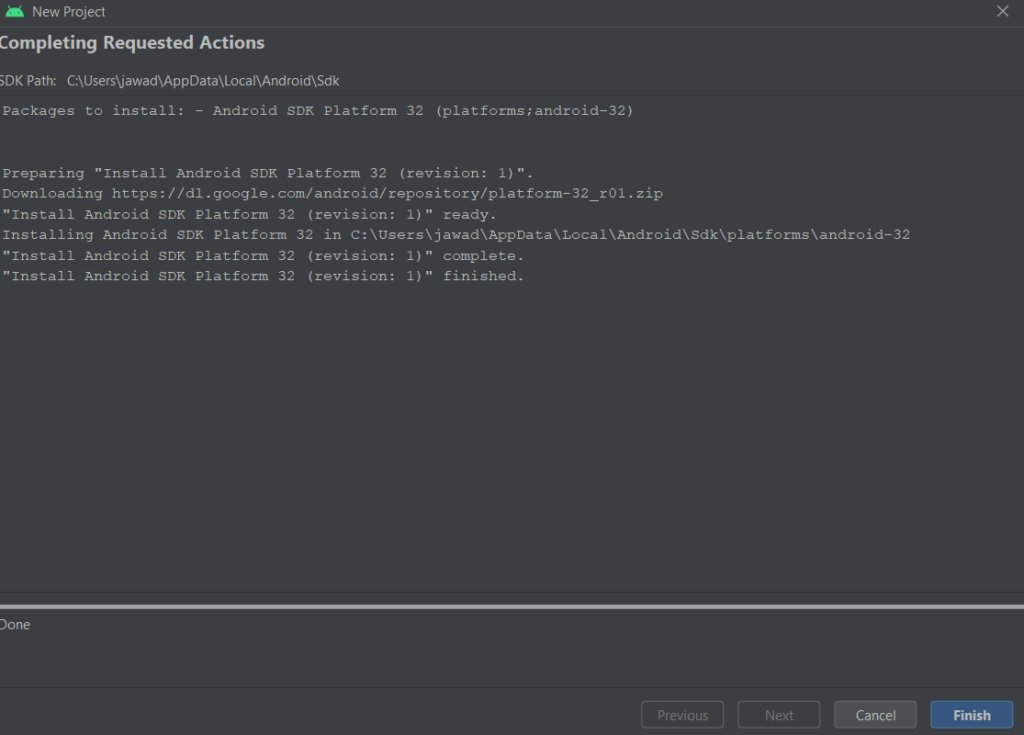
Click Finish and it will set up the project for you. This may take a while. Once everything is set up, you will see a screen as follows
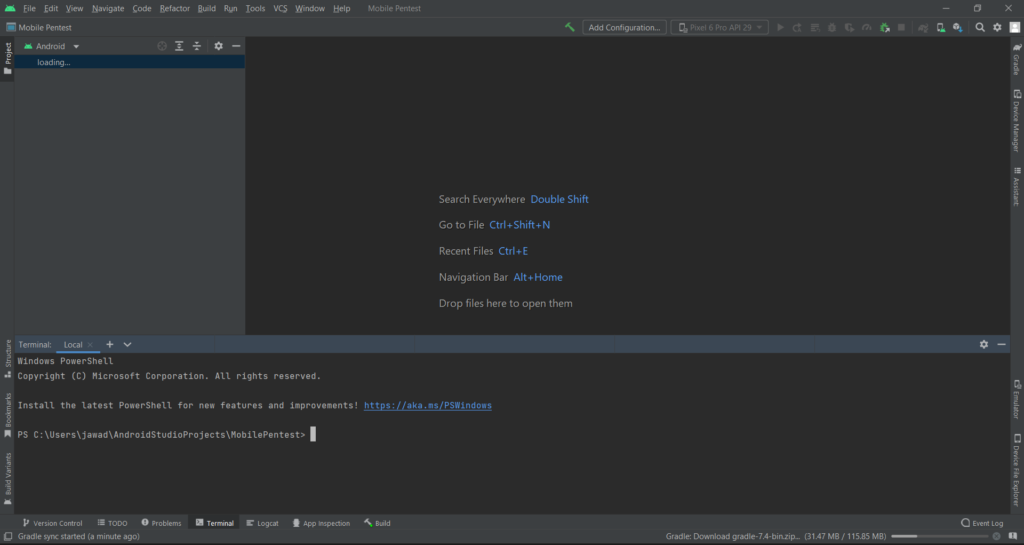
Click on Finish and you will have the project window as below
Android Lab – Emulator Setup
From Android Studio
You can use the physical Android device for testing purposes. But Android Studio gives you the freedom to create multiple Android emulator devices with different OS versions and screen sizes etc. They emulate the functionality of a real device.
The emulators provide you root access to the device while for the physical device, you will have to root the device yourself.
For creating an emulator device, in the top menu bar, navigate to View -> Tool Windows -> Device Manager

Device Manager will open where you can see all the emulators that you create. Click on Create Device and you will see a bunch of options. Choose any device that has PlayStore compatibility
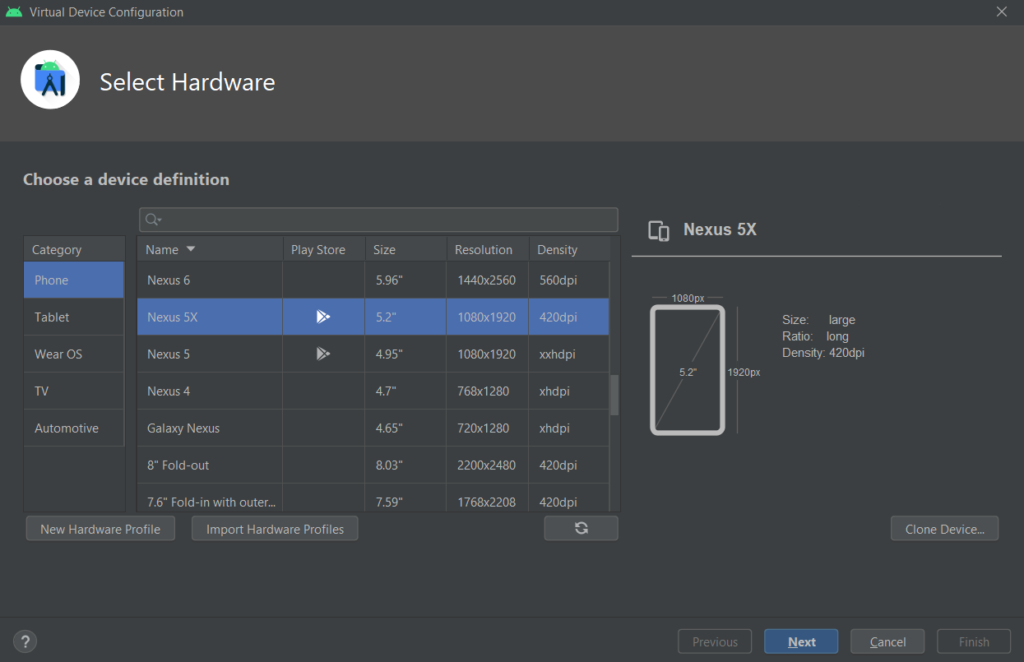
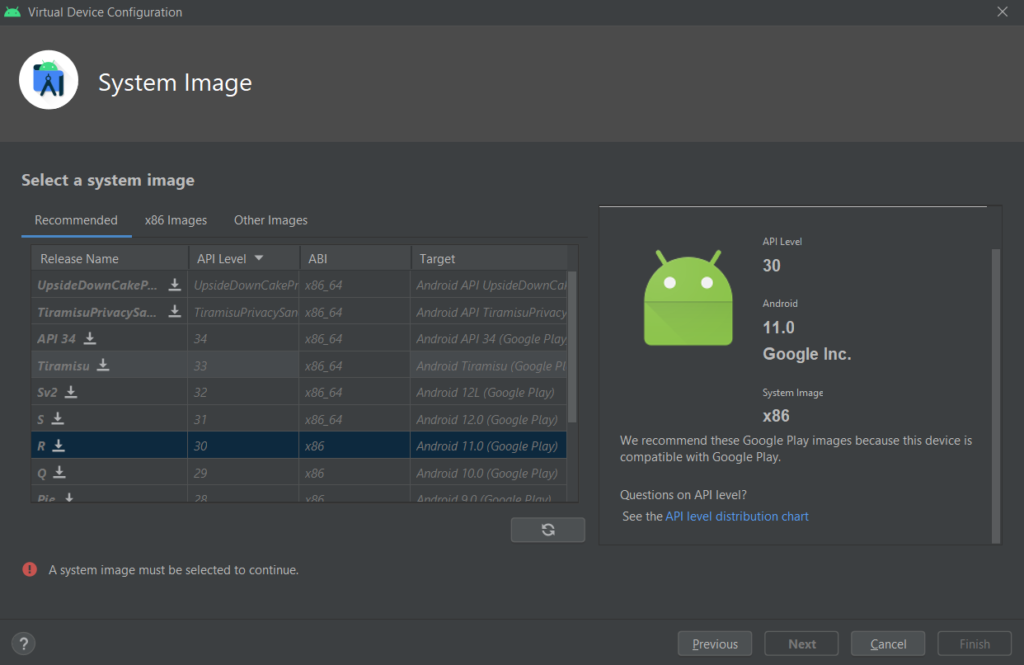
In the next screen, you can set the system image from the recommendations as below
Next, name your project and Finish
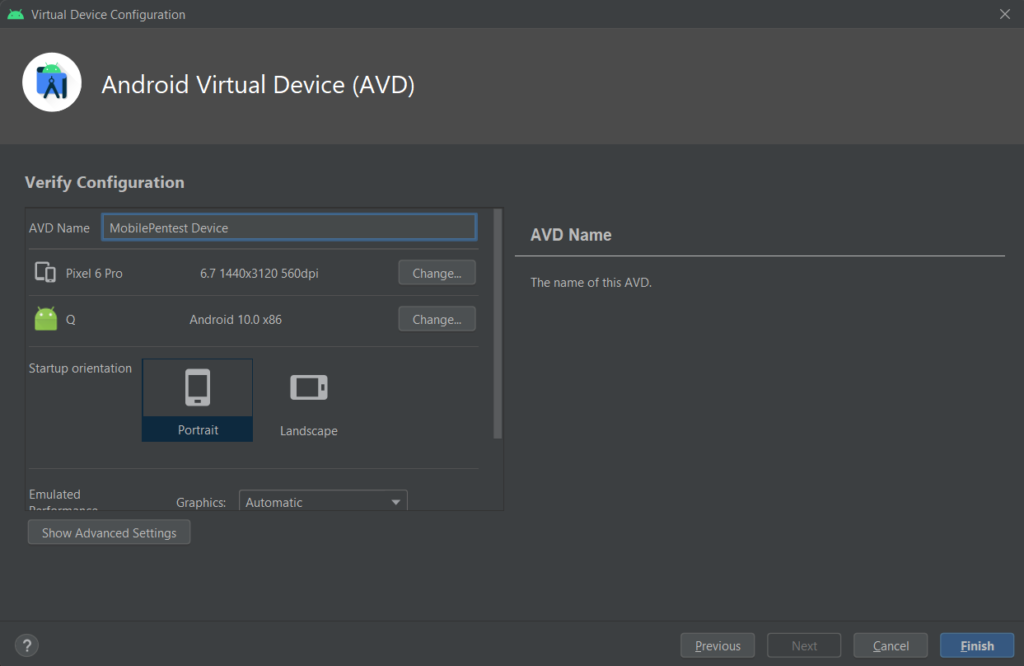
You should be able to see the device in the device manager

Nox
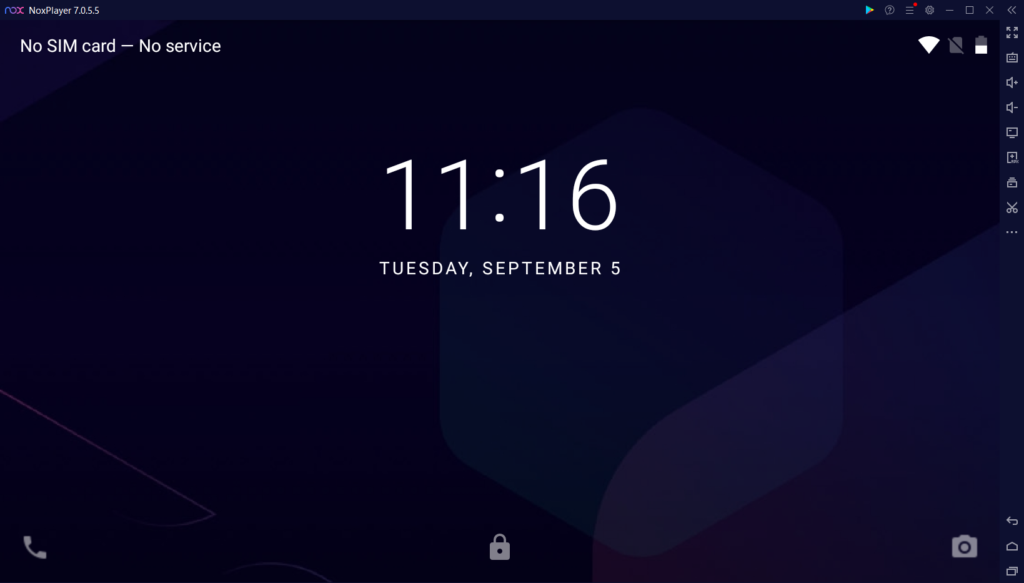
Alternatively, you can download and install Nox emulator from this link. You just need to follow along the setup process and leave all options as default.
After the installation process, you will be able to see Nox as follows
Android Lab – Tools Setup
Jadx GUI
Jadx is a Dex to Java decompiler that has following main features:
- Decompile Dalvik bytecode to java classes from APK, dex, aar, aab and zip files
- Decode
AndroidManifest.xmland other resources fromresources.arsc - Deobfuscator included
- Search in code
Jadx is pretty useful while doing manual static analysis of the android application and is a good alternative to apktool in terms of decompilation.
You can download and install Jadx GUI from this link. Alternatively, if you are using Kali, you can install it using the command sudo apt install jadx.
To launch Jadx GUI in windows, navigate to Jadx folder, go to bin folder and finally open jadx-gui.bat and you will see the window as below

MobSF
Mobile Security Framework (MobSF) is an automated, all-in-one mobile application (Android/iOS/Windows) pentesting, malware analysis and security assessment framework capable of performing static and dynamic analysis. MobSF support mobile app binaries (APK, XAPK, IPA & APPX) along with zipped source code and provides REST APIs for seamless integration with your CI/CD or DevSecOps pipeline. The Dynamic Analyzer helps you to perform runtime security assessment and interactive instrumented testing.
For the dynamic analysis, you must have an Android Runtime and MobSF supports following:
- Genymotion Android VM
- Android Emulator VM
- Corellium Android VM
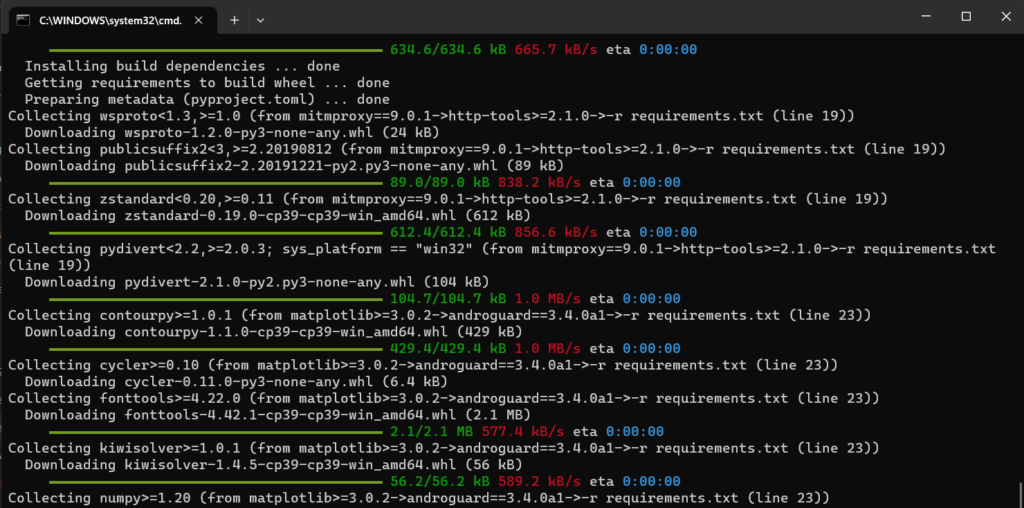
You can download MobSF from this link. After downloading the zip, extract it and then run the setup.bat file and it will install all the dependencies
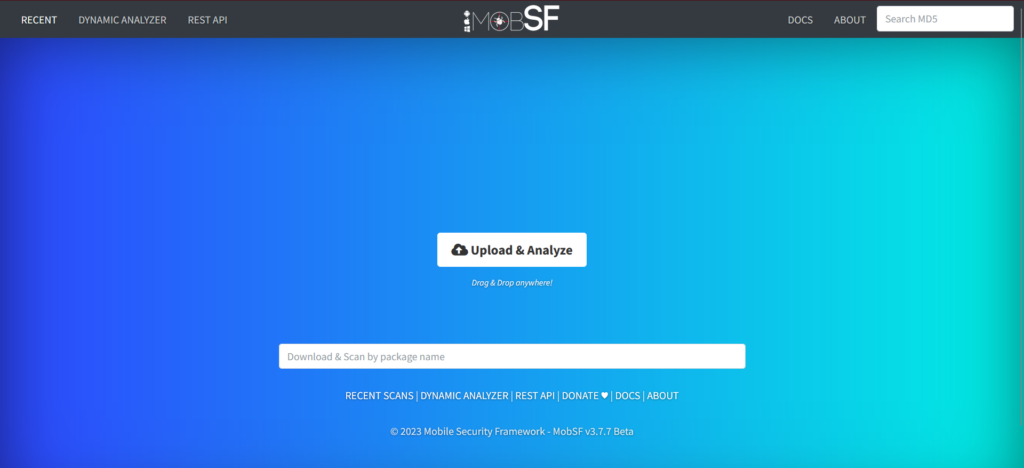
Once the setup finishes, run the run.bat file and then open your browser and navigate to http://localhost:8000 to see the MobSF page as below
adb (Android Debug Bridge)
Android Debug Bridge (adb) is a versatile command-line tool that lets you communicate with a device. The adb command facilitates a variety of device actions, such as installing and debugging apps. adb provides access to a Unix shell that you can use to run a variety of commands on a device. Through adb, you can easily connect and get shell access to the emulator (or even the physical device) and then look into the application’s folder to see its files and any databases that it might have created.
You can download the adb (part of platform tools) from the official android website or from this link.
Some common adb commands are:
- adb devices (to list the connected android devices or emulators)
- adb shell (to get shell access to the device)
You can find more commands and their usage here.
frida
Frida is a dynamic instrumentation toolkit for developers, reverse-engineers, and security researchers. Through frida, we can:
- Inject our own scripts into black box processes
- Hook any function
- Spy on crypto APIs
- Trace private application code
Commonly we use frida for bypassing SSL pinning and root detection. But frida has many more features that it can be useful for.
To install frida, you can run the command pip install frida-tools and then you can access it in CLI using command frida as below

Burp with Emulator
We need to configure our android emulator with Burp Suite in order to intercept the traffic of the android device and obviously the application. For this, start Burp Suite and in the Proxy tab, go to settings (options in earlier burp versions) and add a listener on the specific IP address and specify the port as below

Now go to wifi settings in your emulator and long click the connection name and choose Modify Network

In Advanced options choose manual proxy option. In the proxy hostname, enter IP address at which you added a listener in burp and in proxy port, enter the port and click save.
Next, open the browser and navigate to http://burp and then click CA Certificate and it will download the burp’s certificate

Go to downloads in the file explorer and change the extension of certificate from der to cer.
Now, in settings, go to Security -> Install from SD card and then choose the certificate. It will ask you to set the device PIN which you can set as you do normally. After that, you will see prompt for defining the certificate name and then click OK

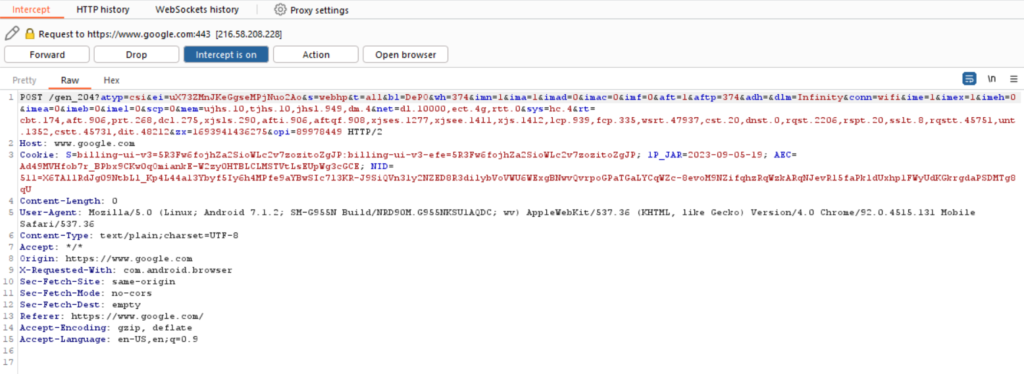
After the certificate is installed, you should be able to view and intercept the requests from your android device in the burp

Leave a Reply