
How To Use Hydra with Burp Suite – Step-by-Step Guide
Overview The massive global community and security enthusiasts practice website password cracking regularly. Most of the time, it is to

Overview The massive global community and security enthusiasts practice website password cracking regularly. Most of the time, it is to
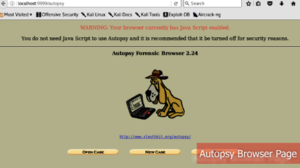
If you are looking for an Autopsy Kali Linux Tutorial you are in the right place. To acquire a forensically
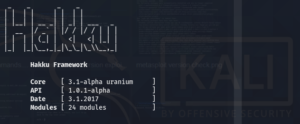
Hakku framework is an open-source penetration testing platform. It can be used to perform web and network-related penetration testing, like

Metasploit framework is an open-source security project that offers multiple penetration testing and exploits development features. The very first thing