Enumerating LinkedIn Users with InSpy
If you’re anything like me, you’ve probably been in the situation of needing to know who you can contact in a Company. You may be a journalist, looking for the PR spokesperson who may grant you an interview so you can fact-check and publish your story. You may also be a service provider, looking for the person you can contact so you can schedule a meeting to find out whether they’ll be a good prospect. Or, maybe, you’re simply a Job Seeker looking for a Hiring Representative you can contact to submit your Resume.
Regardless of your situation, these are very good reasons for why you might need to find out who works at a Company, and how you can contact them. As you may be aware, there are many tools to do so, like googling their company’s website, looking at their Facebook profile, etc.
But, let’s face it, LinkedIn is where it’s at. With over half a billion (Yes, billion. With a B.) users, they’re definitely the largest social network for Corporate and Enterprise professionals around the globe.
Now, are you really going to go on LinkedIn and look through the full list of users who follow Company XYZ, just so you can figure out even who works there, let alone the person who holds the one position that you may need to contact? Really?
Probably not. And here’s where InSpy comes in. InSpy is a python-based LinkedIn enumeration tool created by Jonathan Broche (@leapsecurity). It allows you to search the LinkedIn user database and discover employees of a specified Company.
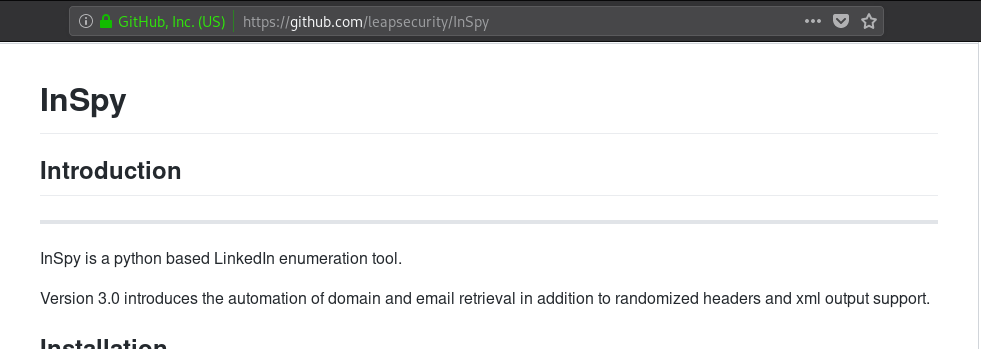
For this tutorial we will be using Kali Linux. If you’re using Elementary OS, Ubuntu, Mint, or any of the other Debian derivatives, the process is likely to be similar to the one described here. However, you must be aware that the installation procedure for your own distribution might be different. Please check your distro’s package manager and documentation to find how InSpy can be installed on your system.
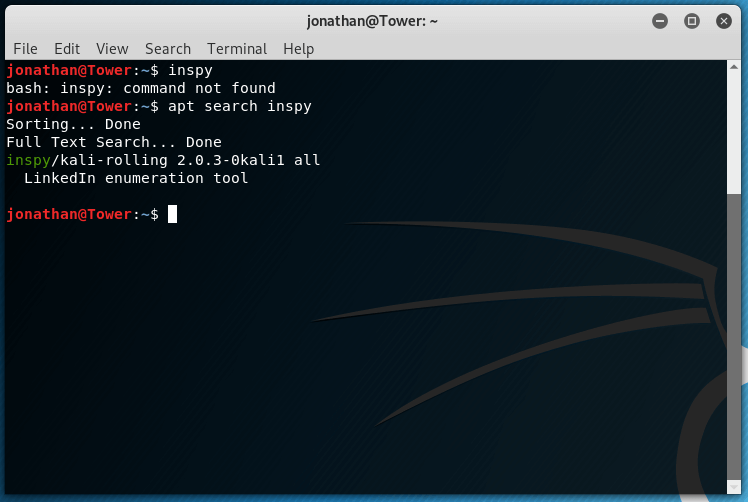
The latest version of InSpy is version 3.0. However, due to package availability on the Kali repositories, we will be using version 2.0.3, as shown below.
Installation
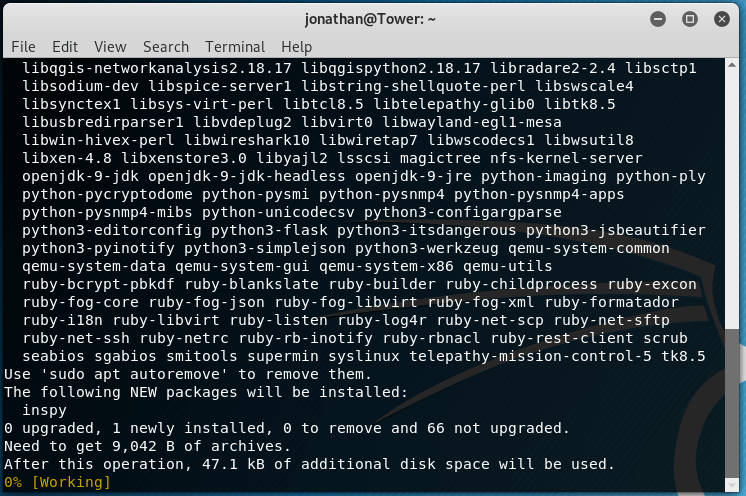
You can install InSpy on your machine with the apt install command, as such:

Using InSpy
Once installed, you can run the inspy command to take a look at the help page for it. You can also use the inspy -h command to look at the help page.
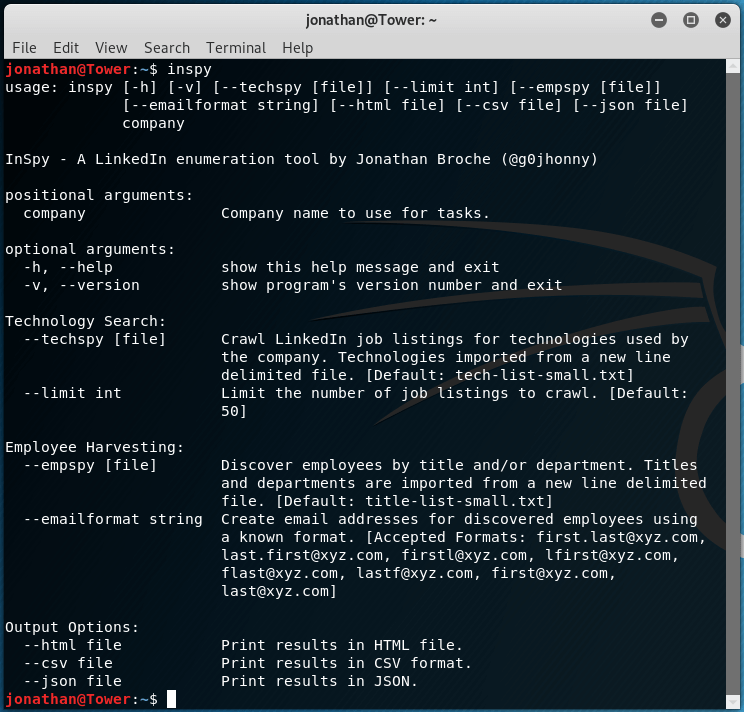
You’ll notice there are 2 search modes, by Technology and by Employee, which can be selected with either the –techspy or the –empspy flags, respectively. It is important to know that, as of this writing, the —techspy flag is not functional thus far.
As you can see in the above screenshot, the –empspy flag takes a filename as a parameter. This file needs to contain a list of titles and departments which could exist in the company we’re searching for.
Lucky for us, InSpy already comes with a set of word lists we can use. To see them, just enter the following command:

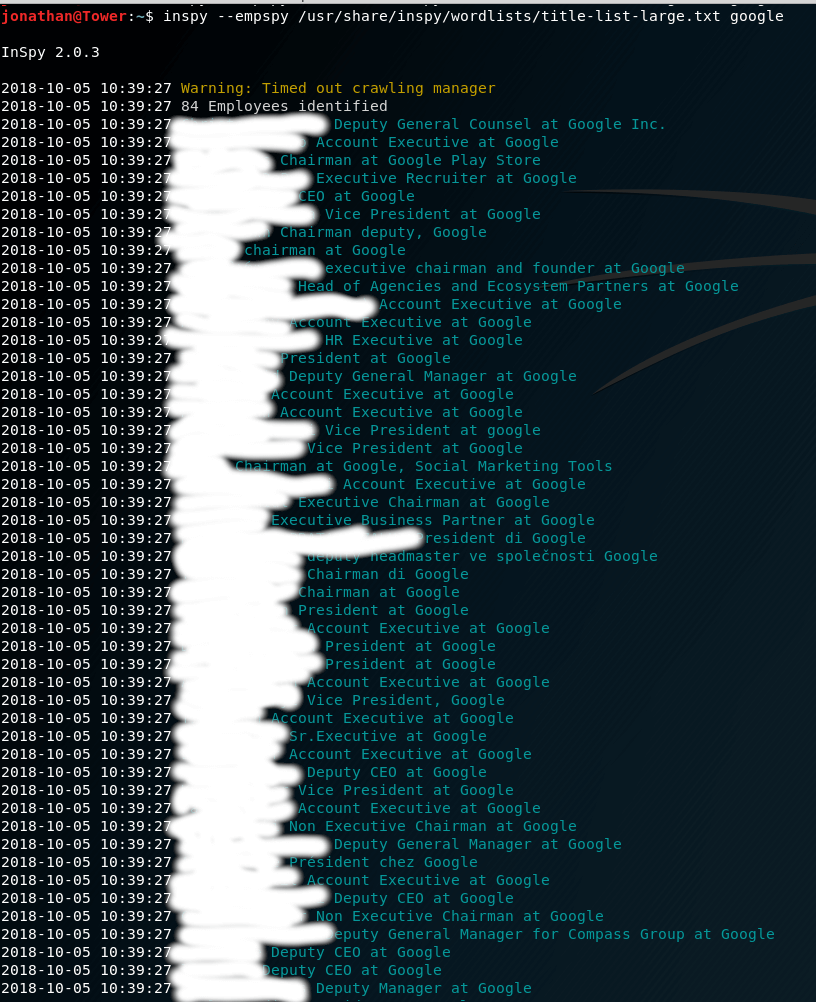
Now, we can go ahead and search for, say, all employees from Google. We can do so like this:

Let’s dissect the parameters we sent to InSpy.
As stated above, the –empspy flag allows us to search by titles and departments. This requires, as a parameter, the path to the file with the list of titles and departments. The one provided by InSpy is located at /usr/share/inspy/wordlists/title-list-large.txt
The last parameter we enter needs to be the name of the Company we’ll be searching for on the LinkedIn user databse, which in this example is Google.
Upon pressing Enter and giving it a few seconds, we can see that it does provide us with the results we were looking for:
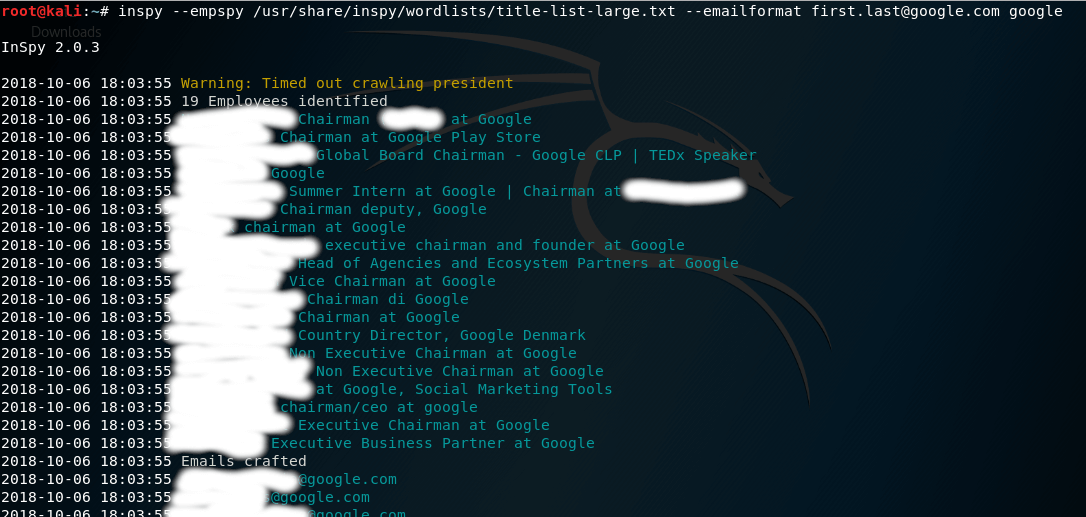
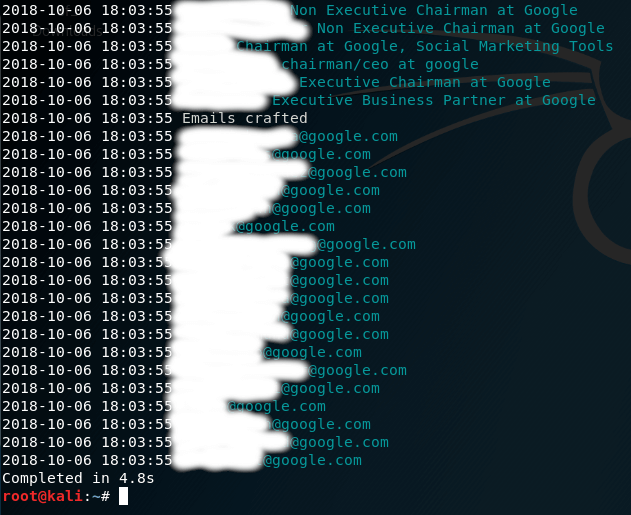
Next, let’s try again; this time by filtering by email address format. This is achieved with the –emailformat flag, which takes a format string as a parameter.
Conclusion
As you can see from this tutorial, InSpy provides an easy to use command-line interface that allows you to search for employees at any Company by crawling through the LinkedIn databse; providing a comprehensive list of users’ names and positions at any Company you specify.

Leave a Reply