
So far, in the post-compromise AD enumeration, we have been using the PowerView tool to gather information. That tool was completely CLI-based and needed commands to gather the information. As specified in the previous article, the next tool we will be using is BloodHound.
BloodHound
BloodHound is a single-page Javascript web application, built on top of Linkurious, compiled with Electron, with a Neo4j database fed by a C# data collector.
It is an Active Directory (AD) reconnaissance tool that can reveal hidden relationships and identify attack paths within an AD environment. BloodHound uses graph theory to identify hidden relationships, user permissions, sessions, and attack paths in a source Windows domain. It visualizes the data in a graph and is super useful in identifying lateral movement paths.
BloodHound can enumerate a domain automatically and save all the information. It uses that information to find possible privilege escalation paths and shows all the information using graphs.
Attackers can use BloodHound to easily identify highly complex attack paths that would otherwise be impossible to quickly identify. Defenders can use BloodHound to identify and eliminate those same attack paths.
Installing BloodHound
BloodHound is composed of 2 main components
- Ingestor
- Visualization application
The visualization application uses neo4j which is a graph database management system. We need to install bloodhound which also installs neo4j.
Installing BloodHound is fairly simple and you just need to run the following command in the terminal
sudo apt install bloodhoundSetting Up Neo4j
Since BloodHound runs on neo4j . Hence, for using BloodHound, we need to set up neo4j first. So, in the terminal, run the following command
neo4j console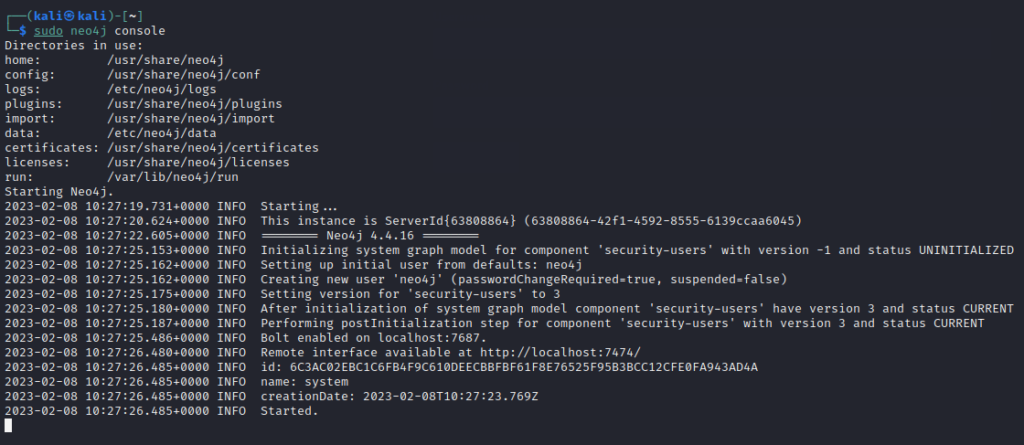
Once it starts, you will be able to see the Remote interface available at http://localhost:7474/. Open the browser and navigate to this URL and you will see the neo4j site. To connect to it, the default credentials are as below
Username: neo4j
Password: neo4j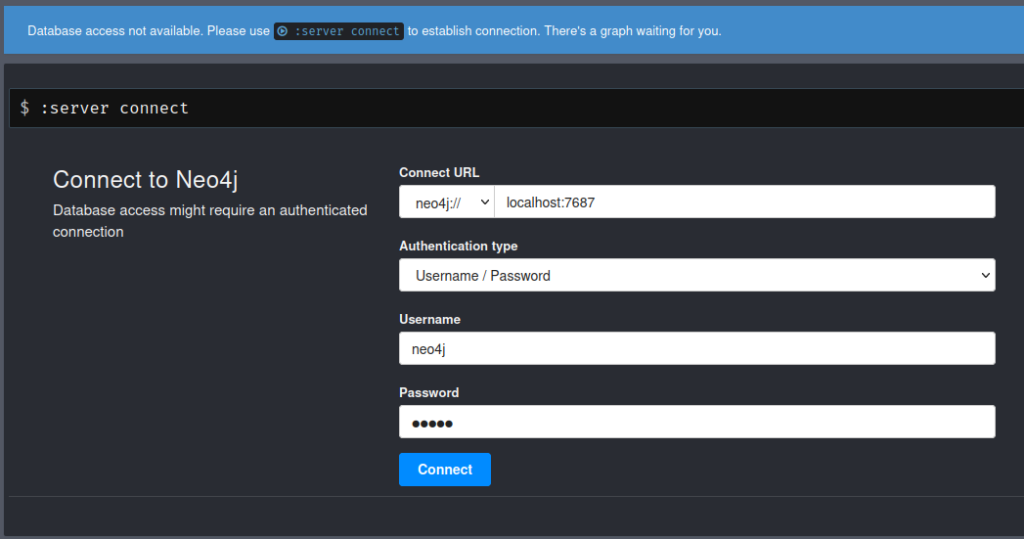
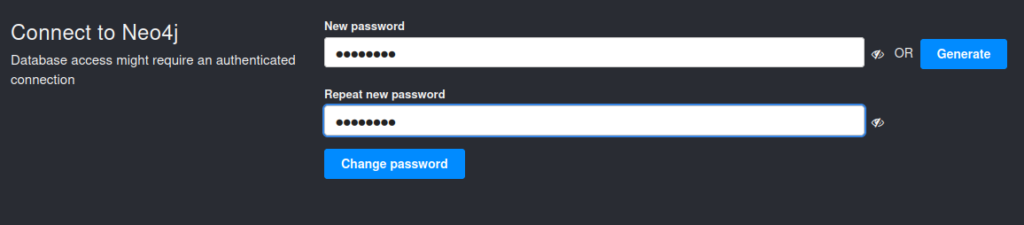
After connecting, it will ask for changing the default password. So, I set the new password to password
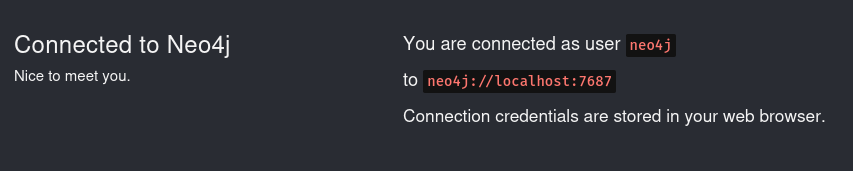
As soon you change the password, you will see successful connection feedback as below
Connecting BloodHound with Neo4j
Since we have set up the neo4j database, we now need to connect BloodHound to it. Open a new terminal window and simply type bloodhound that will open the bloodhound application. We need to provide the neo4j database credentials to log in as below
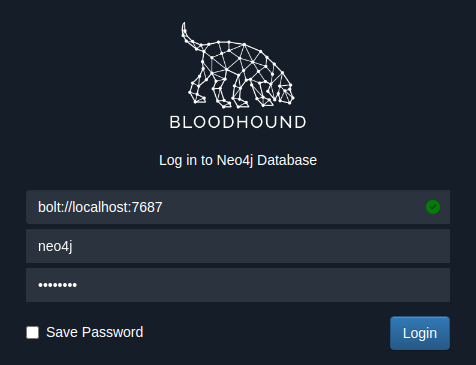
The green tick mark in the database URL shows that the database is connected.
After login, you will see a message as below

It indicates that no data is returned. This is because we have not provided any data to it yet.
Installing Ingestor for BloodHound
The ingestors are used to enumerate the domain and extract all the information in a format that the visualization application will understand. There are many ingestors available but we will use Invoke-BloodHound PowerShell method. You can grab the PowerShell script from here.
Simply run the following command on your kali machine
wget https://raw.githubusercontent.com/BloodHoundAD/BloodHound/master/Collectors/SharpHound.ps1Make sure all of your 3 machines are up and running so that we can gather as much of the AD data
- 1 Windows Server Machine
- 2 Windows Enterprise Machines
After that, start a python HTTP server to transfer the downloaded ingestor to one of the Windows Enterprise machines.
python3 -m http.serverGo back to the Windows Enterprise machine and in the browser, type in the URL http://IP:8000/SharpHound.ps1 to download the ingestor.
Note: IP is the IP address of kali machine
Gathering data with ingestor
Now that we have ingestor in the windows machine, we need to run it and call Invoke-Bloodhound method. So, on the windows machine, open the command prompt and start PowerShell with Execution Policy set to bypass
powershell -ep bypass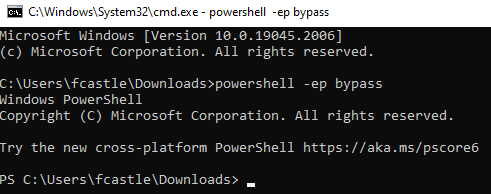
Next, we need to load SharpHound script using the command
. .\SharpHound.ps1Once it is loaded, we are good to go running the ingestor using the following command
Invoke-BloodHound -CollectionMethod All -Domain MARVEL.local -ZipFileName file.zipCommand Explanation
- Invoke-BloodHound: This is the command to start the BloodHound data collection process
- -CollectionMethod All: This option specifies that all the data collection methods available in BloodHound should be used to collect data. This includes group membership, domain trust, and local admin rights, among others.
- -Domain MARVEL.local: This option specifies the Active Directory domain to collect data from. In this case, the domain is “MARVEL.local”
- -ZipFileName: file.zip: This option specifies the name of the ZIP file where the collected data will be stored. In this case, the file name is “file.zip”.
Overall, this command runs BloodHound to collect data from the “MARVEL.local” domain using all available data collection methods and saves the output to a ZIP file named “file.zip”.

So we now have the zip file containing the data. We can now transfer this zip file to the Kali machine to feed it to BloodHound.
Note: You might not be able to directly transfer from Windows Enterprise VM to Kali Machine. So, transfer from Windows VM to your host Windows machine and then from there, transfer to Kali machine.
Uploading data to bloodhound
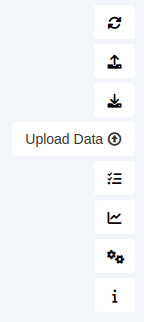
Open BloodHound and in the right corner, you will see an upload button among many others. Click on that and choose the zip file to upload
It will start unzipping the file and uploading the data
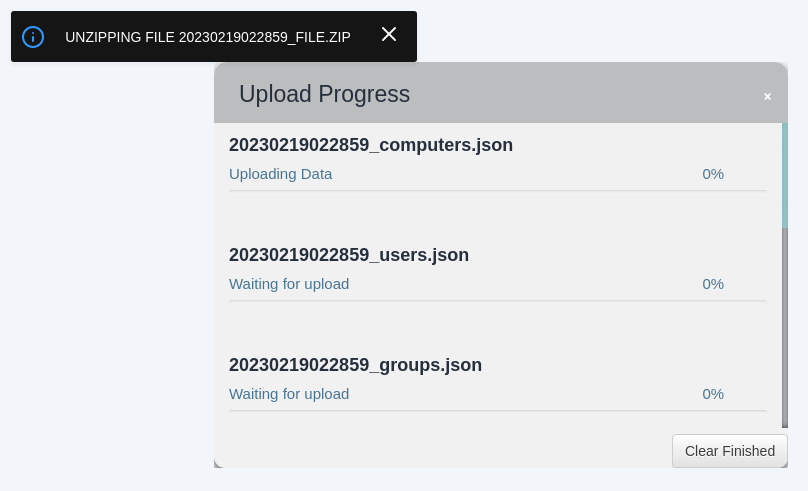
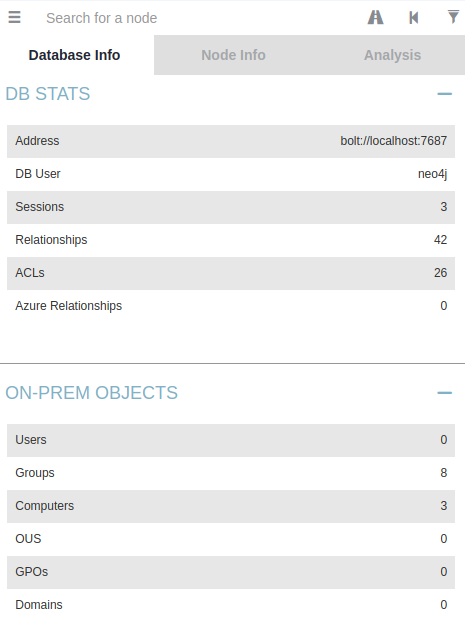
After all the processing, you will be able to see the database info from the left dropdown nav
Pre-Built Queries
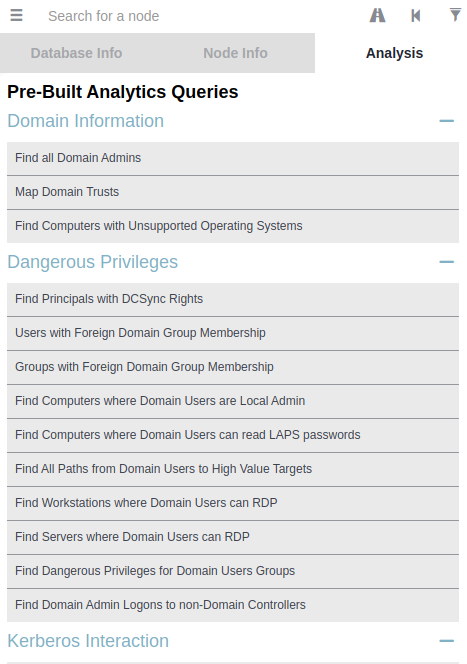
BloodHound has some pre-built queries for common queries that an attacker might be needing. Head over to Analysis tab and there will be a bunch of these queries
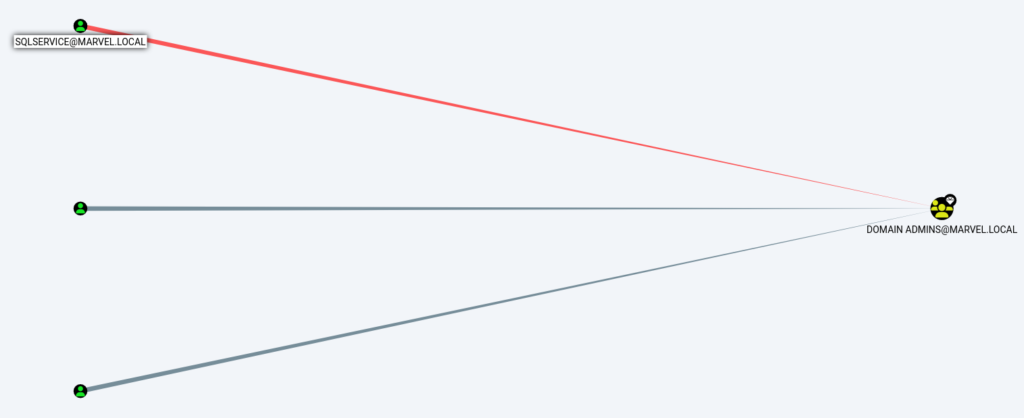
We can click on each query to see the graph. For example, clicking on Find all Domain Admins we can see the graph and upon hovering over each node gives its information as below
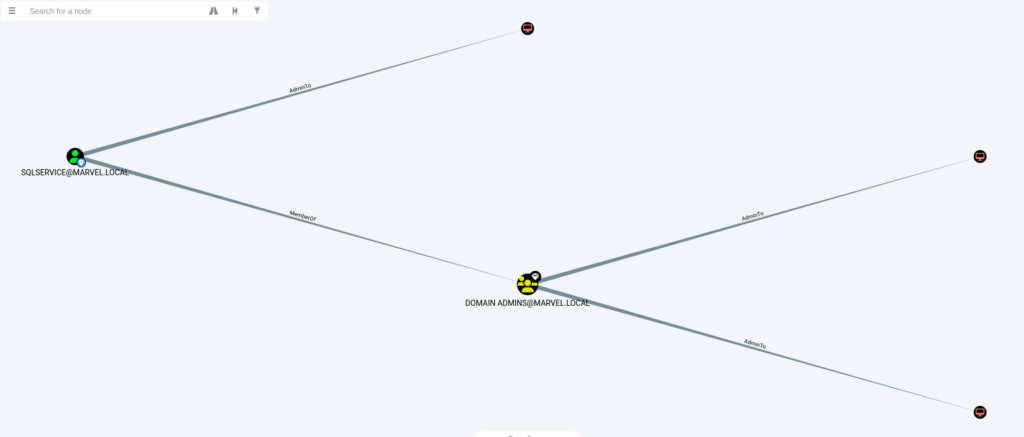
- Similarly, we can find the shortest path to Domain Admins as below
It tells us which machine has an administrator session that an attacker can use to escalate by using Token Impersonation and many other techniques. This also prioritizes the machines that we should target first to gain Admin.
- We can find the shortest path from Kerberoastable users and visualize it to understand the attack surface
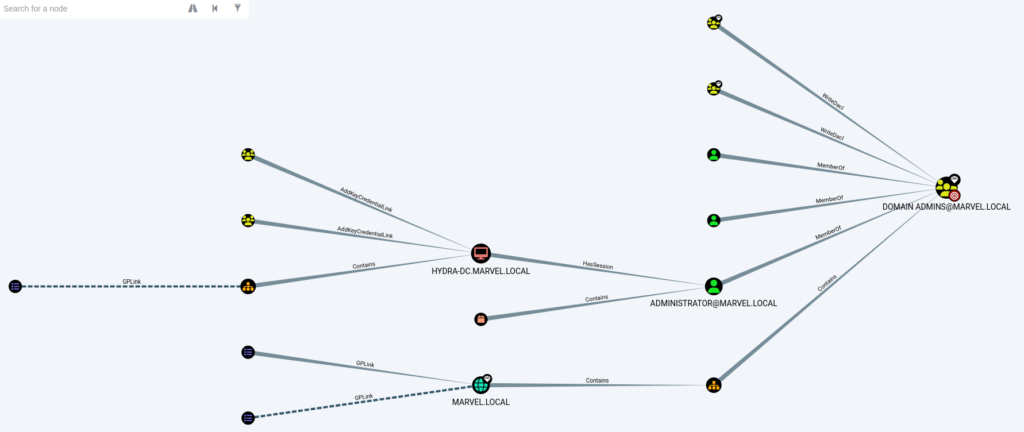
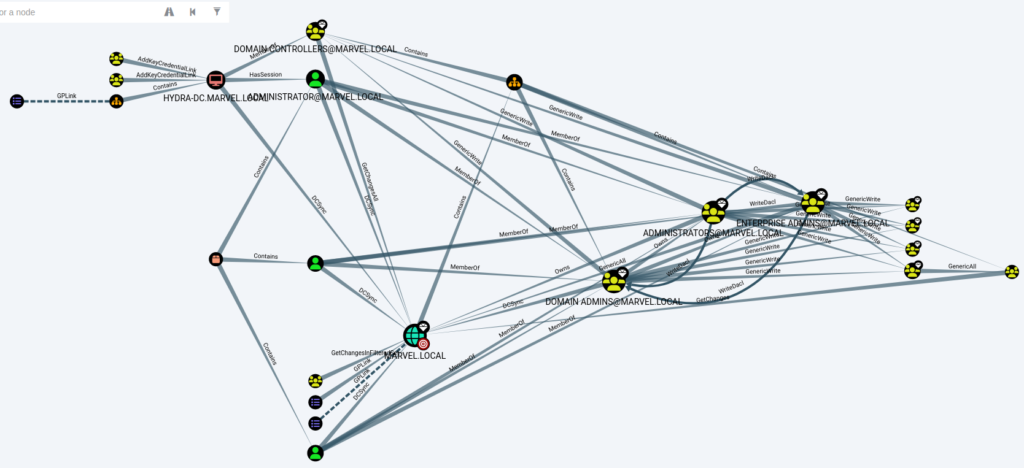
The graphs can be simpler and easier and can be complex depending on the query results. Like for Shortest Paths to High Value Targets, we can see the following complex graph
Conclusion
There is much more that can a BllodHound help to achieve. Since it’s all about gaining a foothold and gathering information, BloodHound is a pretty useful tool.
Leave a Reply