

Linux systems are built from thousands of source files that need a shared way to communicate with each other. Rather than duplicating the same definitions and structures across every file, Linux uses header files to act as a common interface. Linux kernel headers serve this exact purpose for the kernel—they define how user-space programs and external modules interact with the kernel itself.
In Kali Linux, kernel headers are especially important because the kernel sits at the core of everything you do. It loads immediately after the bootloader and is responsible for critical tasks like process scheduling, memory management, hardware interaction, and disk access. While applications run in userspace, the kernel operates in a protected area known as kernel space, which regular programs are not allowed to access directly.
This separation is intentional for security and stability—but it also means an interface is required so tools, drivers, and kernel modules can safely communicate with the kernel. That interface is provided by Linux kernel headers. Without them, many common Kali Linux tasks—such as compiling drivers, installing VirtualBox modules, enabling Wi-Fi adapters, or building kernel-level tools—will fail.
That’s why knowing how to install Linux kernel headers on Kali isn’t optional—it’s a foundational step for anyone doing serious work with Kali Linux.
How to Automatically Install Kali Linux Headers?
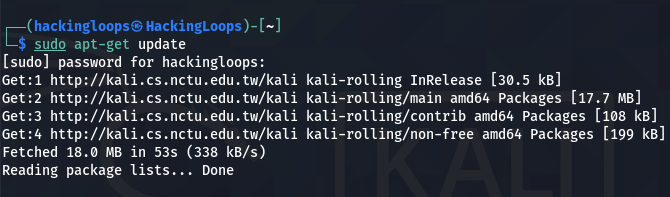
Before installing Linux headers, it is important to upgrade the available packages and remove the obsolete ones. First, we need to update the packages list to get information about the latest available versions of the installed packages and dependencies. This can be achieved with the following command.
sudo apt-get update
After updating the packages list, we can download and install the available updates using the dist-upgrade command.
sudo apt-get dist-upgrade
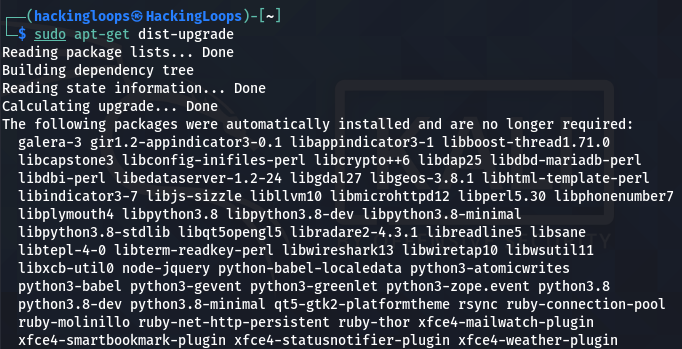
Note: The sudo apt-get upgrade command only upgrades the newest available versions of the installed packages, whereas the sudo apt-get dist-upgrade also removes the obsolete packages from the system.

When the upgrading process completes, reboot the system for the changes to take effect.
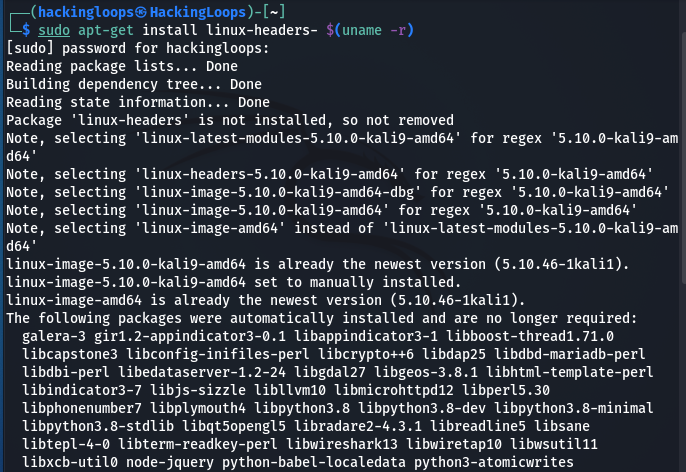
After rebooting the system, we can install the Linux-headers package using any of the following commands.
1# sudo apt-get install –y linux-headers-$(uname -r)
 2# sudo apt-get install –y linux-headers<-header version>
In the first command, the uname -r parameter fetches the installed Kernel version on the system.
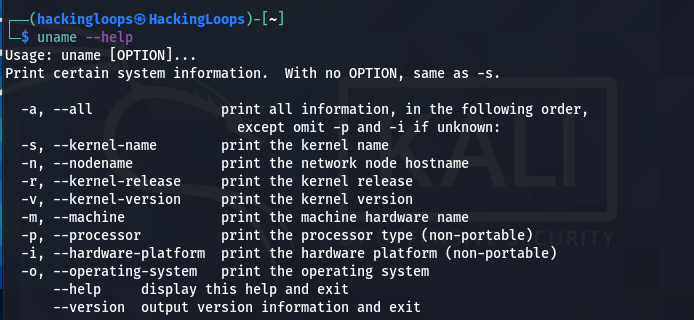
We can manually verify the Kernel version using the following command.
uname -r

sudo apt-get install –y linux-headers-$(uname -r)
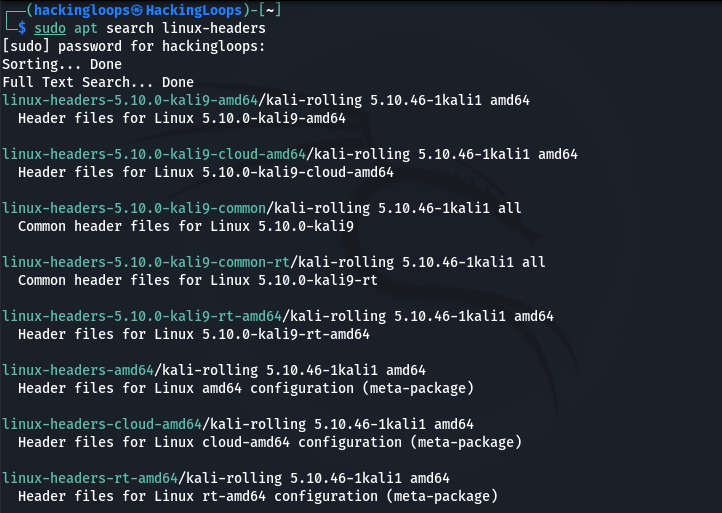
We can also search for specific Linux headers using the following command.
sudo apt search linux-headers
After finding the appropriate package, we can install it as follows.
sudo apt-get install –y linux-headers-<linux-headers package here>
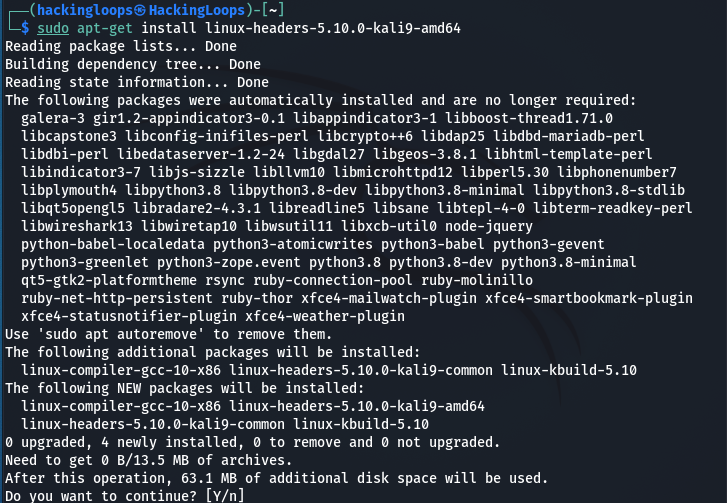
For instance, we can install the 5.10.0-kali9-amd64 package using the following syntax.
sudo apt-get install –y linux-headers-5.10.0-kali9-amd64
How to Manually Install Linux Headers?
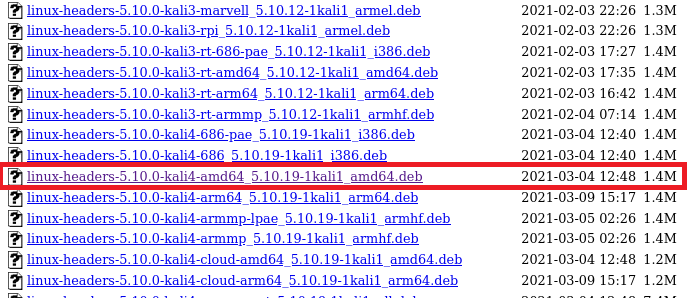
Besides the automated installation, we can manually install the Linux headers from the following repository.
https://http.kali.org/kali/pool/main/l/linux/

Scroll down the list to find the desired Linux-headers package. Let’s assume we are interested in installing the Linux-headers-5.10.0-kali4-amd64_5.10.19-1kali1_amd64.deb package from the list.
We can install this package with the help of the following command.
sudo dpkg -i linux-headers-5.10.0-kali4-amd64_5.10.19-1kali1_amd64.deb

Summary
The Linux headers play the role of a bridge for many Kernel operations. The Kernel requires the services of Linux headers for protected as well as open memory processes. The upgrading of the existing Kernel version is important for the smooth installation of Linux headers.