
We’ve explored several tools on previous tutorials, which allow you to protect your browsing data from others through the use of VPNs. They help us by allowing all traffic to be rerouted somewhere else; therefore all traffic we generate will look as if coming from another location, wherever our VPN server is located at. Now, we’re going to take a different approach.
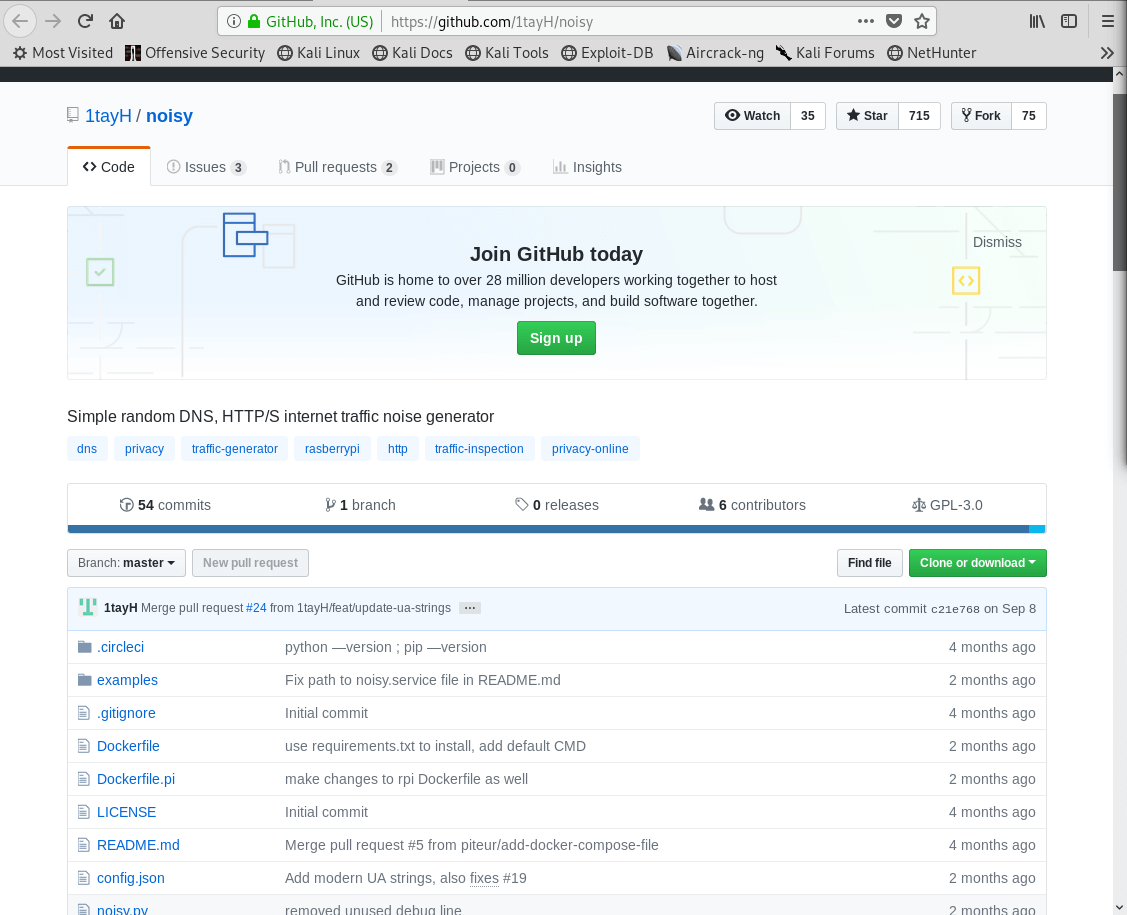
In this tutorial we will discuss how we can use automated tools that generate random traffic from our host computer. For this, we will look at Noisy. A Python script created by Github user 1tayH, that generates random HTTP(S) and DNS noise traffic in the background while you browse the web; therefore providing extra obscurity from anyone looking for browsing patterns.
Installing Dependencies
Before we begin installing the script, we need to verify whether we have the correct version of Python installed on our system. As you can see in the screenshot below, as long as we have either Python 2.7 or 3.6, we’ll be good to go.

You can use the python -V, python2 -V, or python3 -V commands to verify the versions of Python that are installed in your computer.

As you can see, we already have both versions of Python. Namely 2.7 and 3.6, which means that we’re ready to continue.
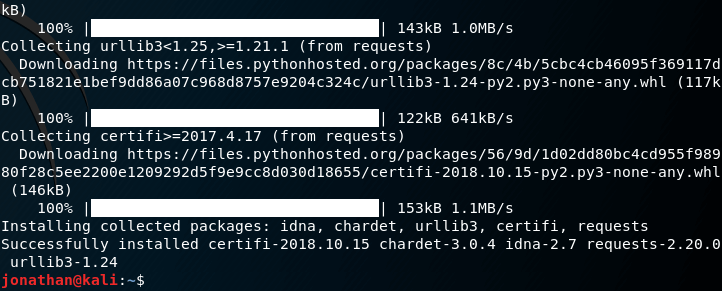
Next up, we need to install the requests python library with the following command:

Installation
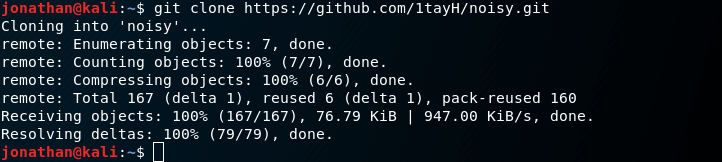
Following the installation of dependencies, we’re ready to download the script by using the git clone command.
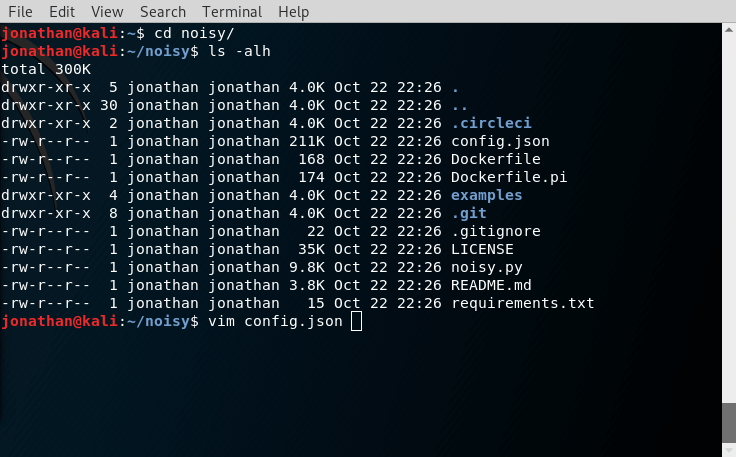
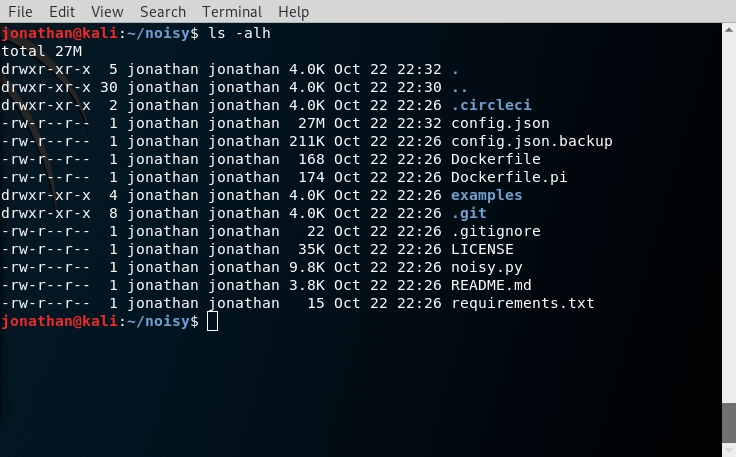
We can now go into the noisy/ directory, and list its contents:
Noisy Usage
In order to understand how Noisy works, we can open the config.json file with a text editor.
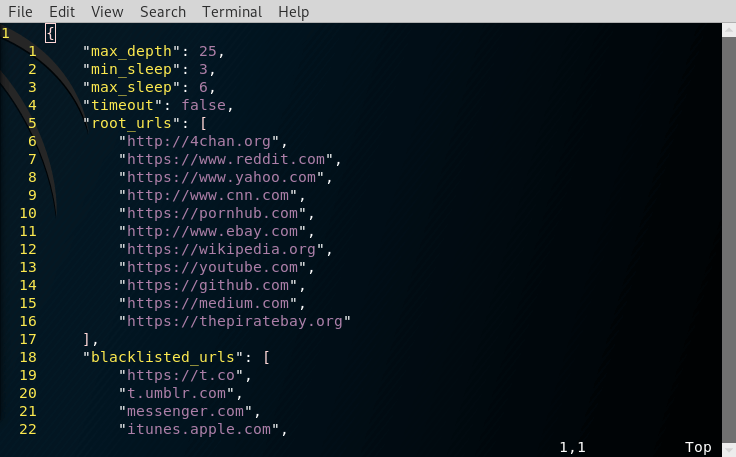
We’re mainly interested in the contents of the root_urls parameter, which contains a list of the websites to which Noisy will be making requests.
As we can see, the default list is quite small. We can make it better by adding more websites to it. Thankfully, Github user holdTheDoorHold has compiled a quite large list of websites that can be used, and set them up in config.json file that we can download from the NoisyConfigg repository. You’ll notice the file is 26 MB in size.
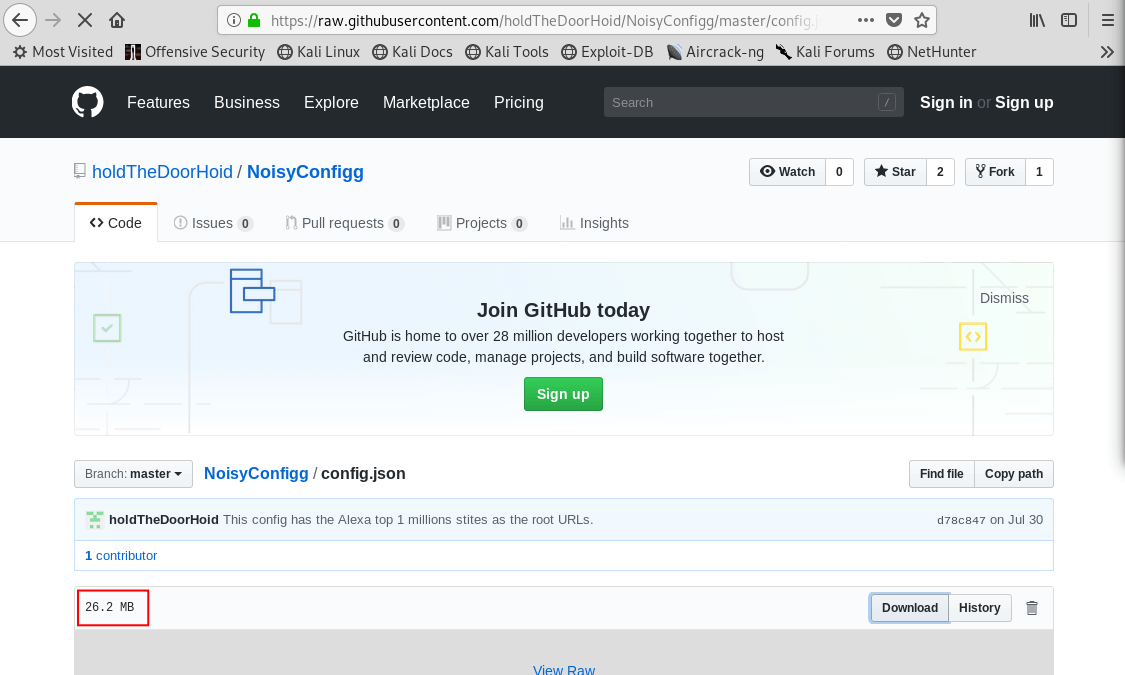
If we click on the View Raw link, we can see its contents, similarly to the screenshot below.

From here, we can go ahead and create a backup of the original configuration file.
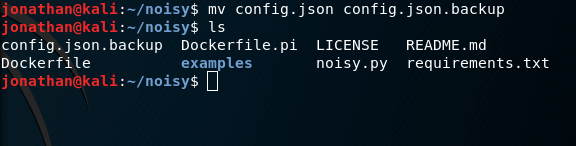
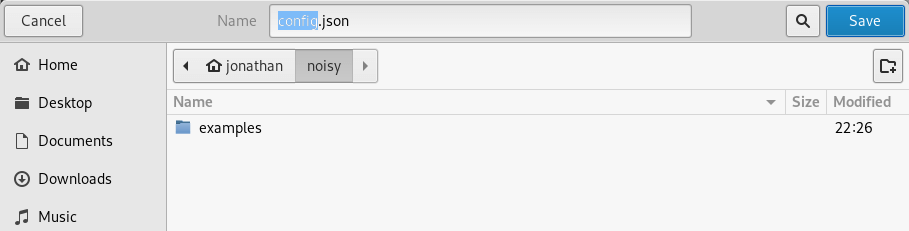
Next, we need to download the new configuration file into the appropriate directory. For this example, it is under the noisy folder in the home directory of the currently logged-in user.
Upon this, the contents of the folder should be as such:
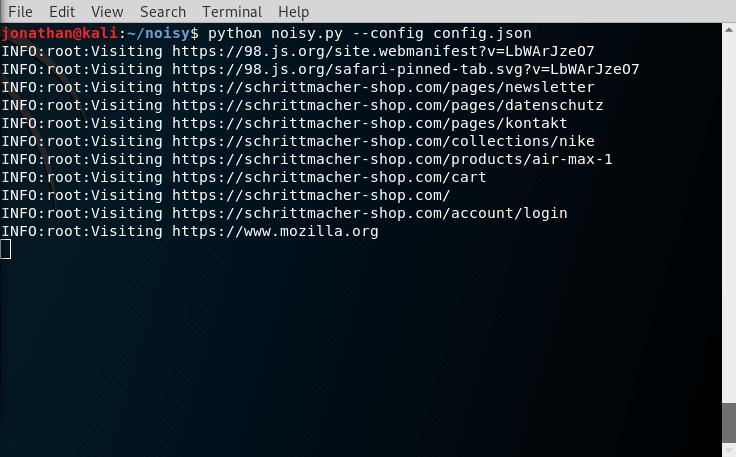
To run Noisy, enter the following command.
![]()
Remember that Noisy is a Python script, which is why we need to call the Python interpreter first. The –config flag tells Noisy to use the config.json configuration file, which is given as a parameter.
Once we run the command, we can see that Noisy is automatically generating requests to the websites listed in the configuration file.
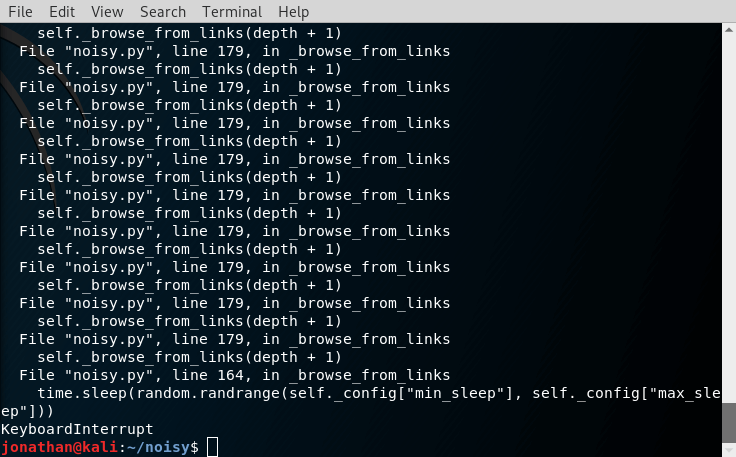
To stop execution of Noisy, press Ctrl+C at any time.
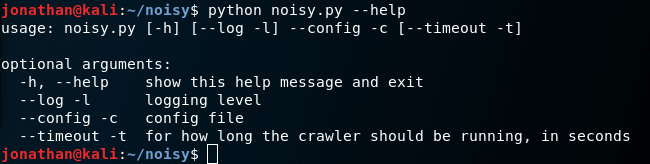
You can view the Help options by using the –help flag.
Conclusion
From what we’ve done, you can see that Noisy is a really simple way to create diversions in order to mislead anyone who might be spying on our traffic; in attempts to generate a profile, based upon our browsing habits.
One important thing to note is that Noisy will generate a new request every second. This is relatively good for most uses. However, we can do much better than that, by spinning up a few docker containers, which would allow us to generate even more requests per second.
That way, anyone inspecting the network packets for our device will have a much harder time defining any potential browsing patterns from the data they collect. We will look into how to do that in the next section.
Moving Forward
First, we need to install Docker. Since we’re using Kali Linux for this tutorial, we can install it with apt:

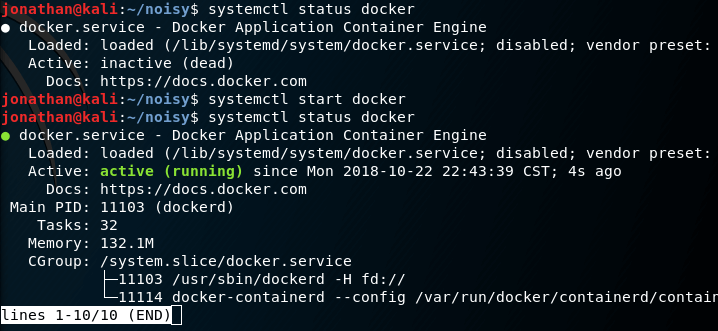
Next, we need to check the status of the docker service, starting and enabling it if needed.
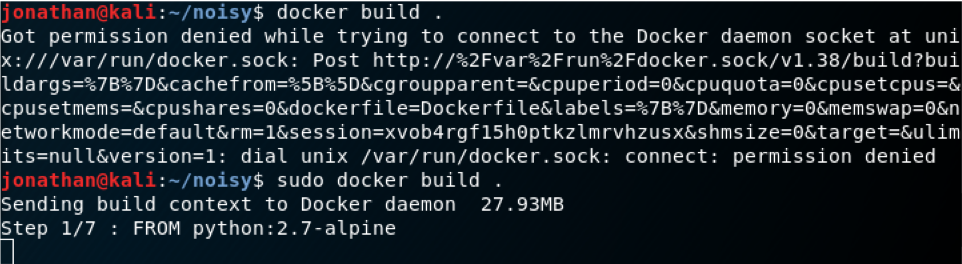
Once docker is running, we can check the current working directory for Noisy, where we will find a Dockerfile that we can use to build a Docker container, like so.
Remember that you need to build docker images as root! If you don’t you’ll likely see this error message. If you’re not logged in as root, you can enter the sudo command as a prefix to docker.
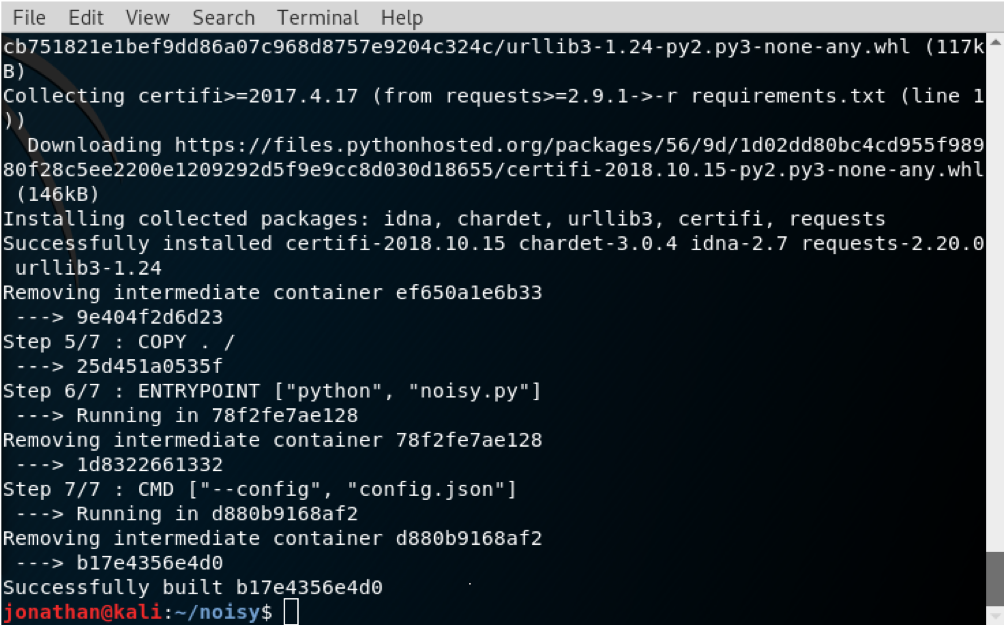
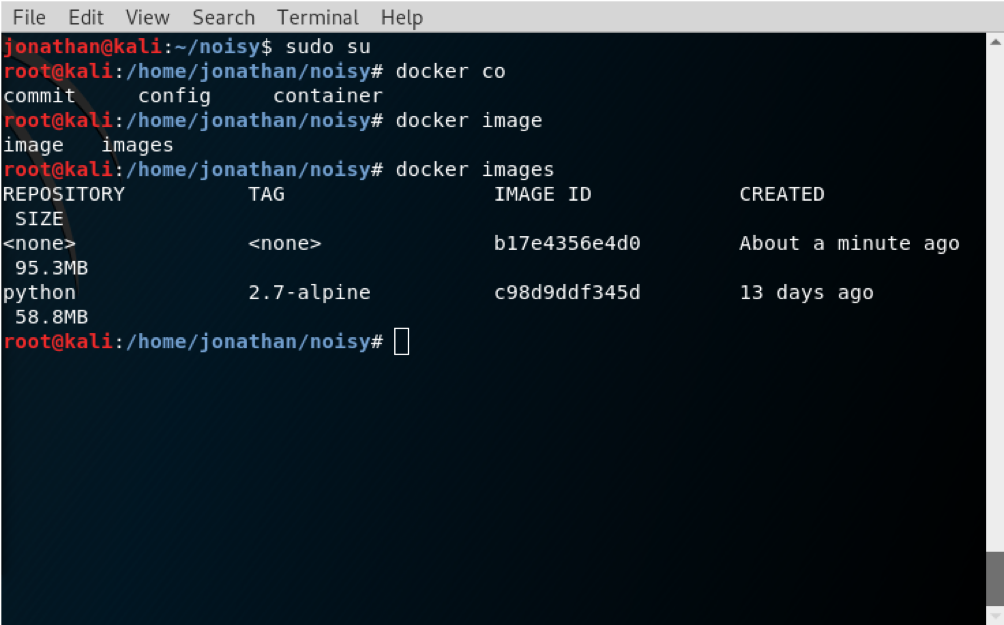
From the second screenshot, you’ll see that the Docker image was built successfully. We can now run the docker images command, as root, to get a list of currently available images.
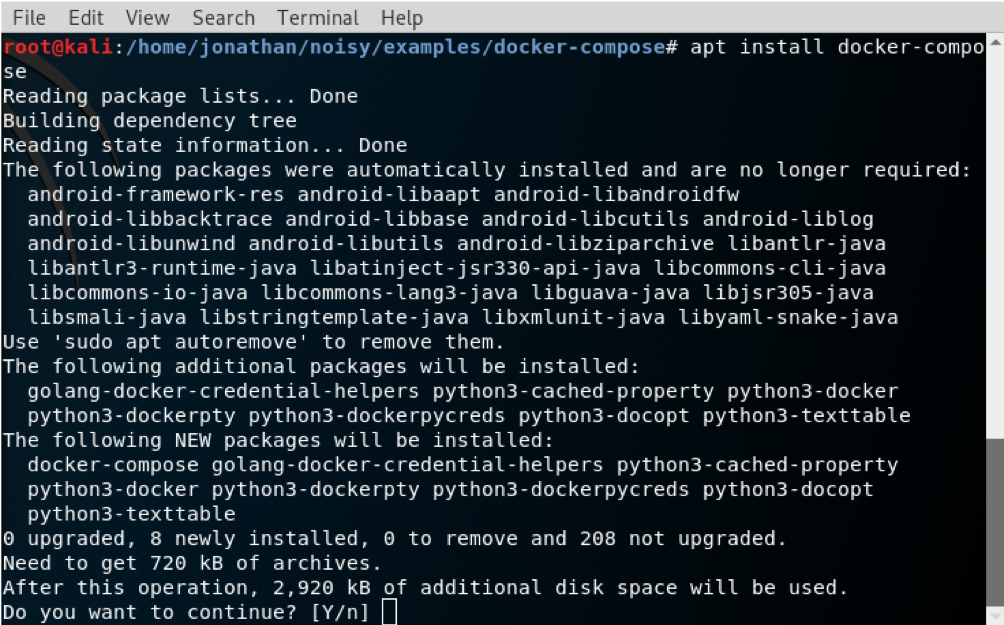
Following the requirements for Noisy, we now need to install the docker-compose package, as it’s needed to run the containers for Noisy properly.
Once installed, we can go into the examples/docker-compose/ directory inside the noisy/ folder. Here we’ll find the docker-compose.yml file, which will help us run our Noisy instances.
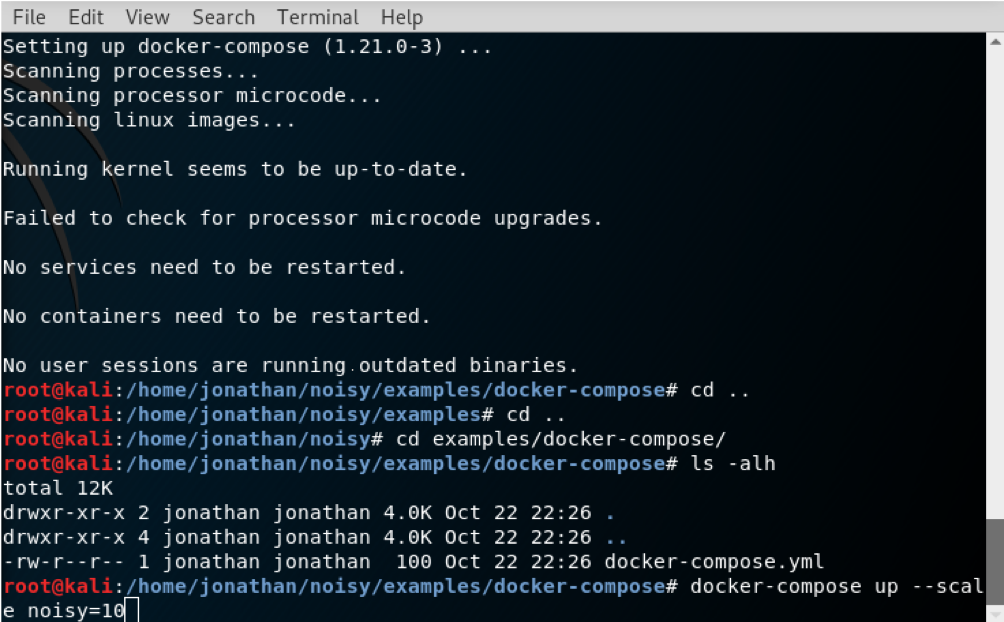
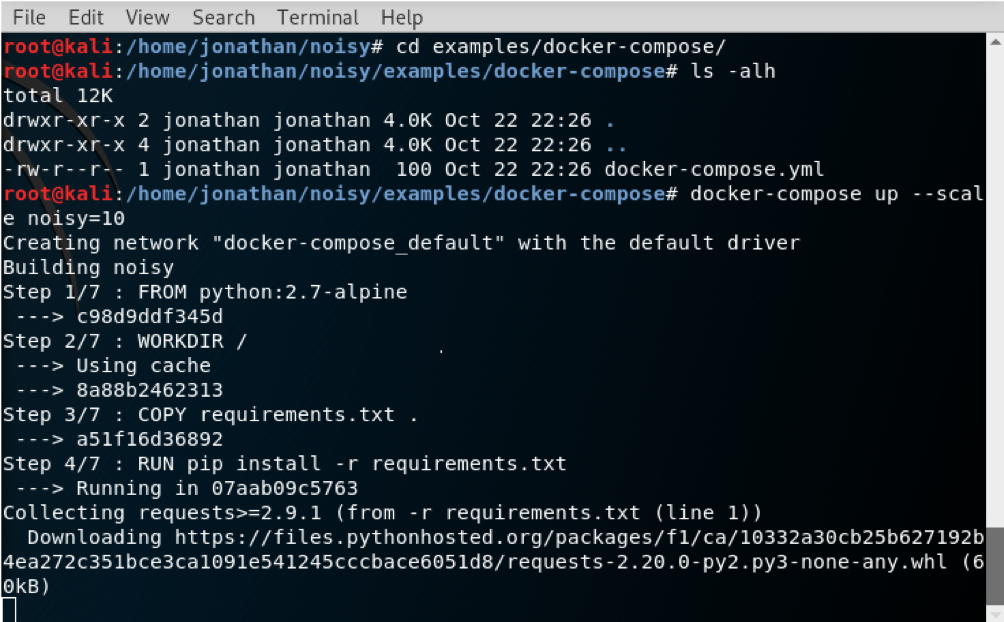
From here, we can run the docker-compose up –scale noisy=10 command. The up parameter tells docker-compose to run the container image. The –scale flag with the noisy=10 parameter tells Noisy to use 10 instances, therefore allowing us to generate 10 requests per second.
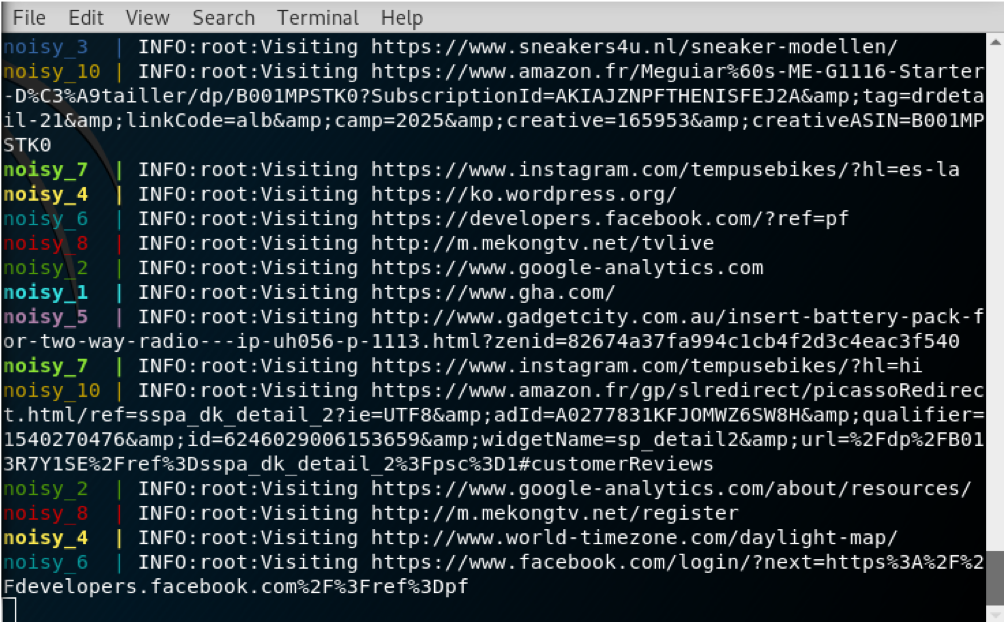
You will then see that each of our containers will be named as noisy_N, where N is the index of each of the 10 containers we created for this example. Remember, of course, that you can run as many or as few containers as you want, as long as your computer has the processing capabilities to sustain such loads.
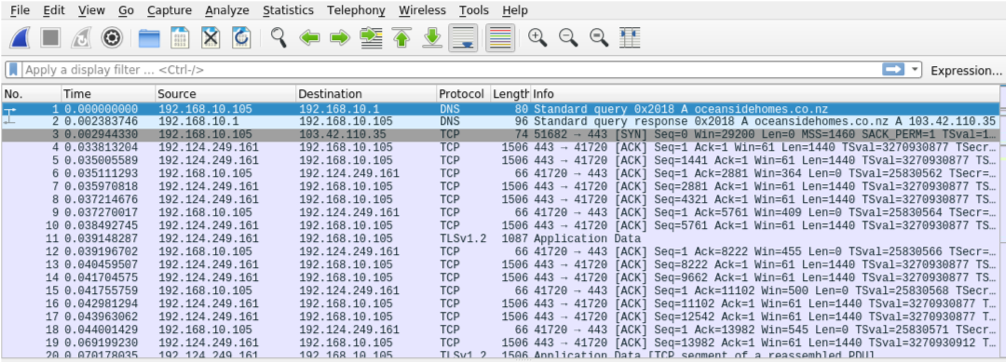
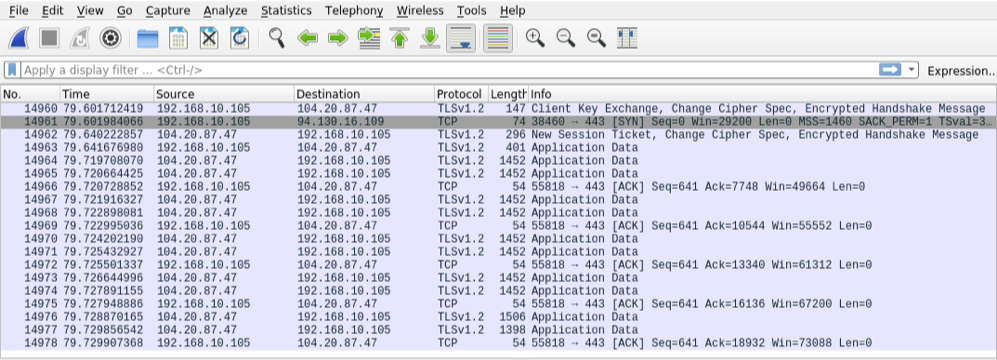
If we run a packet inspection utility, such as Wireshark, we will notice that there are hundreds, even thousands, of requests being generated by Noisy.
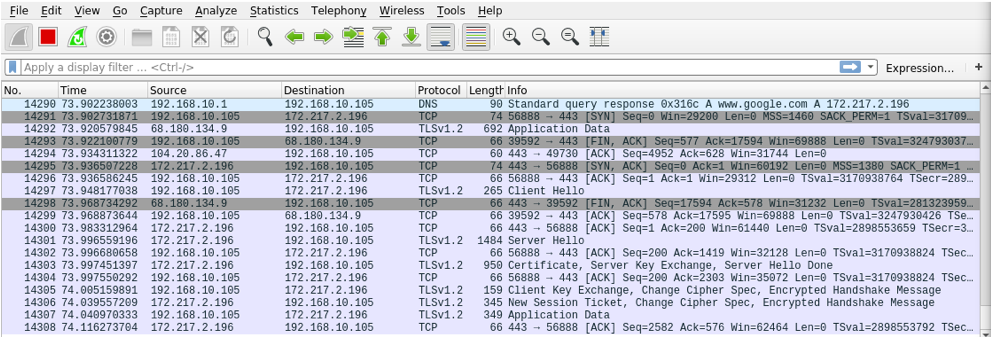
On the following 2 screenshots, take a close look at the Time column. You’ll notice that, in just under 80 seconds, Wireshark has already detected close to 15,000 packets transiting outside and inside our computer; with our host having the 192.168.10.105 IP address.
Finally, if you want to stop all of your Noisy containers, you just need to go to the terminal window where you started them, and press Ctrl+C, like so. It may, however, take a bit until all containers are fully stopped.