How to Use VirtualBox with Android
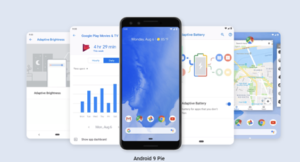
Computers hold more raw power than android devices and sometimes it makes sense to use them for Android applications. Android

Computers hold more raw power than android devices and sometimes it makes sense to use them for Android applications. Android
There are many open-source penetration testing tools available to perform security auditing. The security professionals can get these tools from
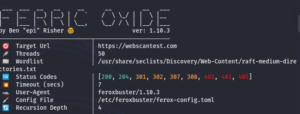
Forced browsing is a type of web attack where the adversary tries to access web resources that are not referenced
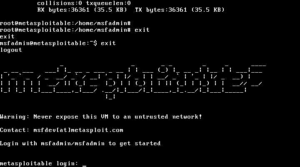
The Rapid7 Metasploit community has developed a machine with a range of vulnerabilities. Metasploitable 2 VM is an ideal virtual